[Tutorial] Deploy a Simple Node.Js Application Using Minikube & Harness
Tech Storyteller | Developer Advocate | Guest Writer | Speaker. #DevOps
We have a simple Node.js application that we will use in this tutorial to demonstrate how you can use your local images to build and deploy an application on minikube.
Prerequisites:
- Node.js application – We have a sample application for you to use. Clone this repo.
- Docker Desktop – Get it from the official website.
- Minikube setup – Install Minikube on your local machine with this easy-to-understand documentation.
What Is Minikube?
Minikube is a lightweight Kubernetes approach to run a simple cluster with only one node to test our applications. Minikube is available for Linux, macOS, and Windows systems.
Tutorial
Make a new directory to store your simple application code. Clone this repo.
Once you’ve cloned the repo, do ‘npm install’ to install the required dependencies.
Your application and the Dockerfile are now ready to build the application locally. The next step is to build the image on Minikube. Therefore, we must start the minikube using the following command:
minikube start
You should see the output on your terminal as something similar to the following,
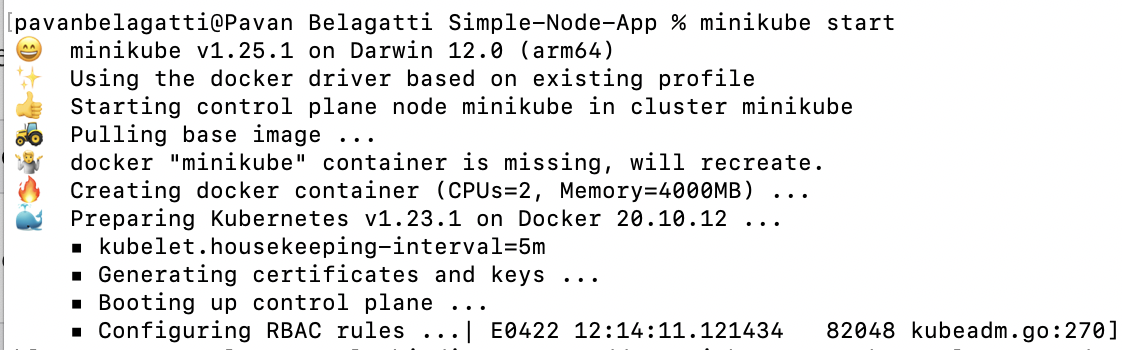
This boots up the machines and resources required.
Next, let’s give Minikube access to your local Docker images.
You should see the Dockerfile in the root folder that specifies the instructions to build the image:
FROM node:14-alpine AS development
ENV NODE_ENV development
# Add a work directory
WORKDIR /app
# Cache and Install dependencies
COPY package.json .
RUN npm install
# Copy app files
COPY . .
# Expose port
EXPOSE 3002
# Start the app
CMD [ “node”, “app.js” ]
Furthermore, there’s a .dockerignore file that lets us exclude files from the context and makes your build faster. In this file, I have just included node_modules.
There’s a YAML file (deployment.yaml) in the root directory, which is the deployment configuration to run your web server on Kubernetes. Open the file, and you should see the following:
apiVersion: apps/v1
kind: Deployment
metadata:
 name: app-deployment
 labels:
   app: node-app
spec:
 replicas: 2
 selector:
   matchLabels:
     app: node-app
 template:
   metadata:
     labels:
       app: node-app
   spec:
     containers:
     - name: app-deployment
       image: pavansa/mumbai-app:latest
       resources:
         requests:
           cpu: "100m"
       imagePullPolicy: IfNotPresent
       ports:
       - containerPort: 3002
ImagePullPolicy is set to ‘Never’ because we aren’t pulling any images from the image registry (like DockerHub). If you specify it as ‘Always,’ then the image will be searched from the registry and pulled eventually.
Create the deployment with the following command:
kubectl apply -f deployment.yaml
The output on your terminal should be as follows:
deployment.apps/nodeapp created
Minikube doesn't have access to your local Docker images. That means it’s time to load the image onto the minikube.
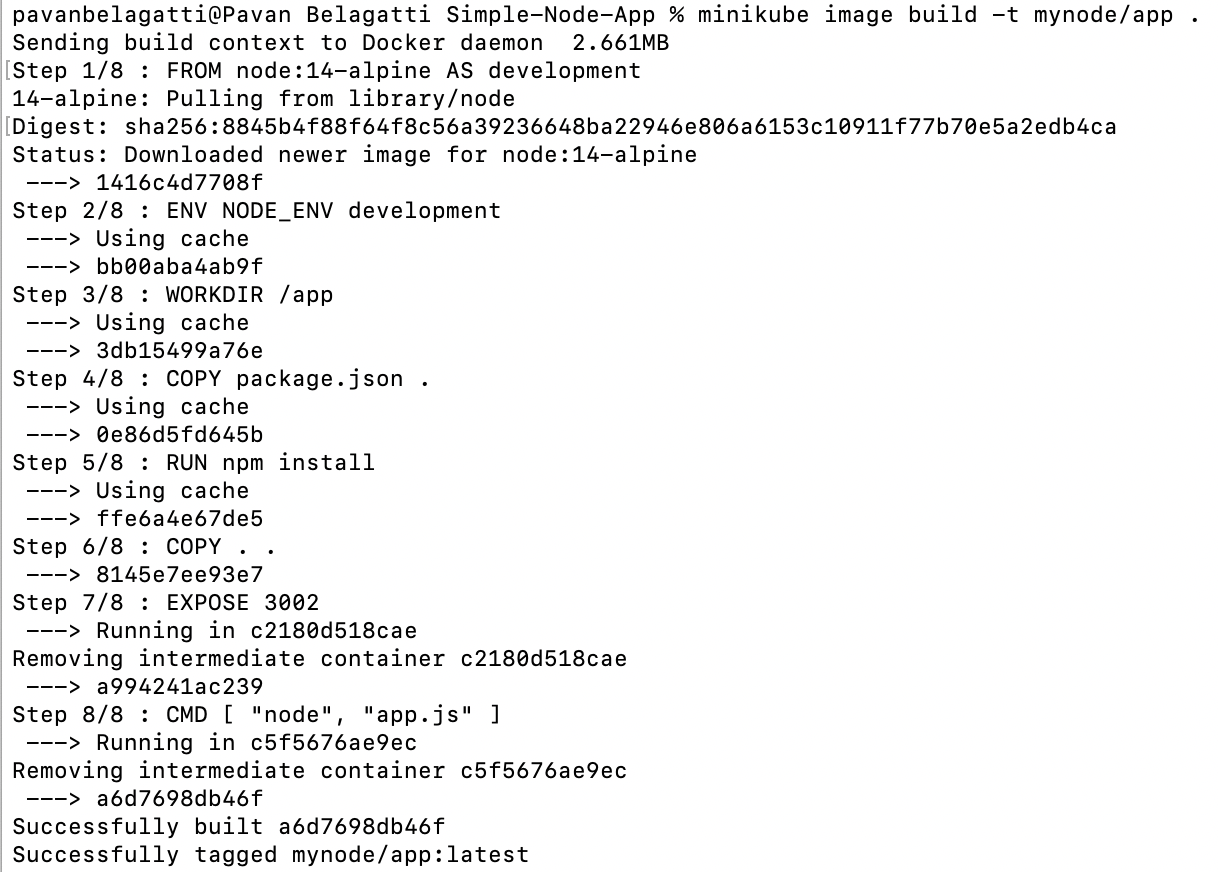
Let’s build the image on the minikube directly with the following command:
minikube image build -t mynode/app .
[Syntax: minikube image build -t .]
You should see the following output:
Let’s verify this with the following command:
kubectl logs deployment.apps/nodeapp
Once you run the above command, you will see the application running message, which will look similar to the following:
Server is up on localhost:3002
Check the browser, and you should see the following message:
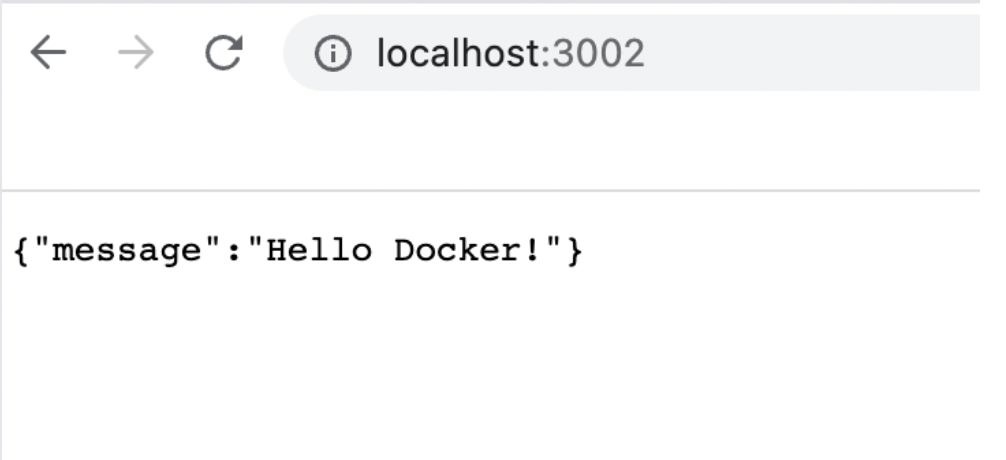
Congratulations! You have containerized and pushed your application onto the minikube cluster.
Deploying with Harness CD
Minikube works great as long as you are learning and experimenting with a small team, but what if your project isn’t small and there’s a sizable number of developers working on it? Then, you can leverage the power of Harness CD to deploy your applications. Harness CD makes Kubernetes deployments easy and provides a single pane of glass across your pipelines.
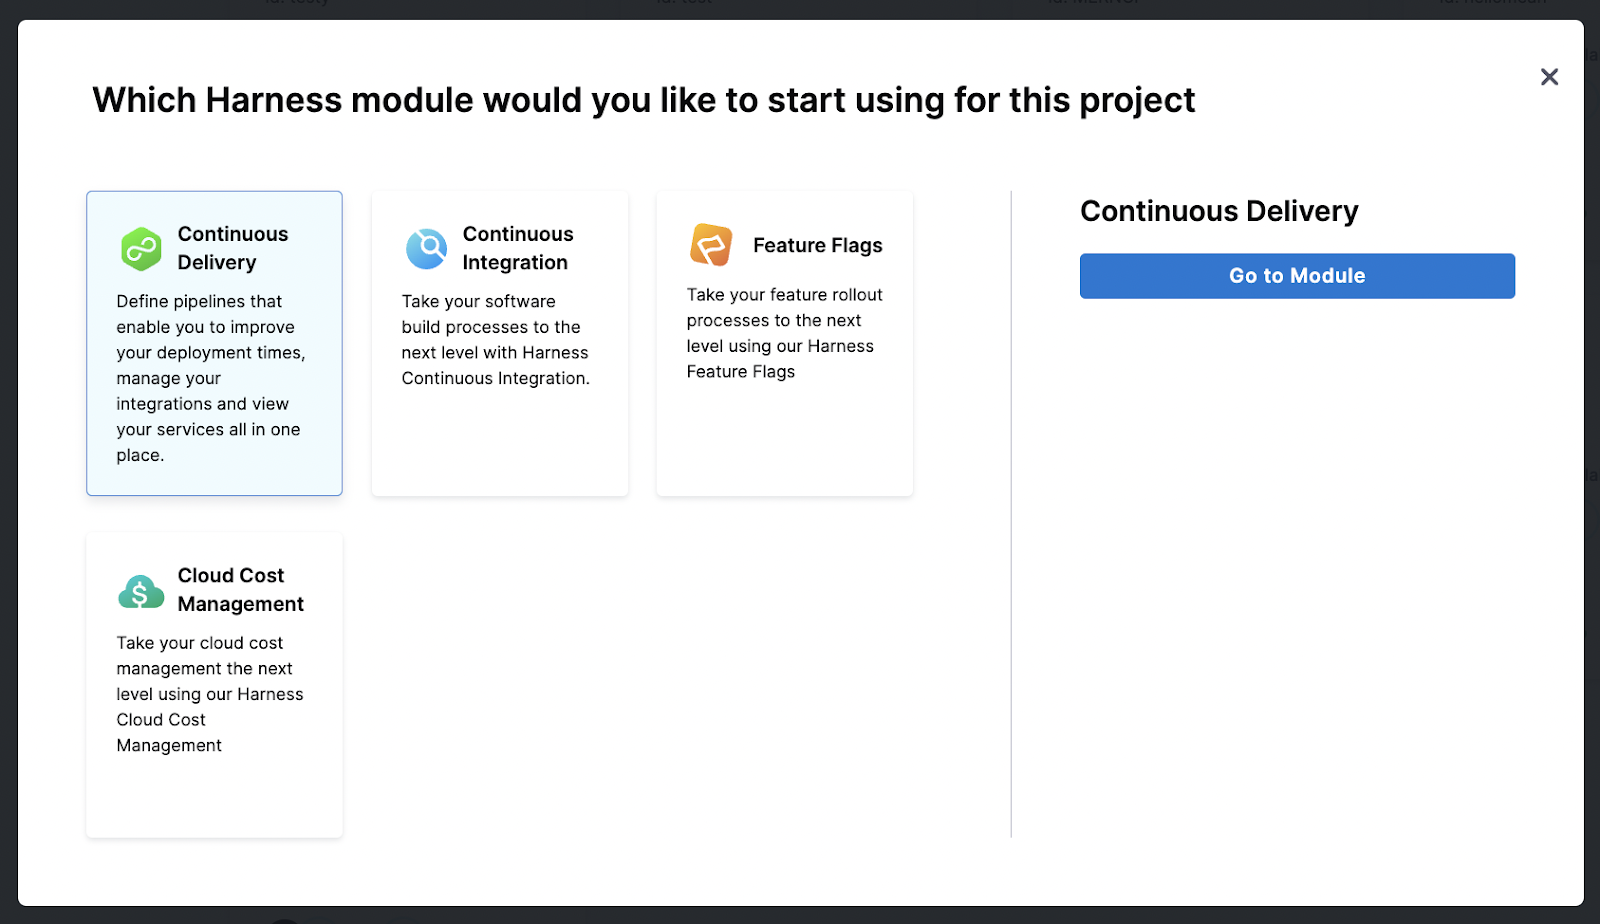
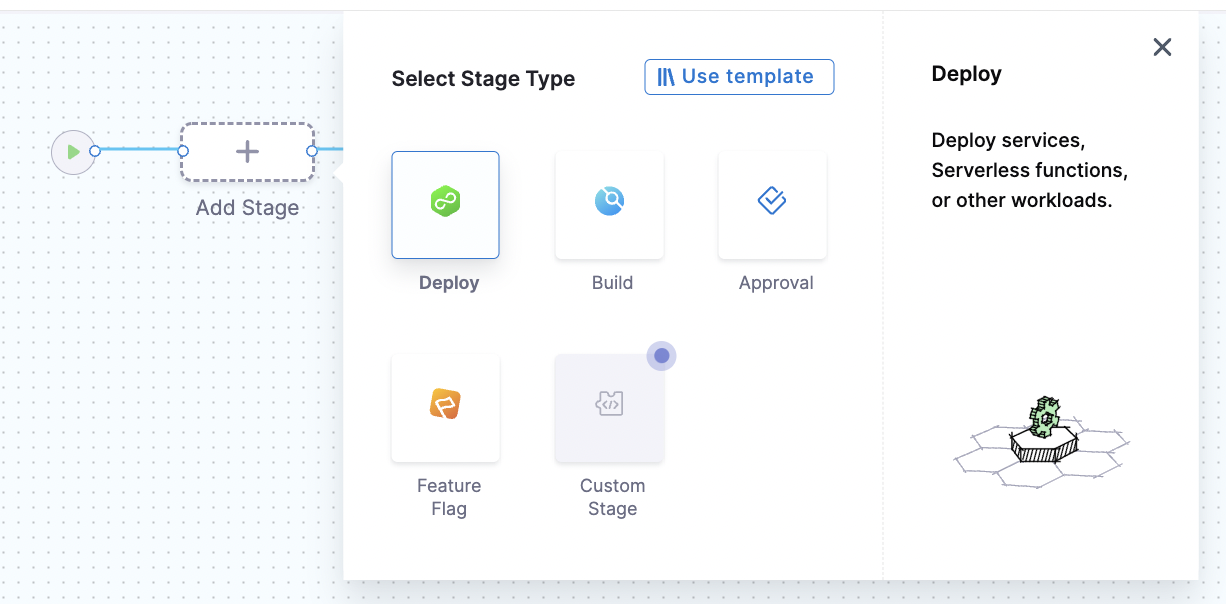
Sign up for a free trial of Harness and select the TryNextGen tab for a seamless experience. Create a new project and select the Continuous Delivery module. Start creating a new pipeline, and add all the details that your pipeline needs.
Note: For Harness to do its magic, you need something called a ‘Delegate’ to be running on your Kubernetes cluster. Don’t worry, we have a simple tutorial to help you set up the Delegate.

Next, specify the service, infrastructure and deployment strategy for your application. Once everything is set, save the configuration and run to deploy the application.
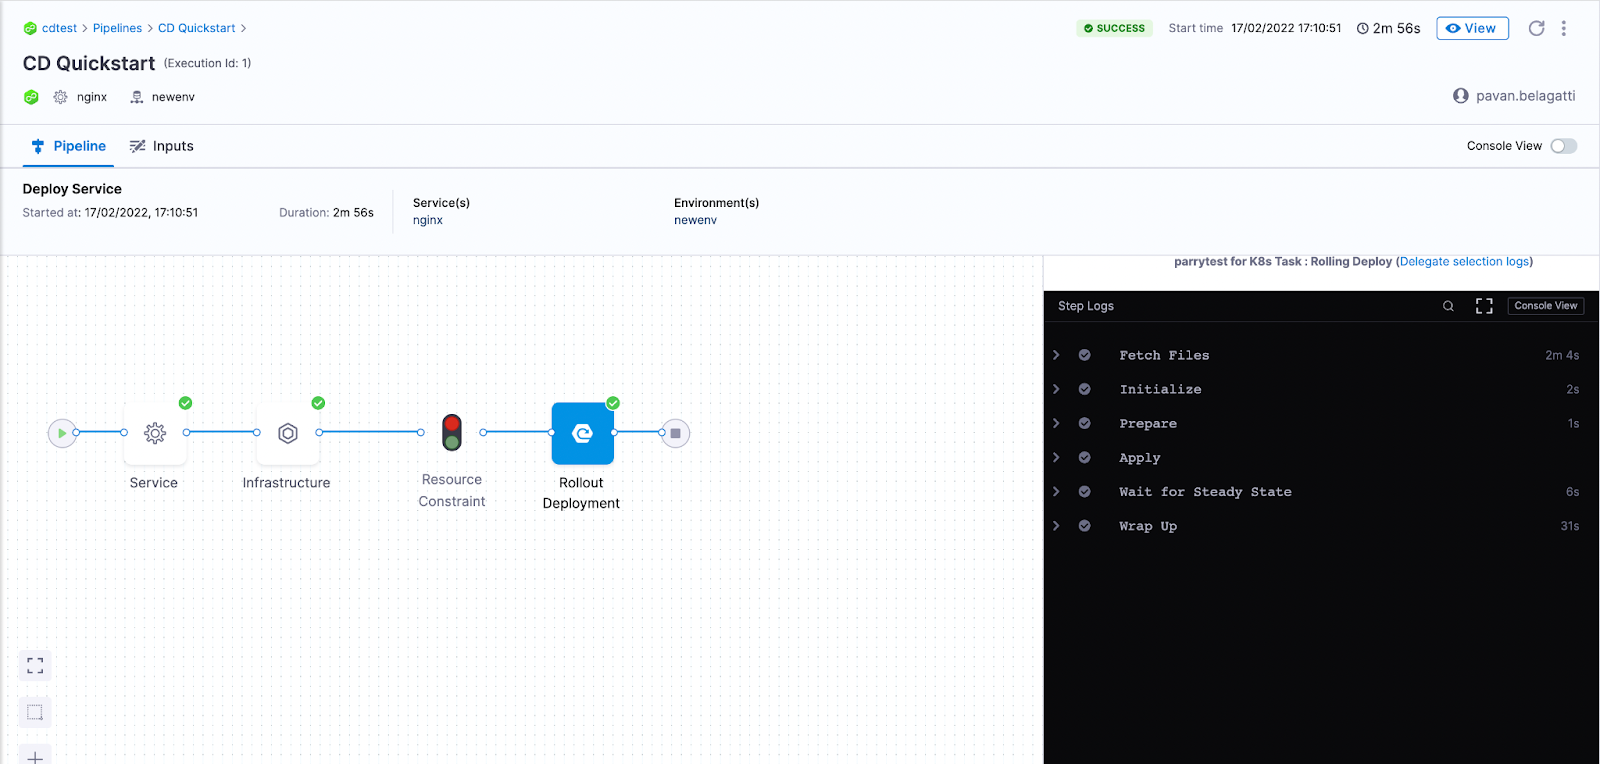
There you go! Once the pipeline runs successfully, you should see your application deployed on the specified Kubernetes cluster. That can be verified via the kubectl command ‘kubectl get pods’.
Thank you again for reading—and don’t forget to sign up for the Harness CD free trial.


![This is How I Built a Real-time Chat Application with Socket.io & Node.js [Added Automated Testing]](/_next/image?url=https%3A%2F%2Fcdn.hashnode.com%2Fres%2Fhashnode%2Fimage%2Fupload%2Fv1681709527211%2Ffde84202-e495-4ba0-8258-05288d138179.png&w=3840&q=75)
