Learn How to Create a CI Pipeline for Your Django Application

Tech Storyteller | Developer Advocate | Guest Writer | Speaker. #DevOps
Continuous Integration (CI) has become an integral part of the software development process, allowing developers to automate testing, building, and deployment of their applications. CI helps to catch bugs and errors early in the development process, reducing the likelihood of issues arising in production. In this tutorial, we will explore how to create a CI pipeline for a Django application. We will set up a pipeline and define stages and steps. By the end of this tutorial, you will have a clear understanding of how to set up a CI pipeline for your Django application, enabling you to streamline your development process and improve the quality of your code.
Prerequisites
Free Harness account to setup CI/CD for our application.
Sample Django application. We have already created a [sample Django application] (https://github.com/pavanbelagatti/django-app-tutorial); with a simple test case. Feel free to fork and use the repo for this tutorial.
Tutorial
First, sign in to your Harness account. Harness is a continuous delivery platform.
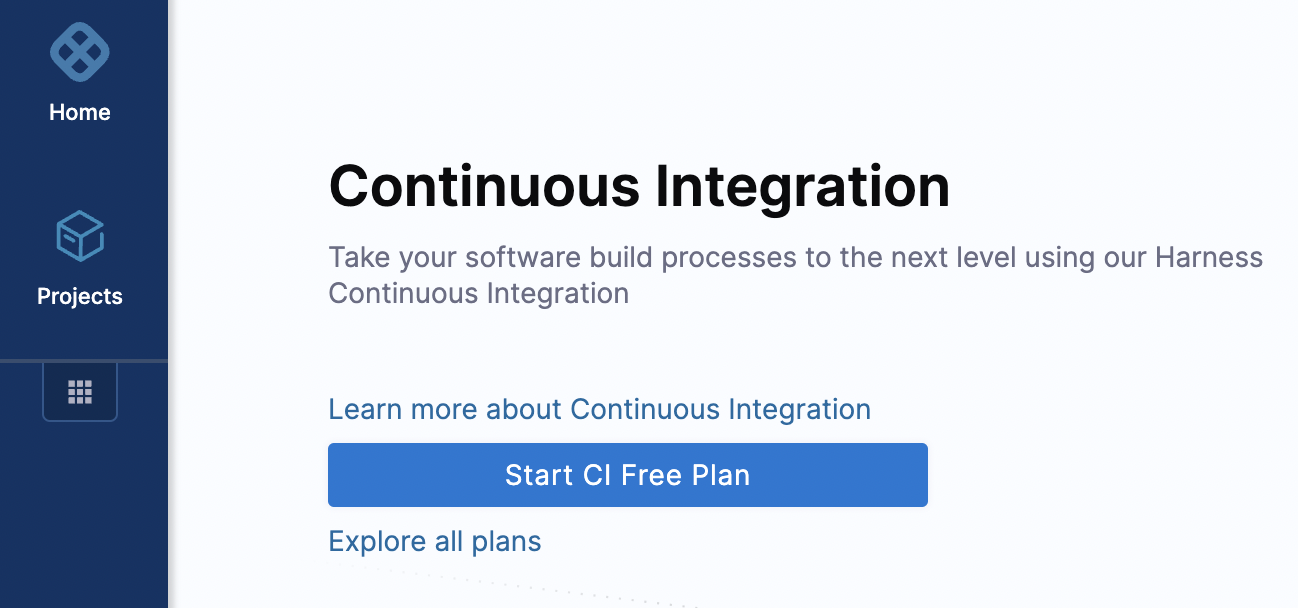
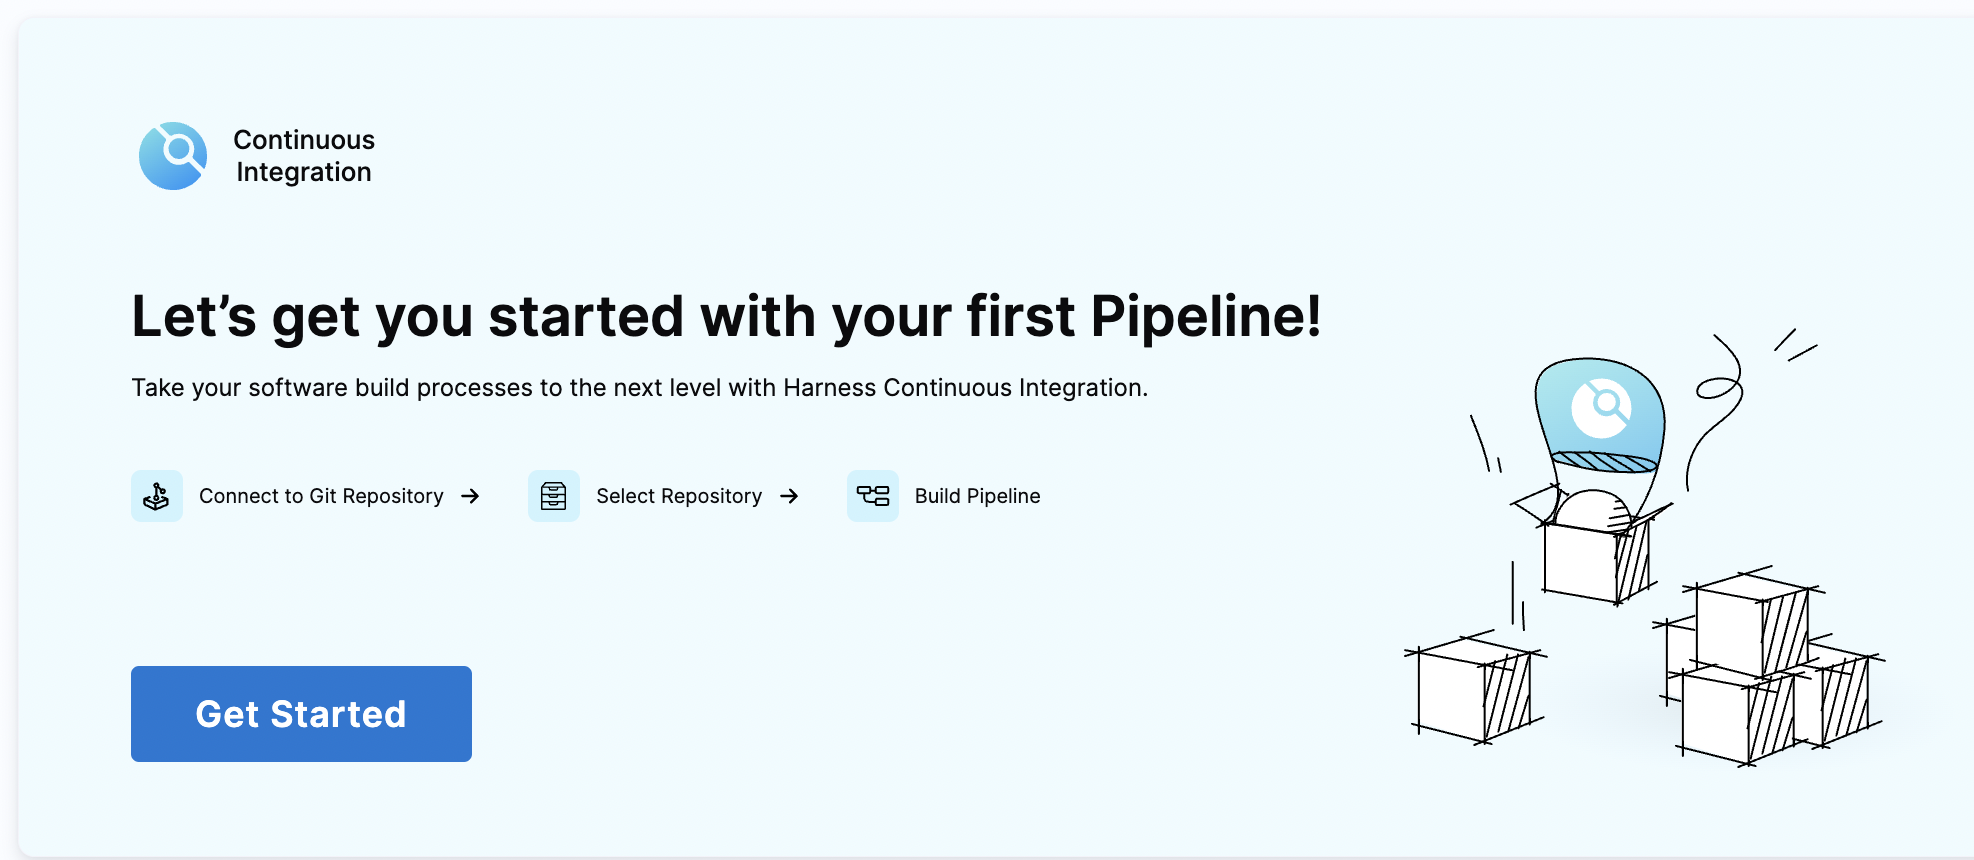
Get started with creating your first pipeline
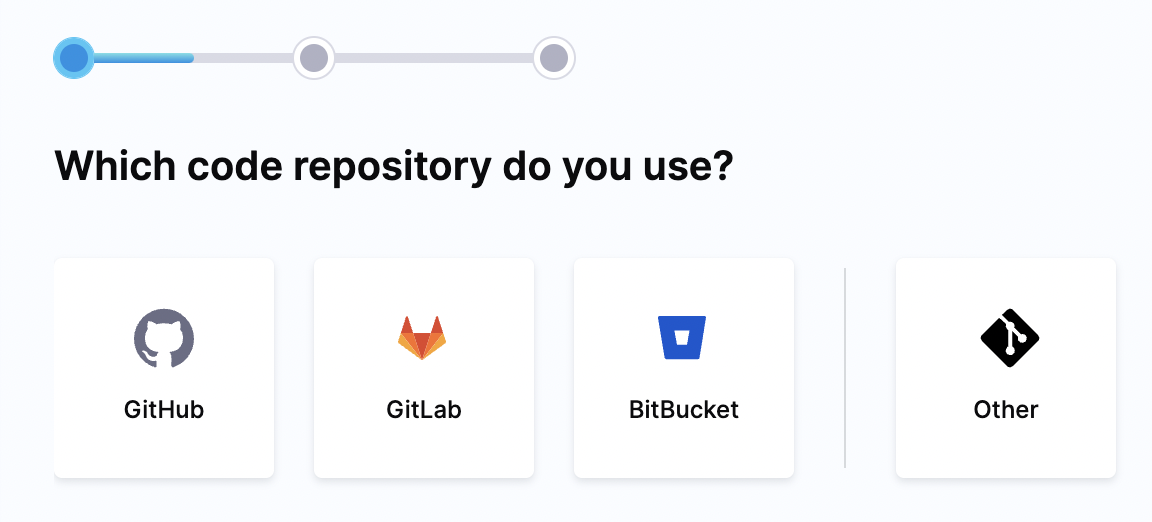
Authenticate with your GitHub account as your application code is present there.
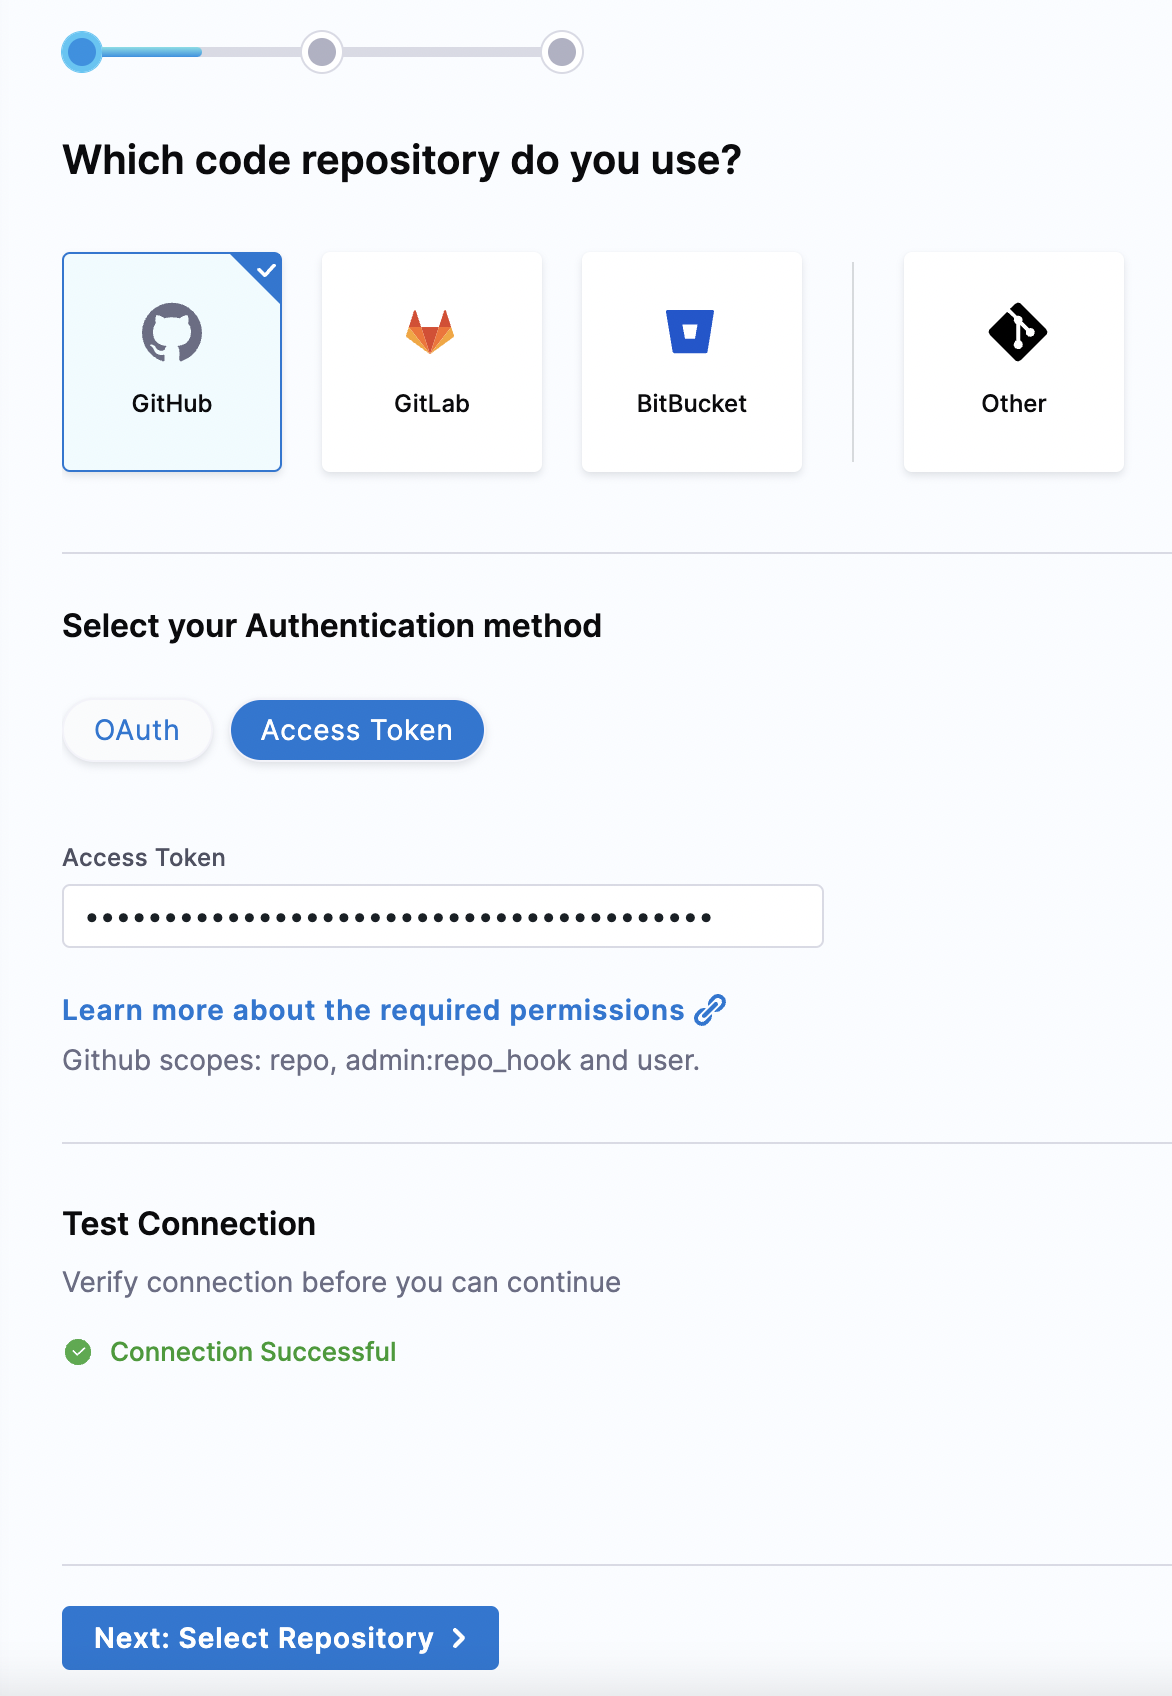
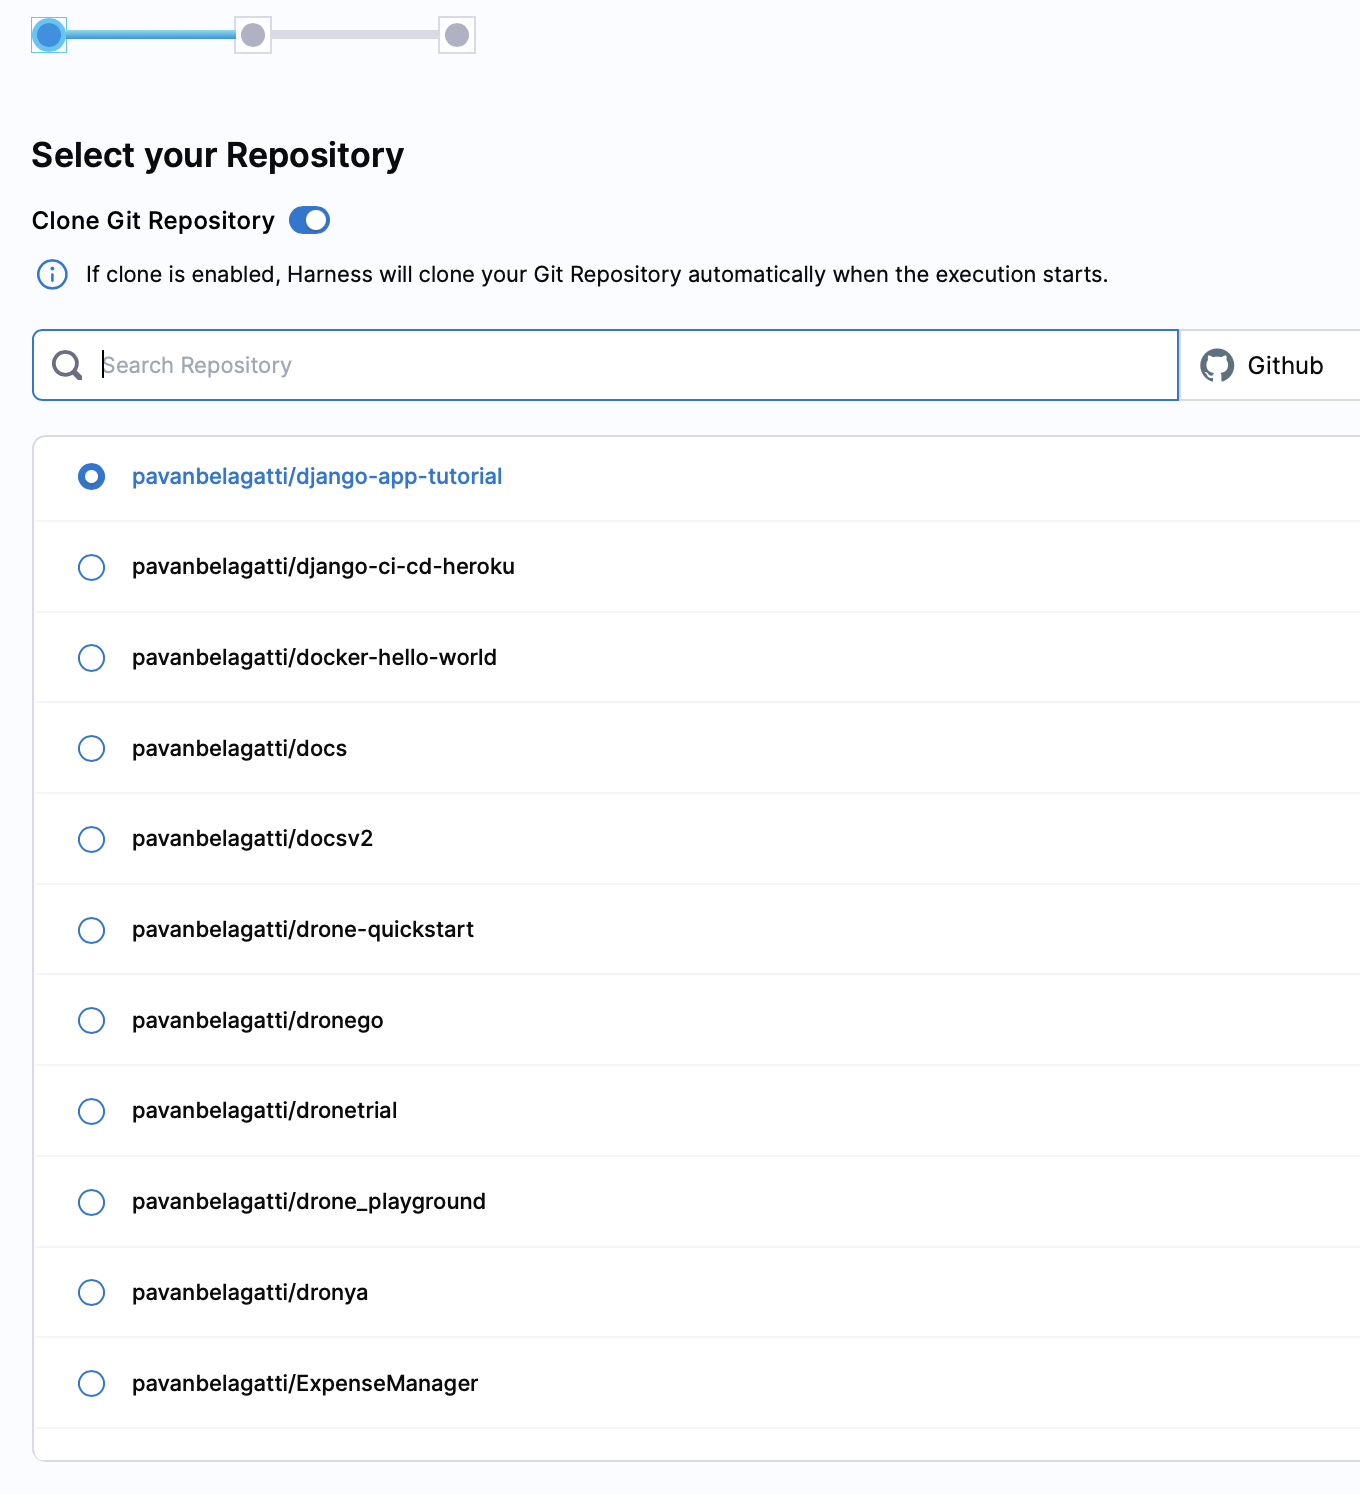
Select your application repository. The sample Django application repo you forked above.
Continue to configure your pipeline. Next, we need to select the language of the application.
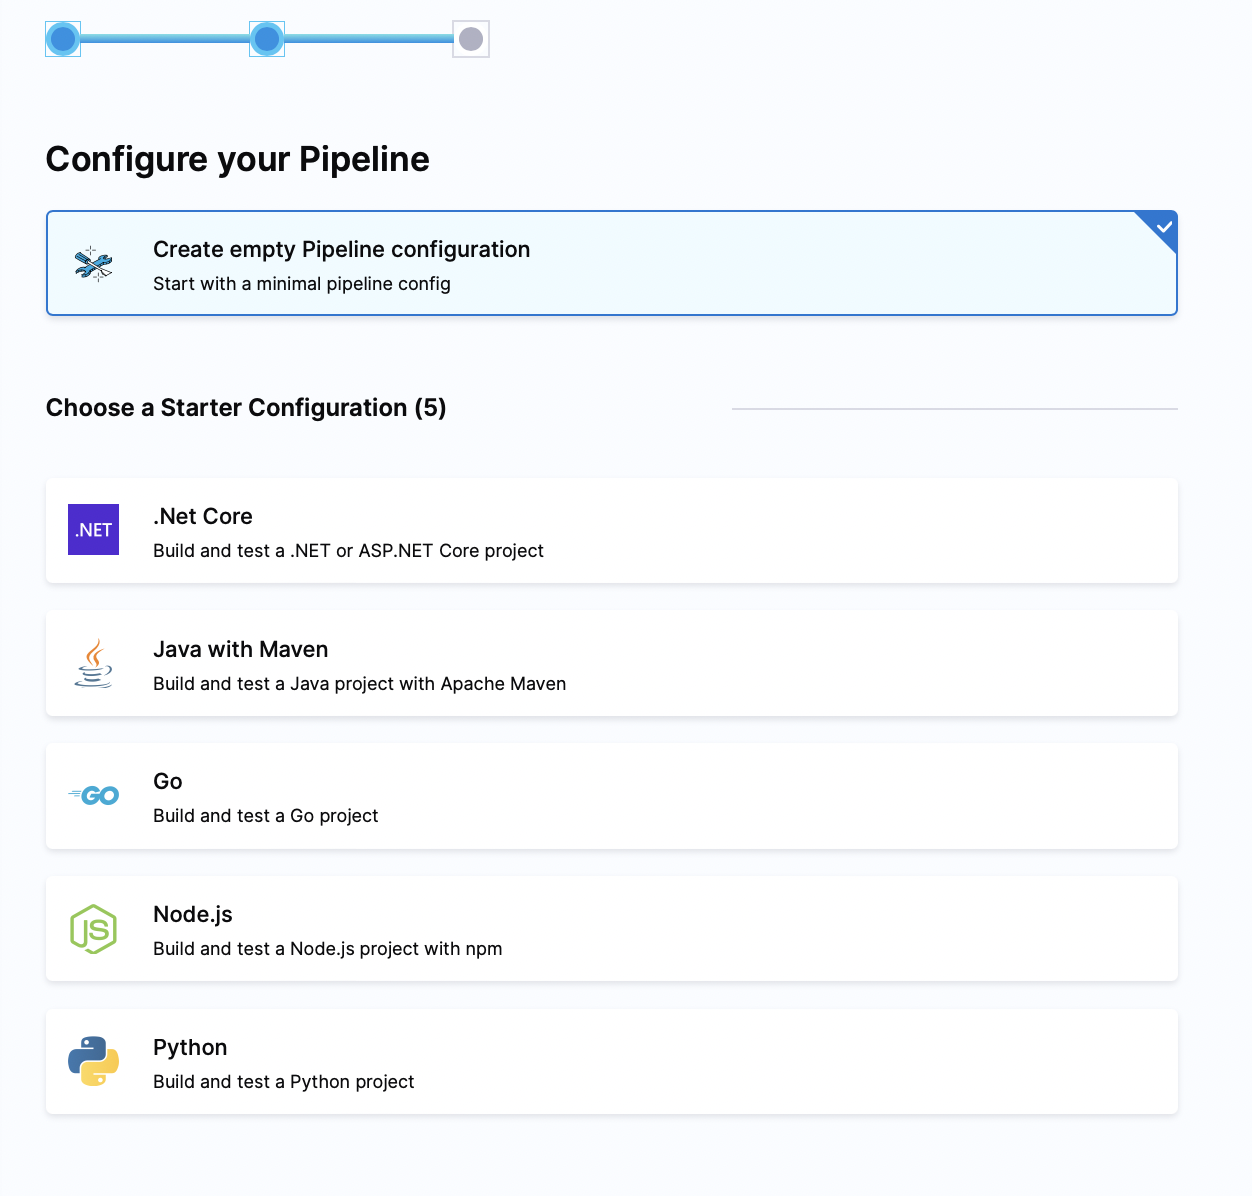
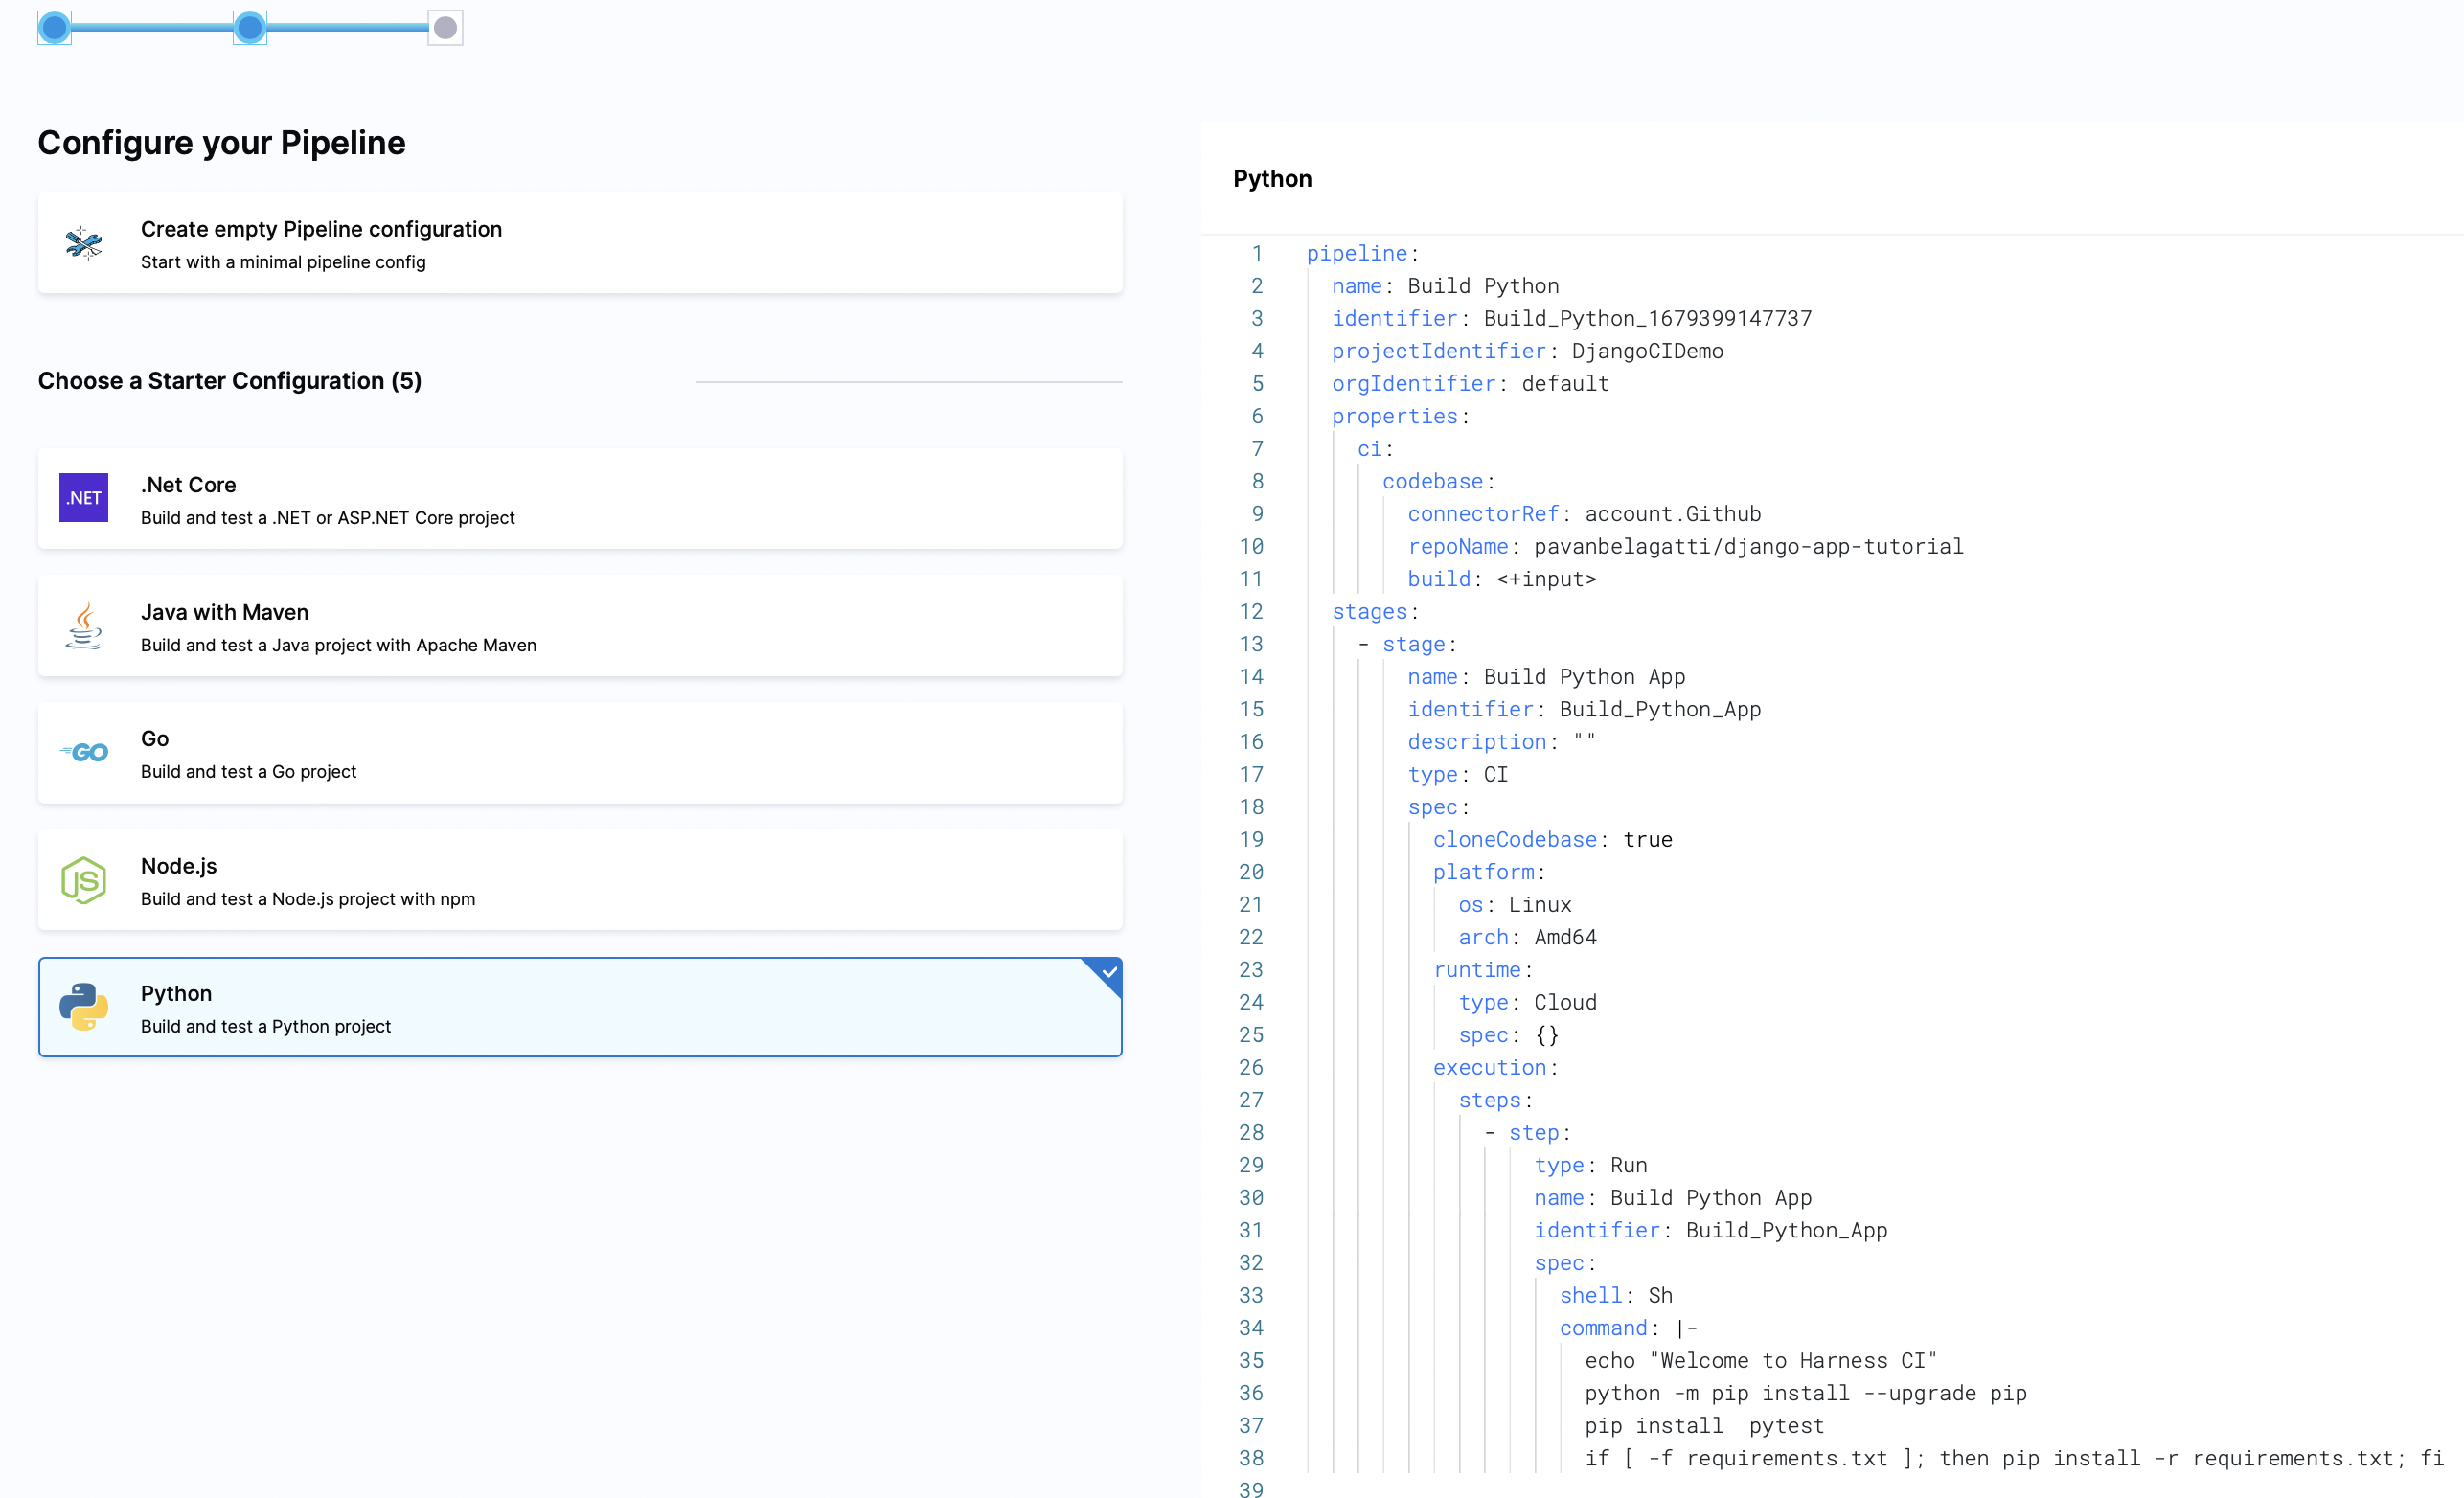
For our Django application, we need to select Python. Let's do it:)
As soon as you select the language, on the right-hand side, you should see the default yaml created for your pipeline.
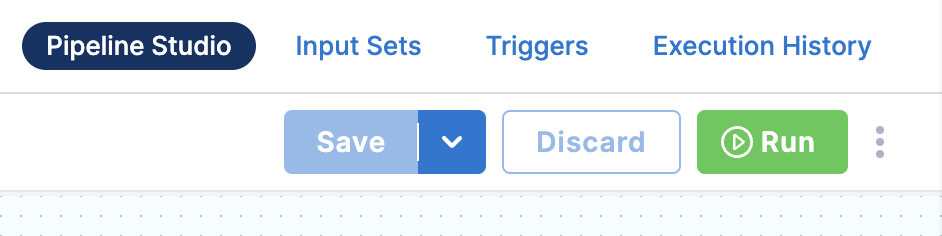
Let's continue to create our pipeline. After you click on 'create pipeline' from the previous step, you will land on this pipeline studio.
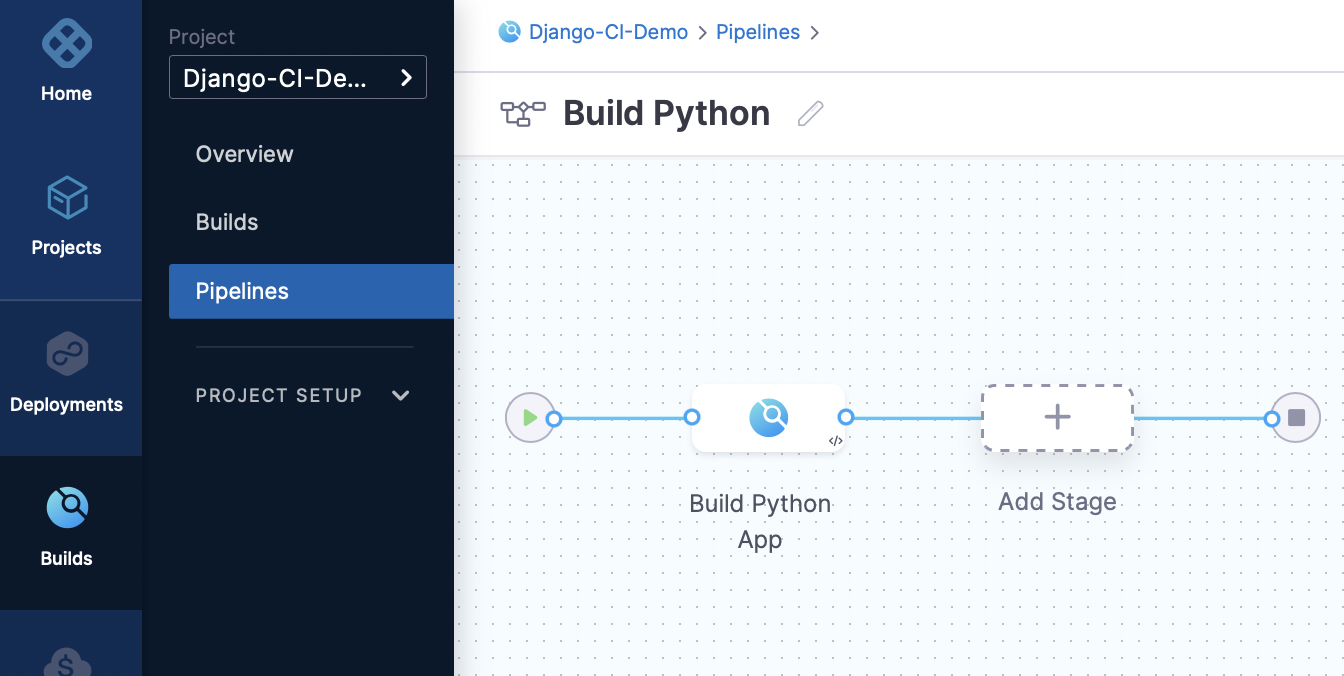
Click on the 'Build Python App' stage and you should see the step 'build python app' under execution.

[Don't worry about the overview and infrastructure. In the Harness cloud accounts, Harness will take care of the infrastructure.]
Click on the 'Build Python App' step under the execution tab, and you should see the settings and default commands configured already.
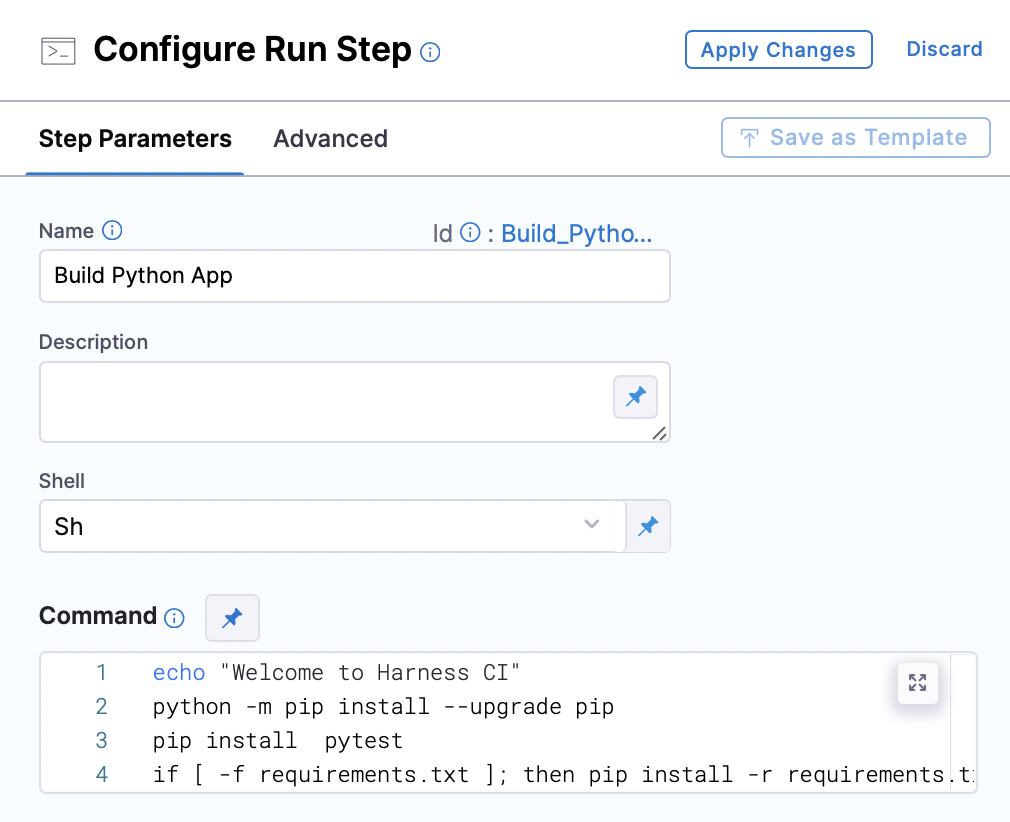
Let's replace the commands with our new ones shown below,
pip install Django
pip install virtualenv
python manage.py test
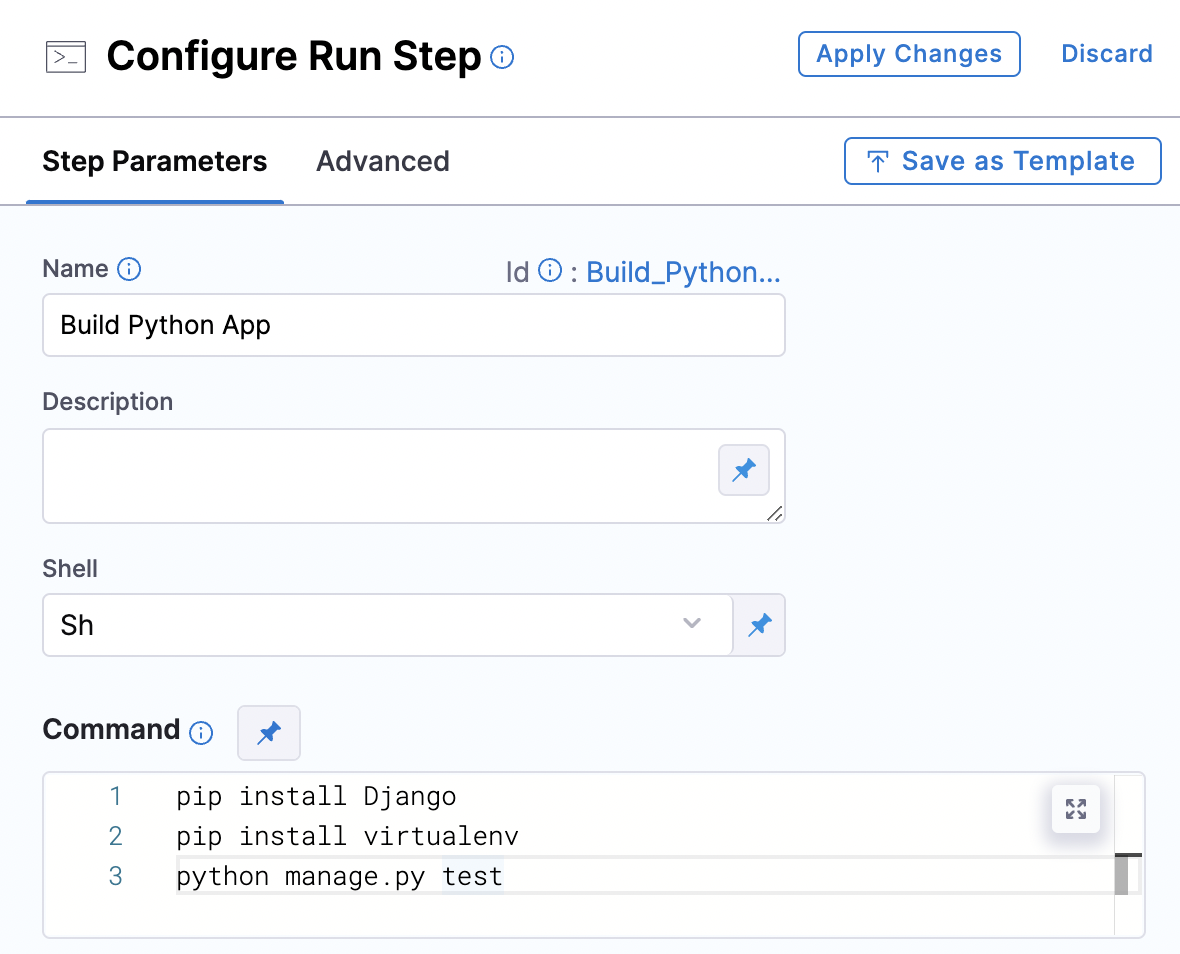
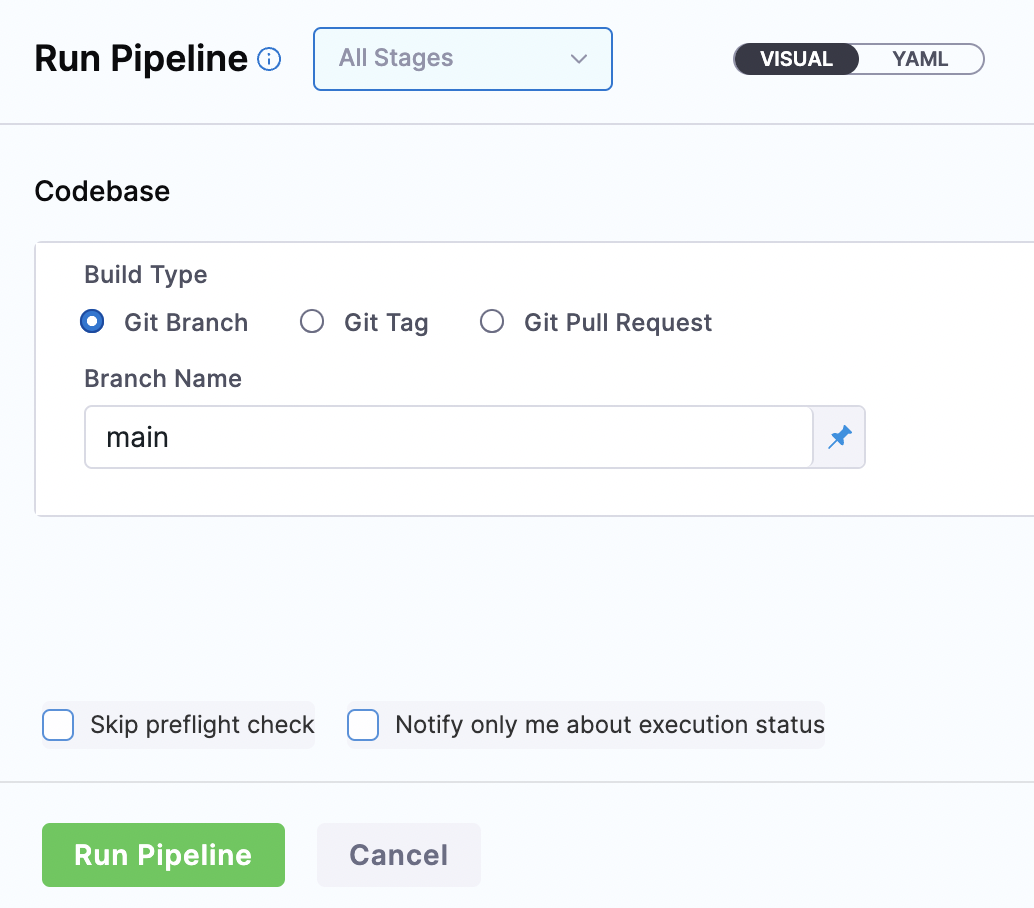
Apply changes, save and run the pipeline.
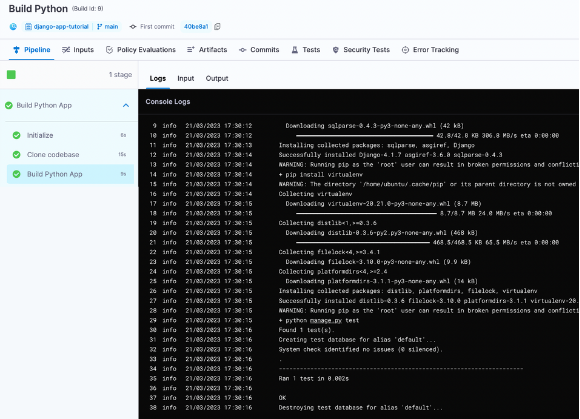
In just no time, you should see a successful pipeline execution.
Let's push our Django application to a container registry; we will use the Docker Hub registry in this tutorial.
To push our application as an image to Docker Hub, we need to have a Dockerfile with all the instructions. Our sample Django application has the Dockerfile in it.
FROM python:3.8-slim-buster

WORKDIR /app

COPY requirements.txt .
RUN pip install -r requirements.txt

COPY myapp myapp/

EXPOSE 8000

CMD ["python3", "manage.py", "runserver", "0.0.0.0:8000"]
Let's go back to the pipeline studio and add another step under the 'Execution' tab.
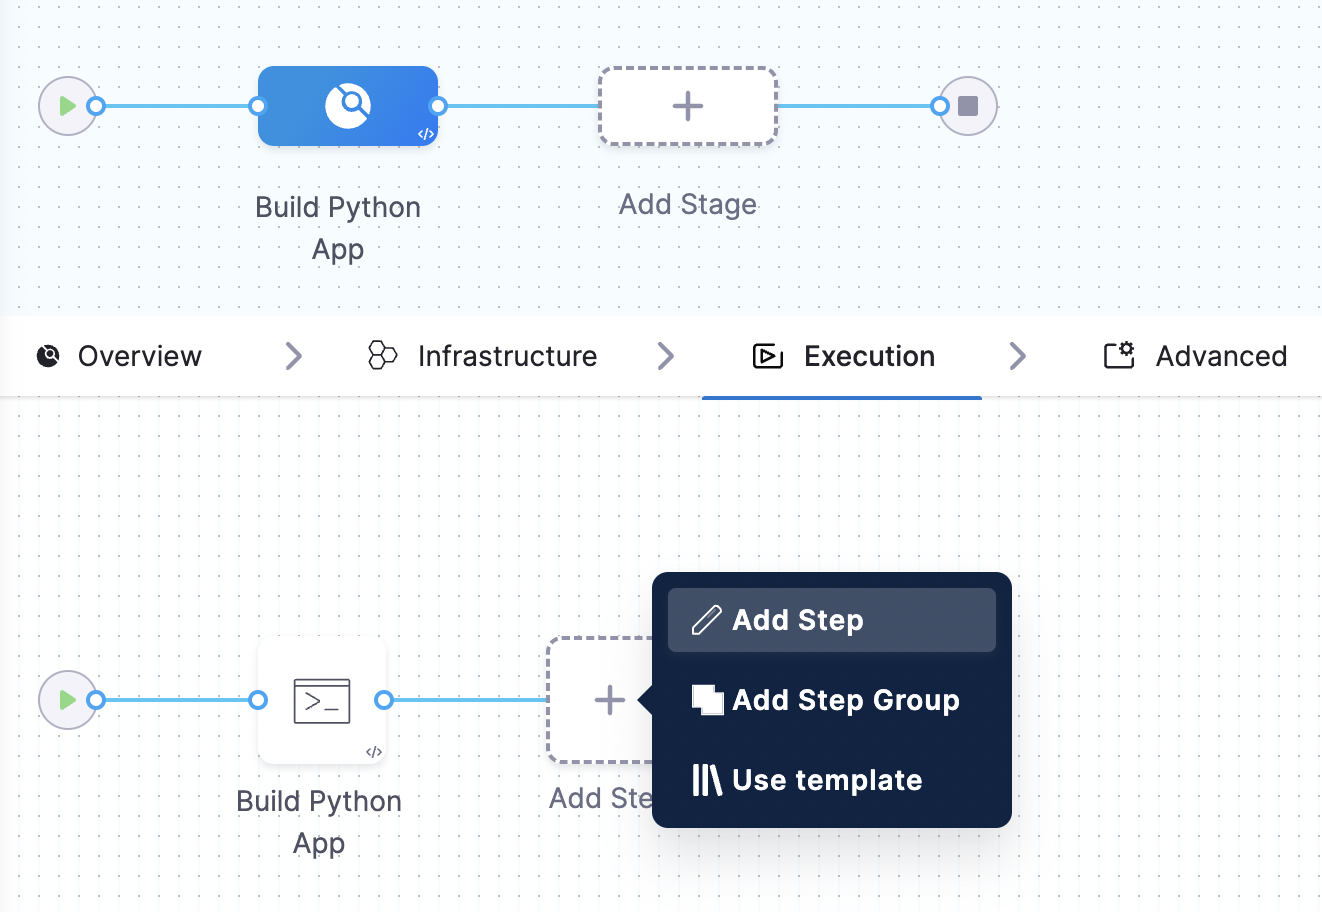
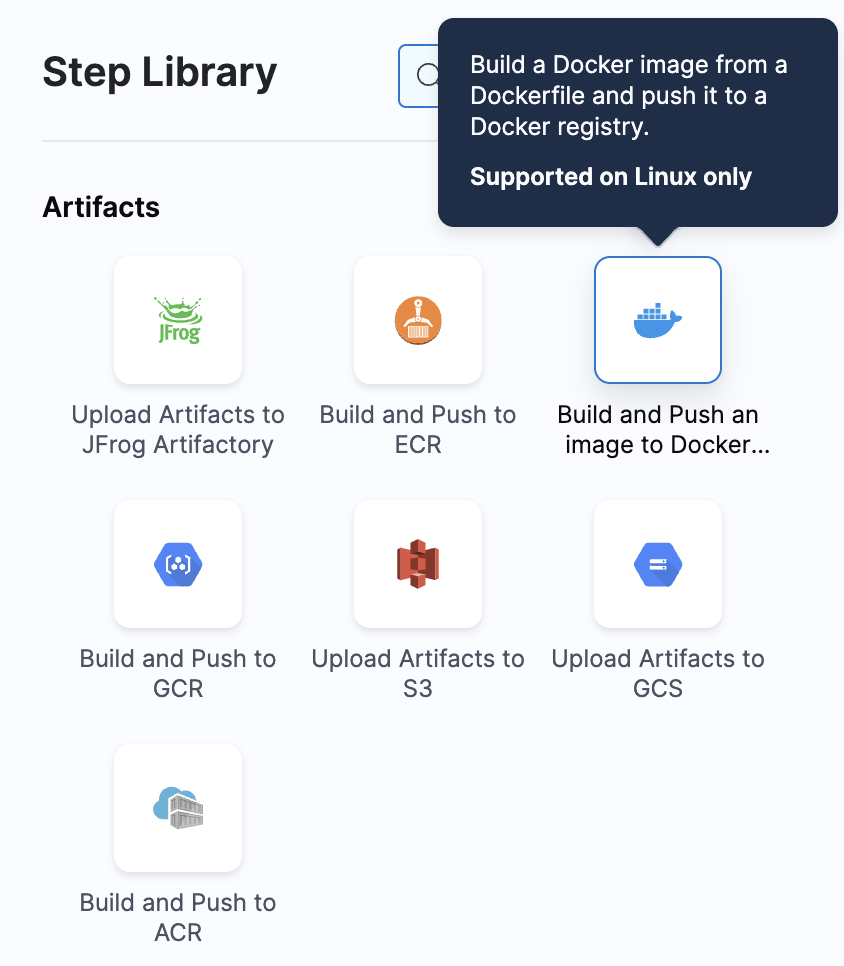
From the step library, select 'Build and Push an image to Docker Registry'.
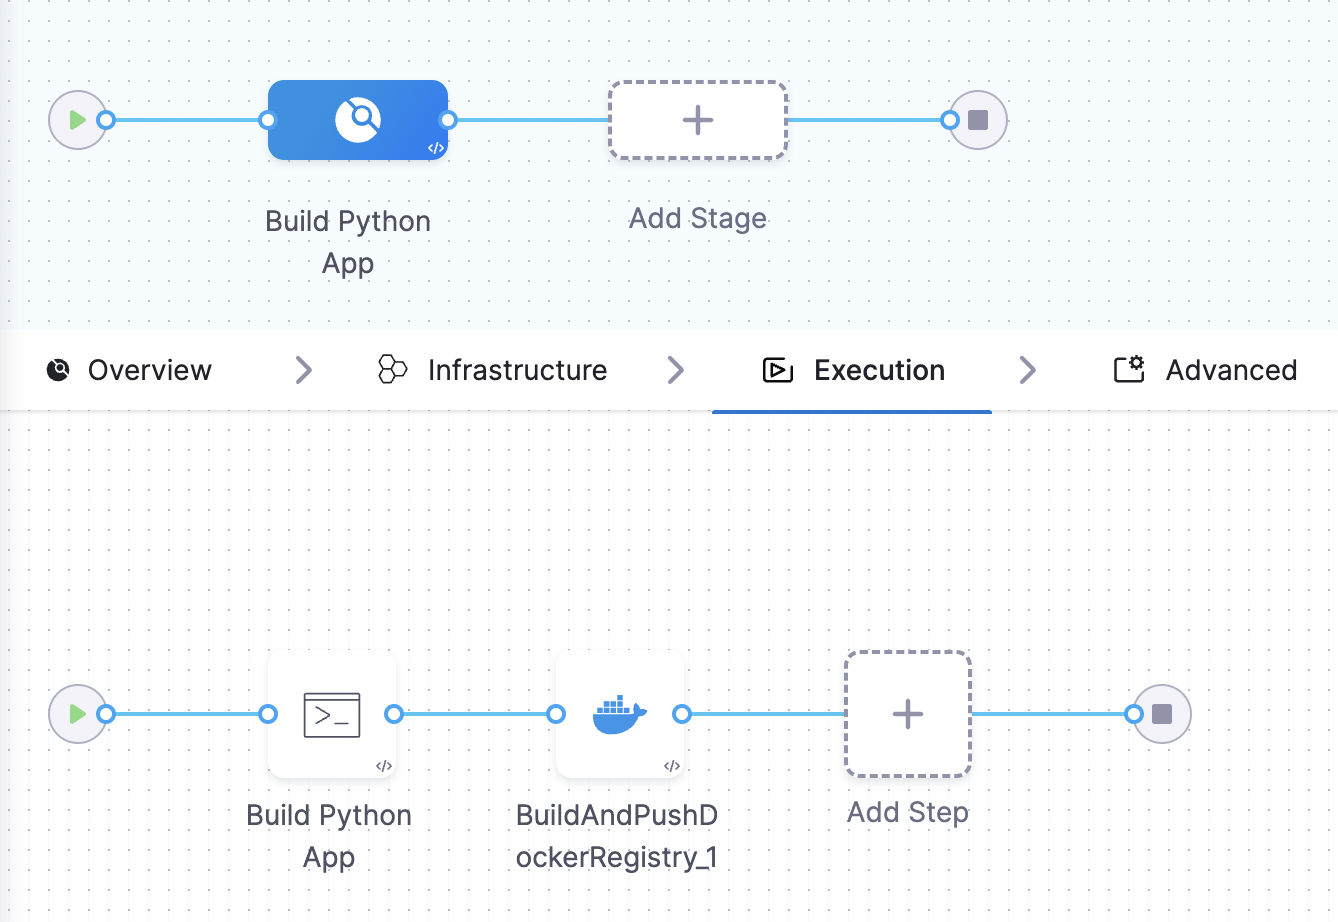
At this point, this is how your pipeline looks.
Edit the 'Build and Push an image to Docker Registry' step by clicking on it. Add the details required.

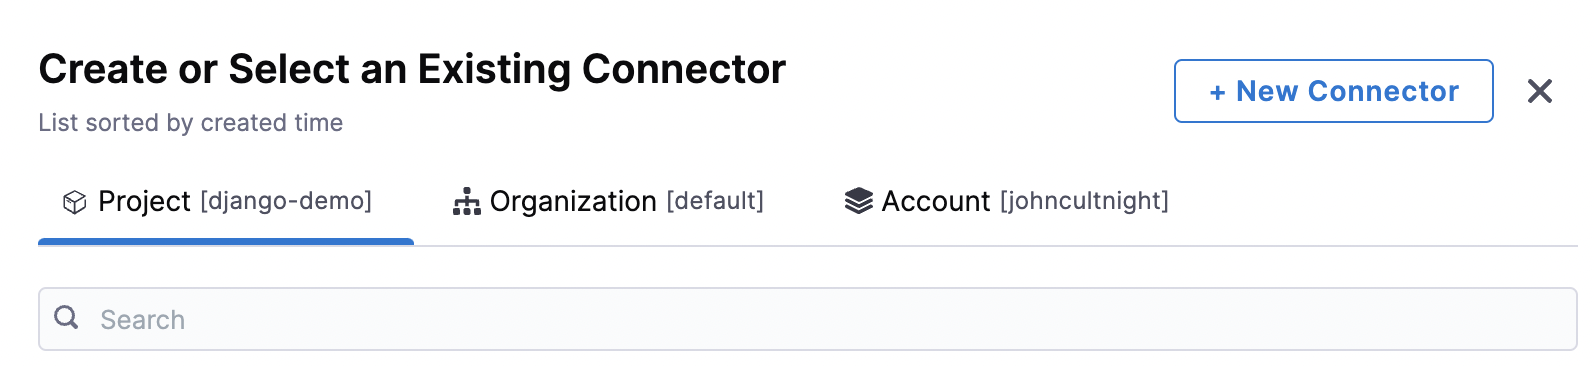
One of the settings we need to add is our Docker Hub connector. Let's add it.
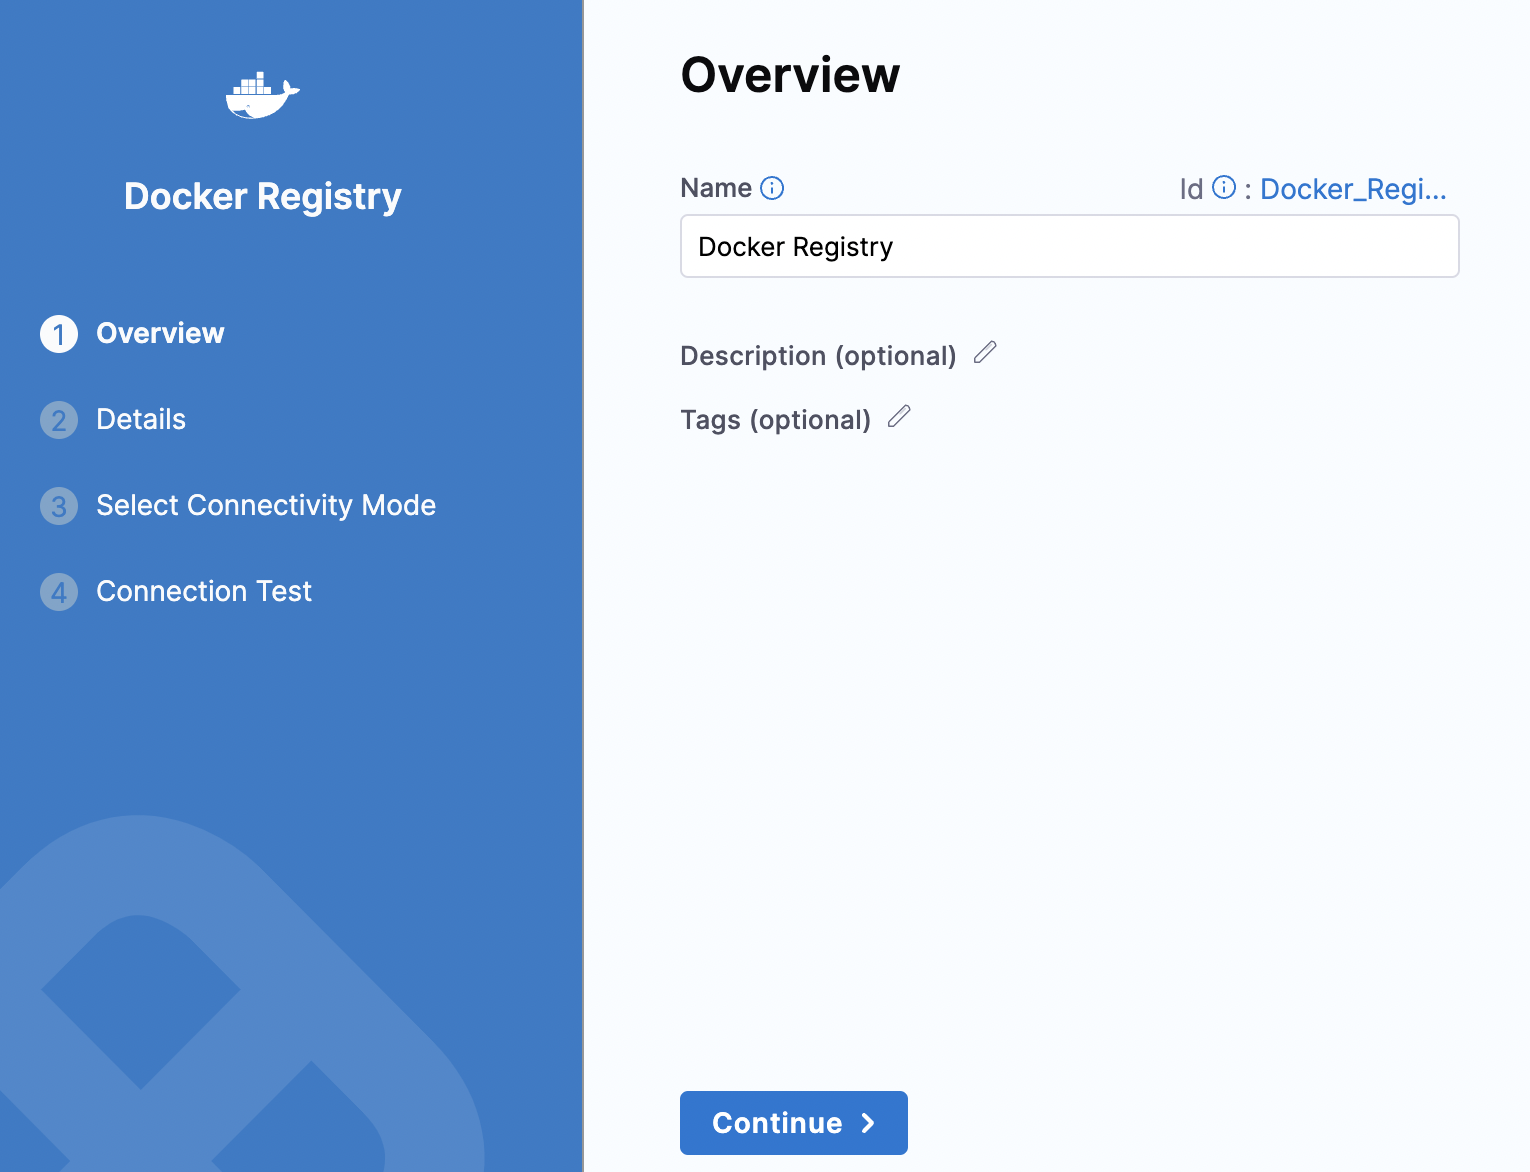
Add the registry link, and your Docker Hub username and make sure to add the Docker Hub password as a secret to keep it as a secret:)
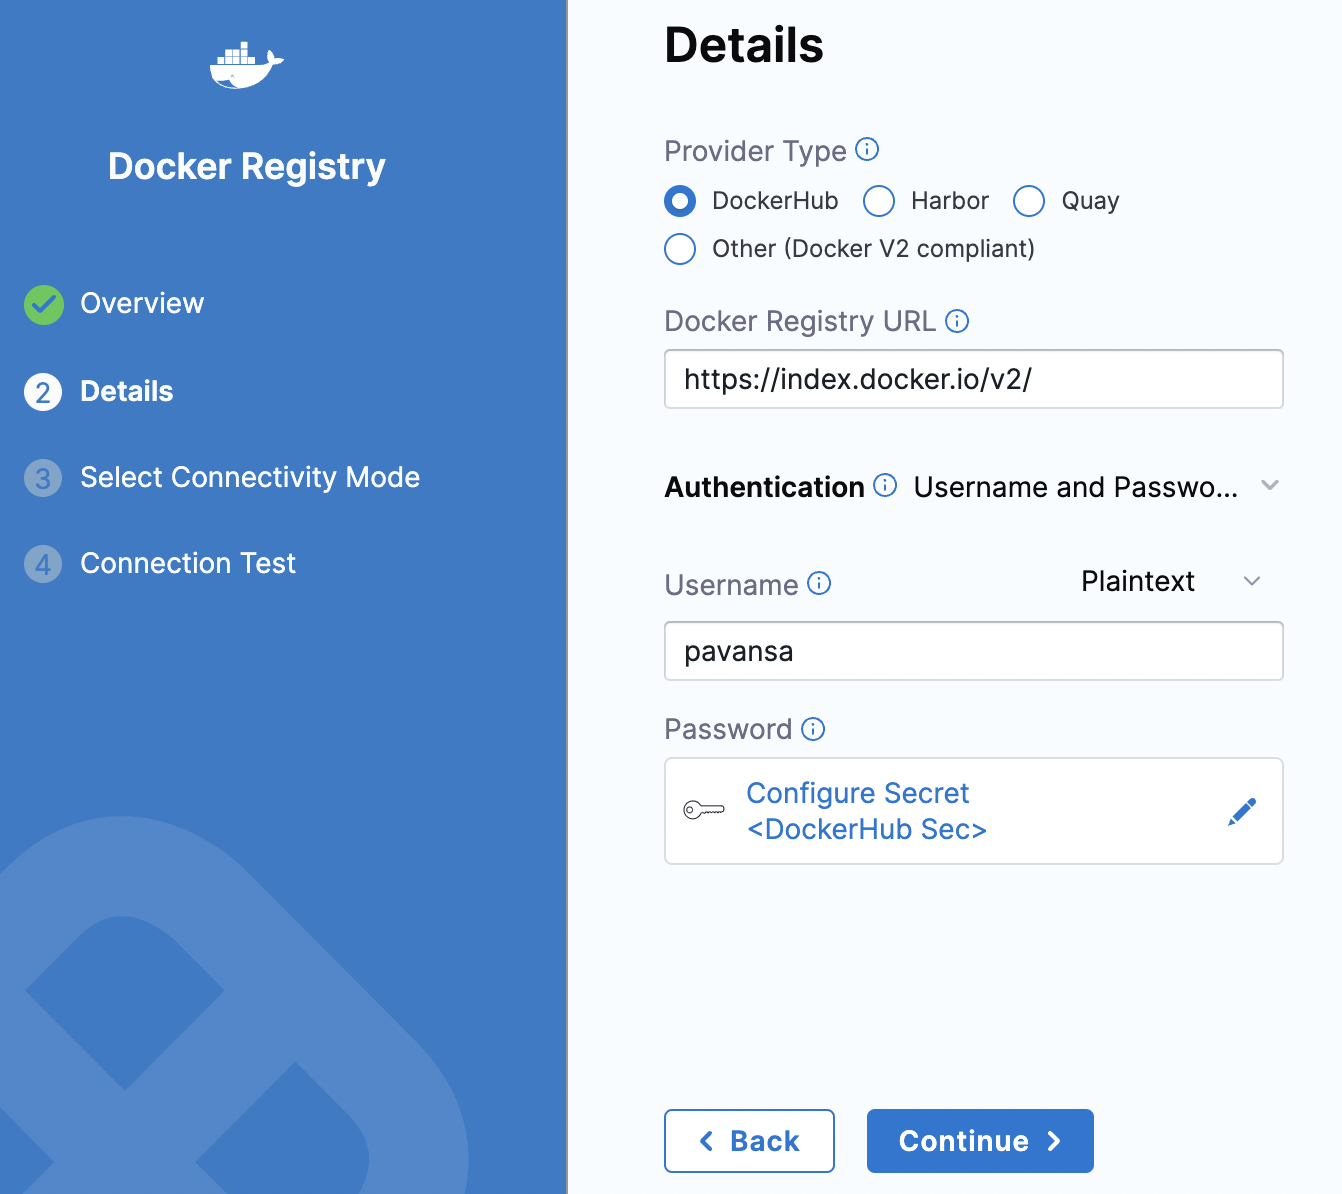
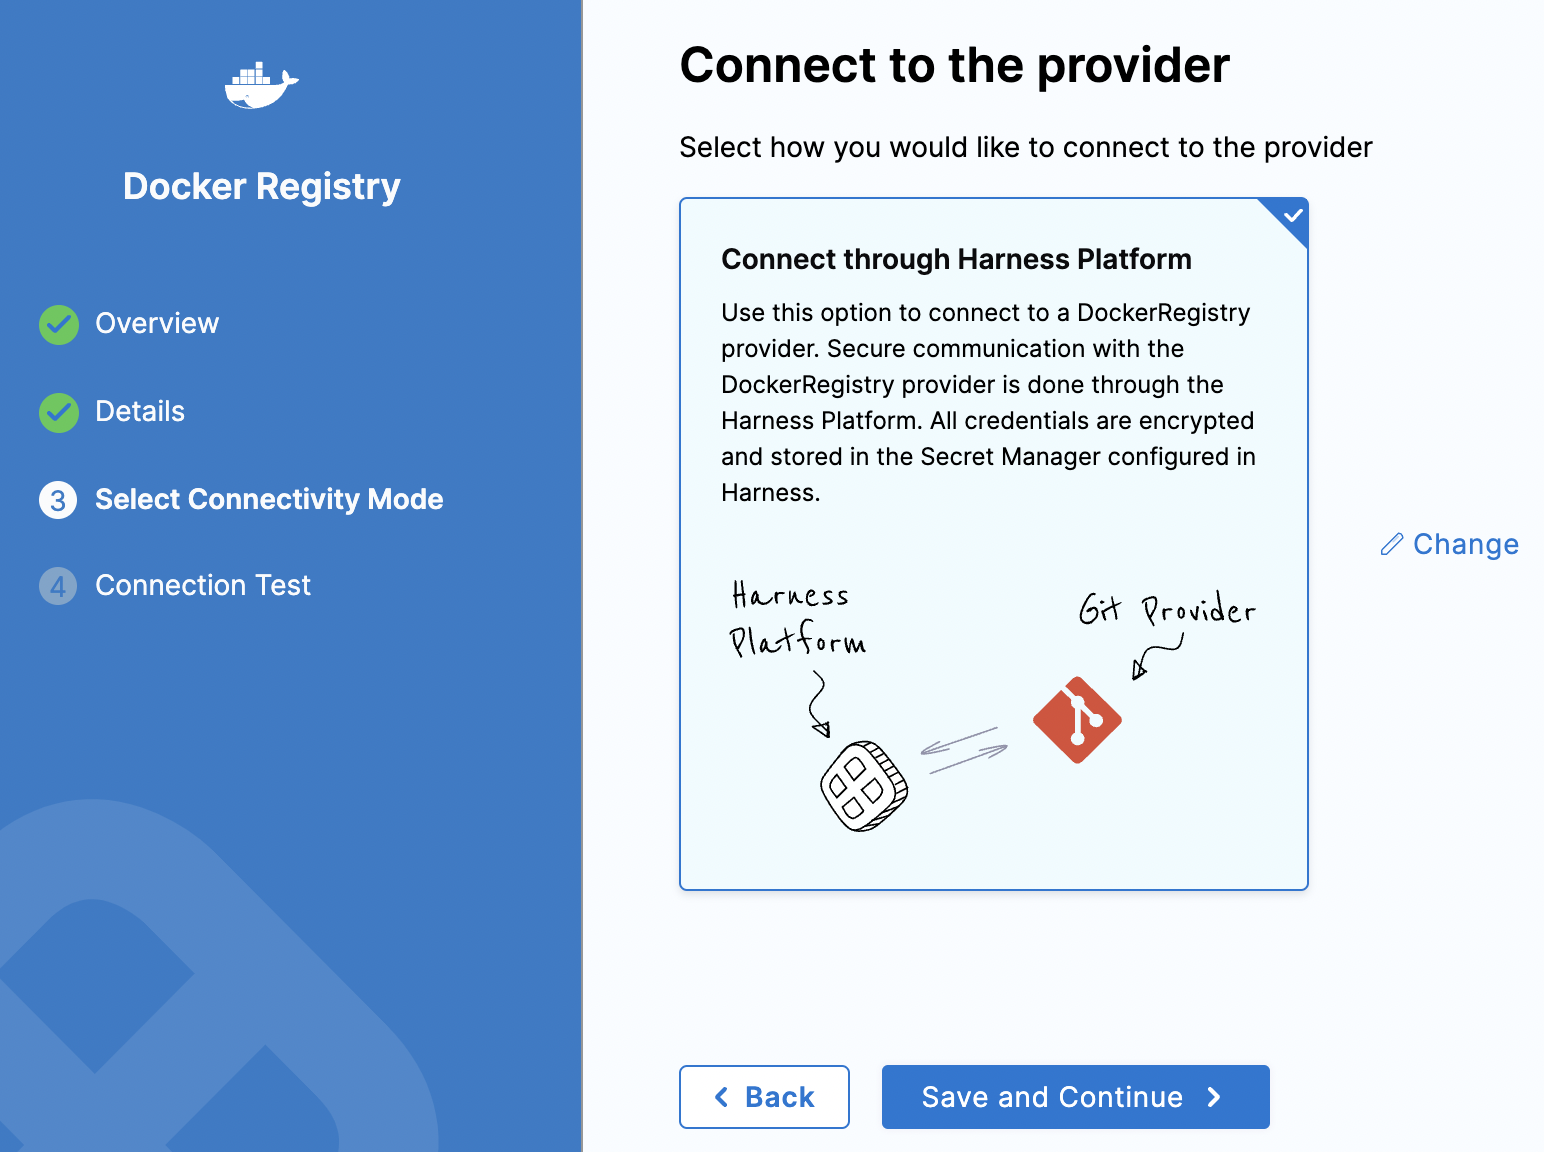
Make the connection with Harness so both Harness platform and your Docker Hub talk to each other.
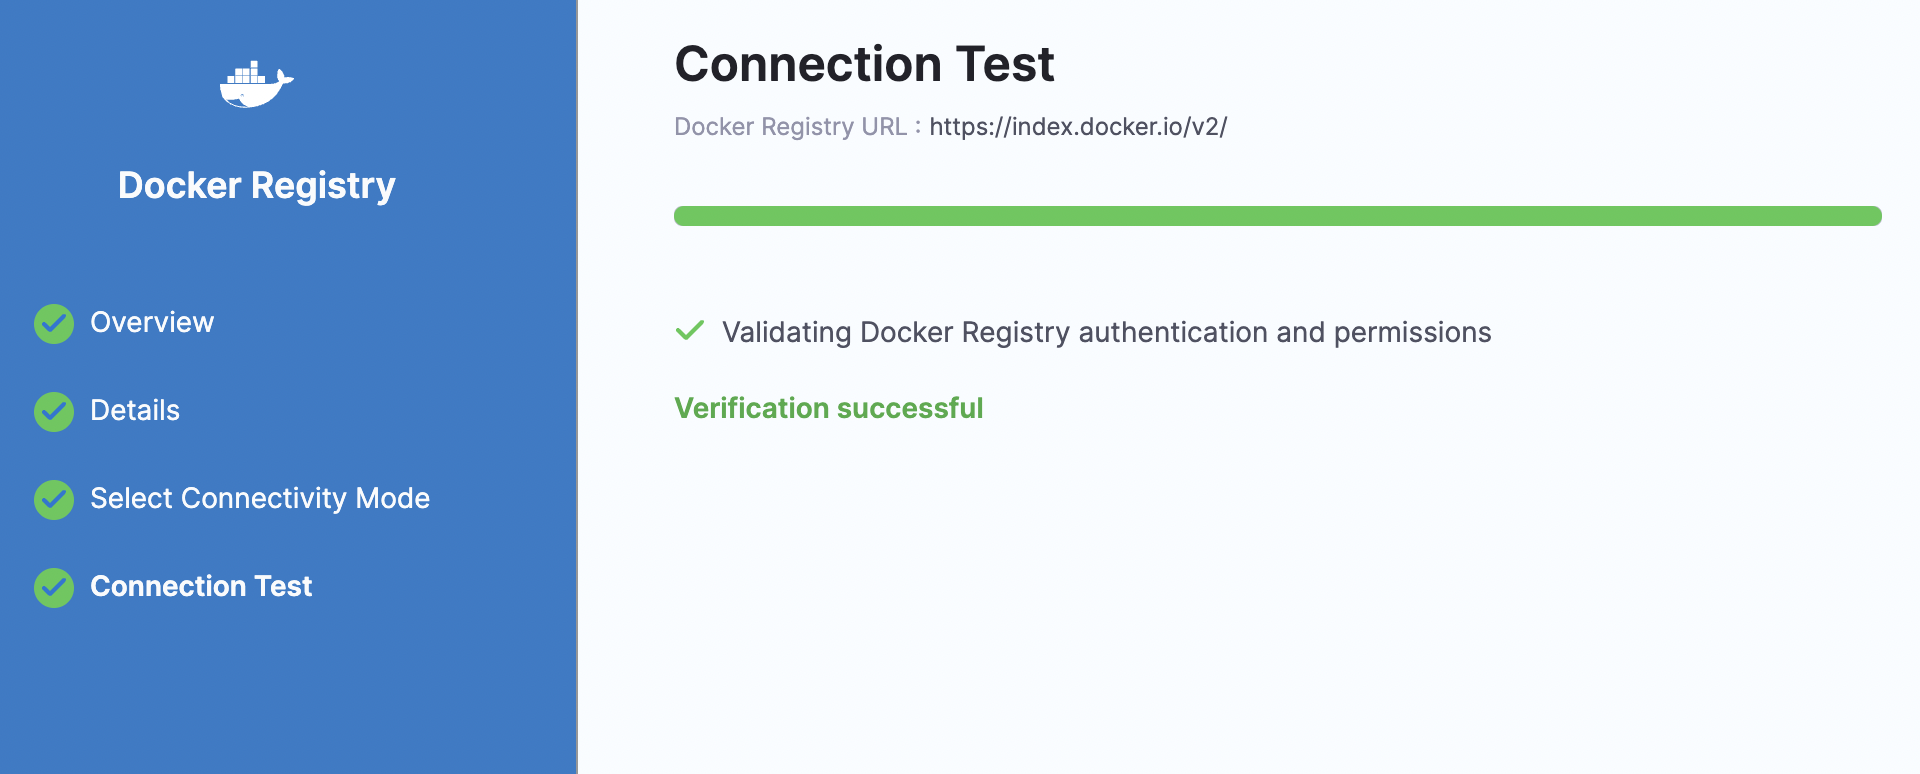
Make sure the connection is successful.
Now, in the docker Connector list, you can see our recently added Docker Hub connector.
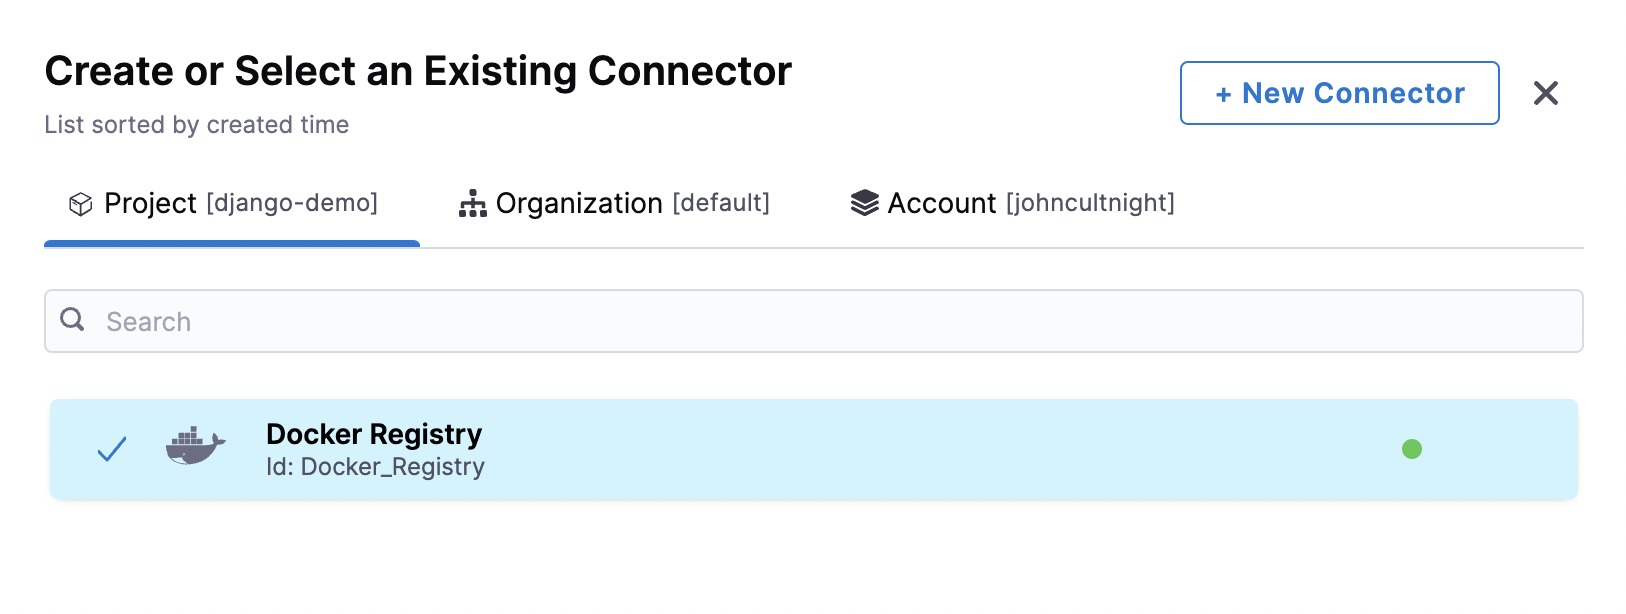
Now, go back to the 'Build and Push an image to Docker Registry' step and add the details such as the Docker Hub connector that we added, Docker Hub repo (your username/name of the image you would like to give), and tag.
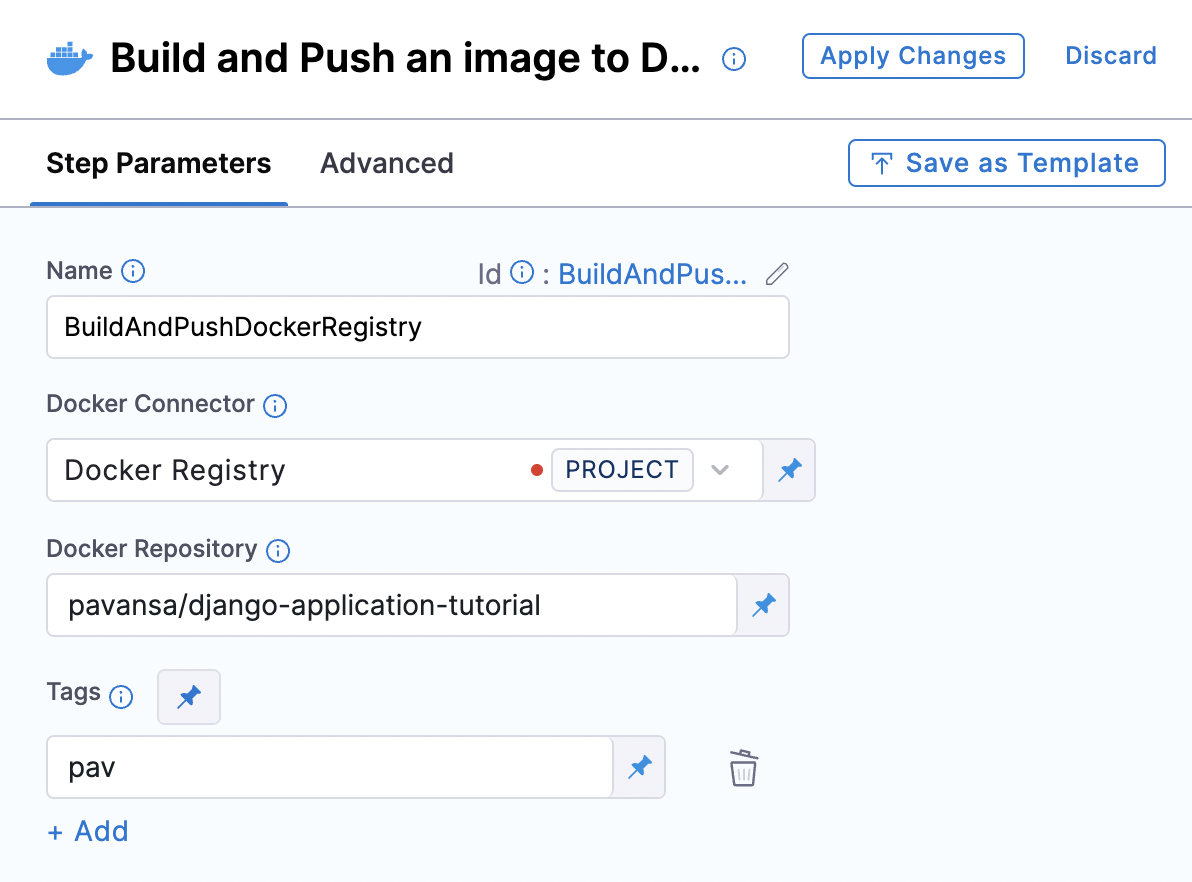
Apply changes and save the pipeline.

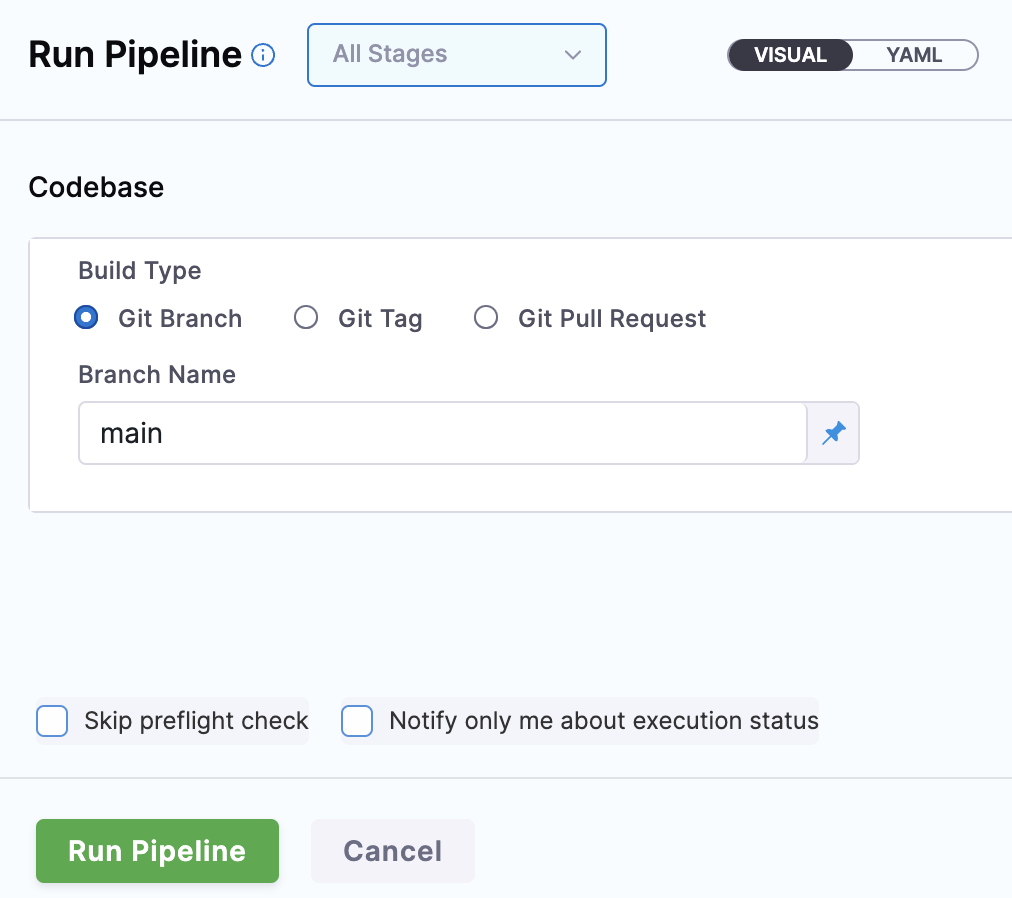
Now we are all set. Let's run the pipeline to see it executing successfully.
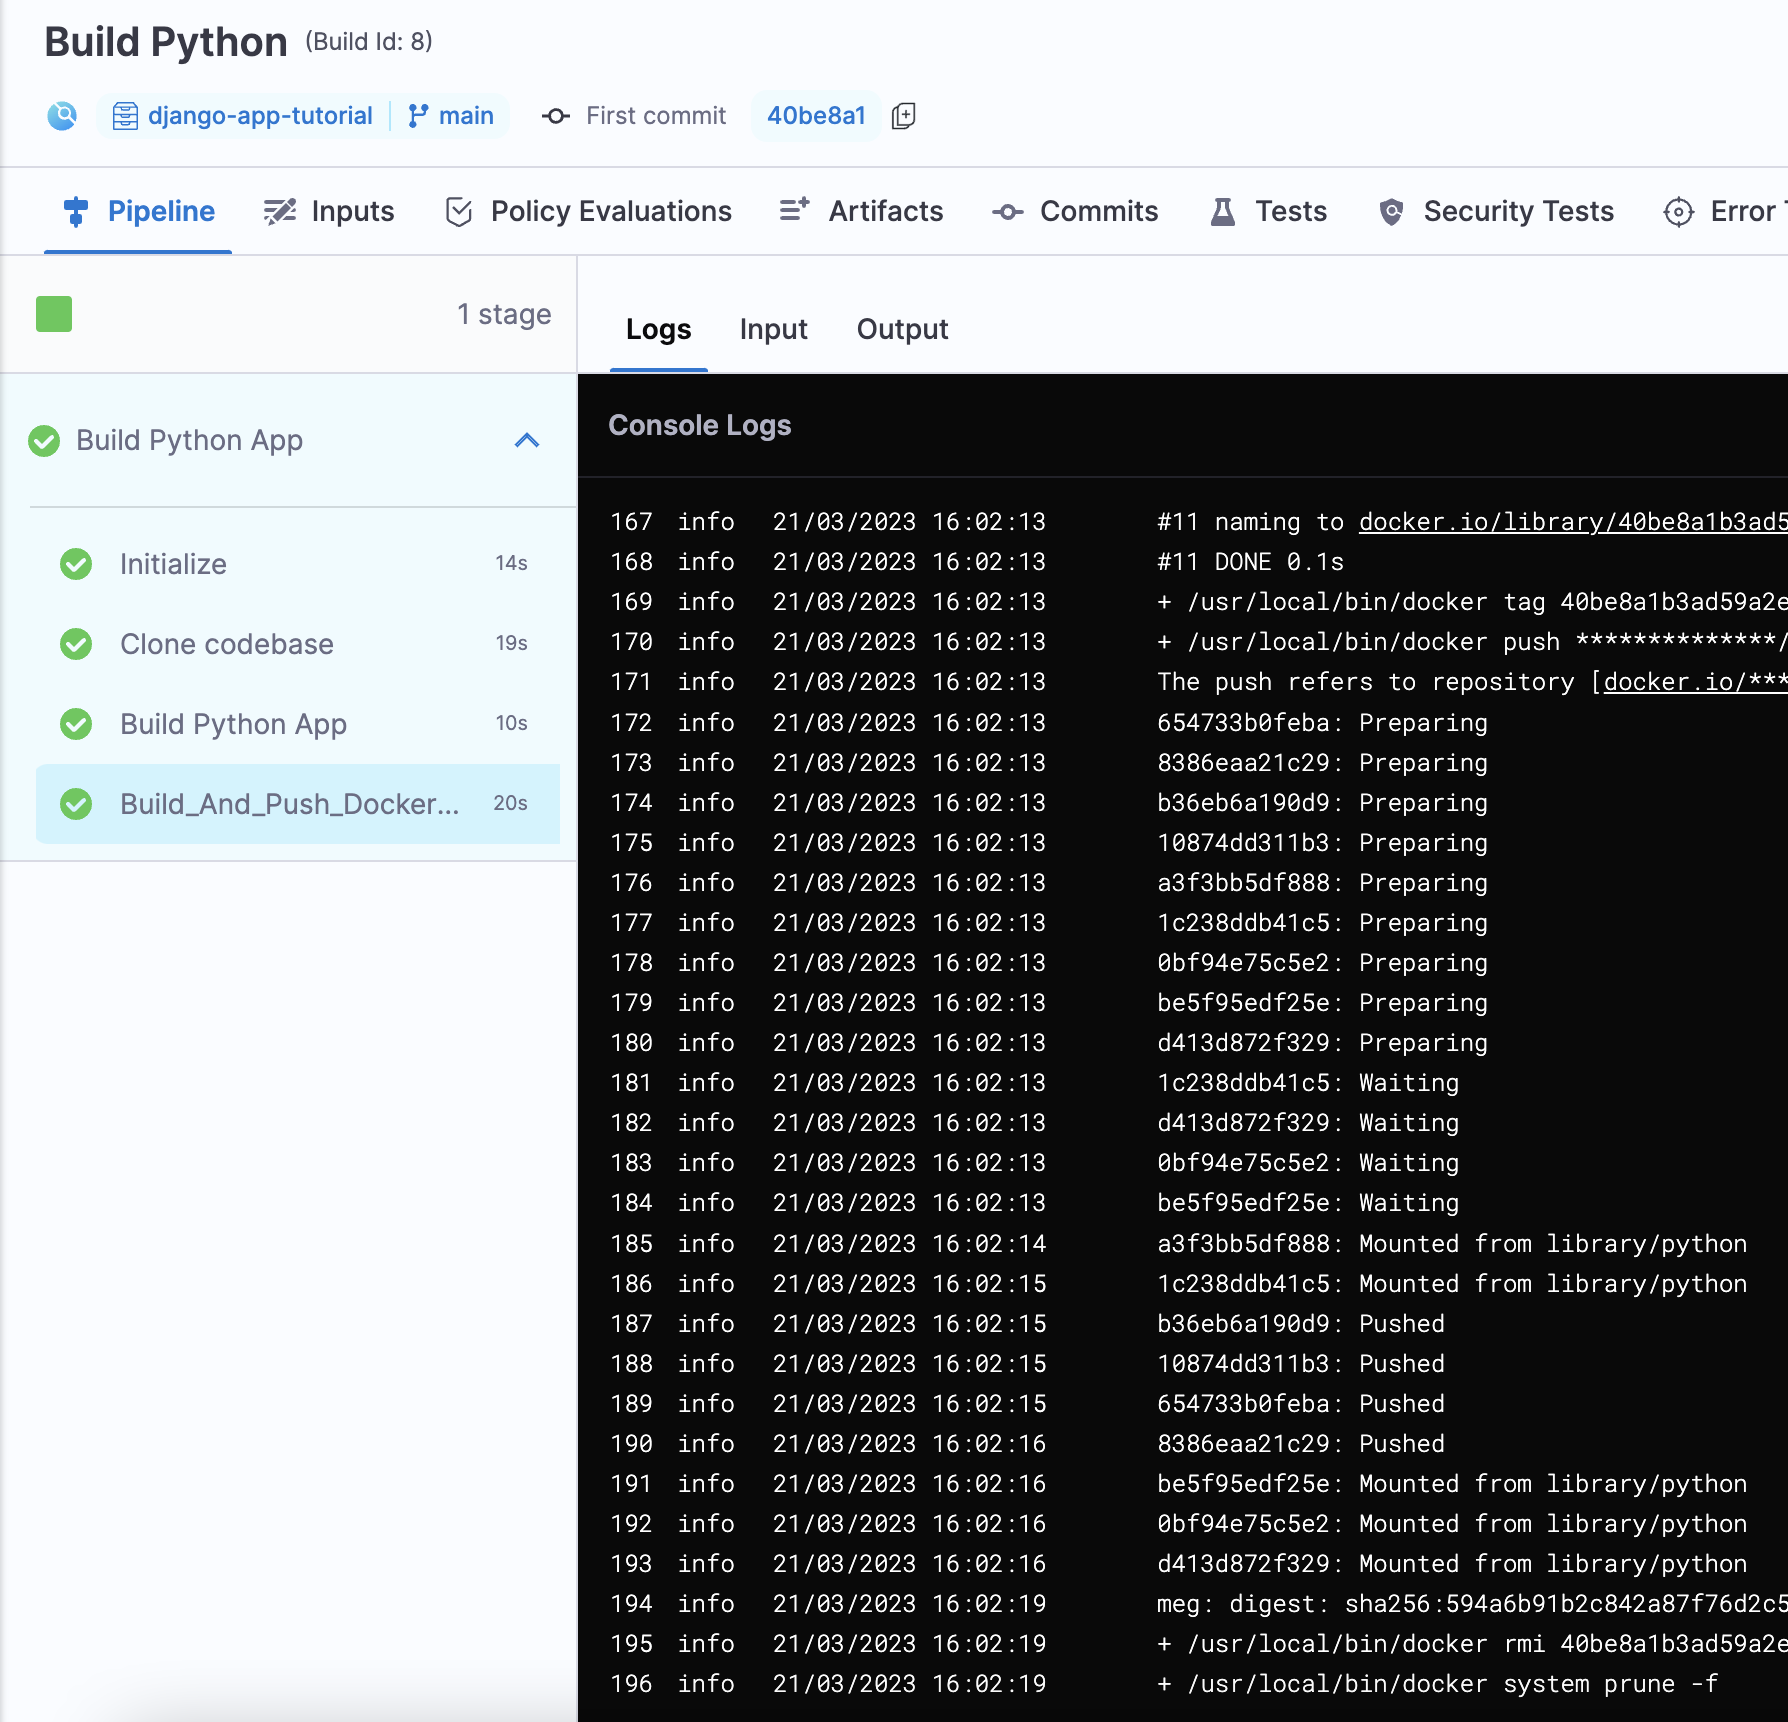
Let's verify if our image has been pushed by going to our Docker Hub account.
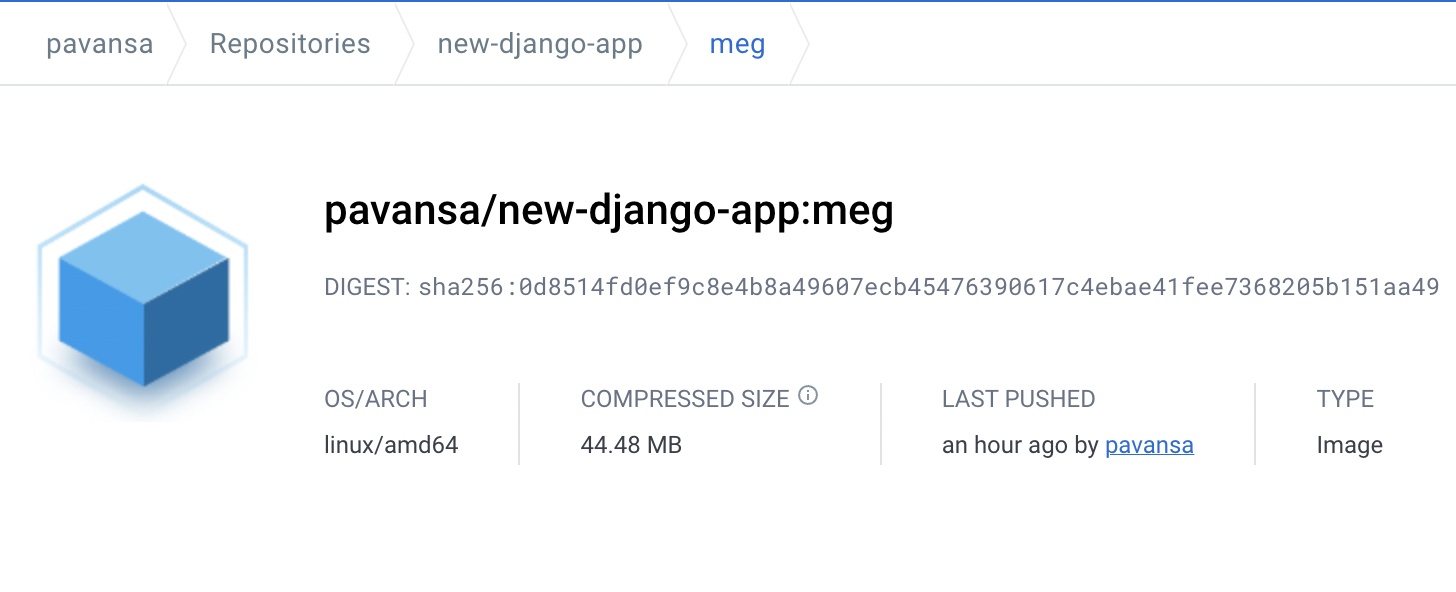
Congratulations! We successfully created a CI pipeline for our sample Django application.
The pipeline automation is already configured by default. You can see it by going to the 'Triggers' tab in the pipeline studio.
Now, whenever a developer pushes any code to the main branch, the build gets automatically triggered and the pipeline starts to run, carrying out all the steps involved.
Well, if you like to learn how to set up a complete CI/CD pipeline, I have a tutorial. {% embed https://dev.to/pavanbelagatti/learn-how-to-setup-a-cicd-pipeline-from-scratch-for-a-go-application-4m69 %}


![This is How I Built a Real-time Chat Application with Socket.io & Node.js [Added Automated Testing]](/_next/image?url=https%3A%2F%2Fcdn.hashnode.com%2Fres%2Fhashnode%2Fimage%2Fupload%2Fv1681709527211%2Ffde84202-e495-4ba0-8258-05288d138179.png&w=3840&q=75)
