Kubernetes GitOps: Hands-on Tutorial for Developers

Tech Storyteller | Developer Advocate | Guest Writer | Speaker. #DevOps
Kubernetes has become the talk of the town for many years now. It has revolutionized the orchestration of containers and has become a leader in this field. Many developers love working with Kubernetes. While organizations prefer deploying applications on Kubernetes to cope with the scale and demanding resources, a new approach is trending regarding Kubernetes-related deployments - GitOps.
Yes, GitOps provides a smooth way and a set of practices to leverage simple tools like Git to manage infrastructure and application deployments. By combining Kubernetes and GitOps, organizations can reap the enormous benefits of flexibility, agility, scale, performance, efficiency and faster feature delivery.
In this guide to Kubernetes and GitOps, I have a step-by-step beginner-level tutorial to start implementing GitOps with Kubernetes. It is time to take your application deployment to the next level. Let's get started!
Simple GitOps Workflow
GitOps basically works on the principle of making Git the source of truth, including moving everything to code and storing and maintaining everything in Git. When it comes to deployment, make use of an operator to deploy what is configured in Git and Yaml in a declarative fashion. Since all the developers are primarily friendly with Git, GitOps simplifies their complex workflow.

So when it comes to Kubernetes, the app code, container images, and all related manifest files will be stored in Git, and any changes are made through Git as a single source of truth.
Note: The above content is taken from my other GitOps article written on the Dev community. Read!
Today, we will show you how to get started with the GitOps approach for your application in the below tutorial.
Prerequisites
In this tutorial, we will use a continuous delivery tool such as Harness to do GitOps. Hence, create a free Harness account. It uses Argo CD-as-a-Service.
GitHub account and a sample repo to experiment with. I have a sample repo you can fork it and use.
Tutorial
Signup to Harness account, verify your email and sign back in again to set up the GitOps pipeline.
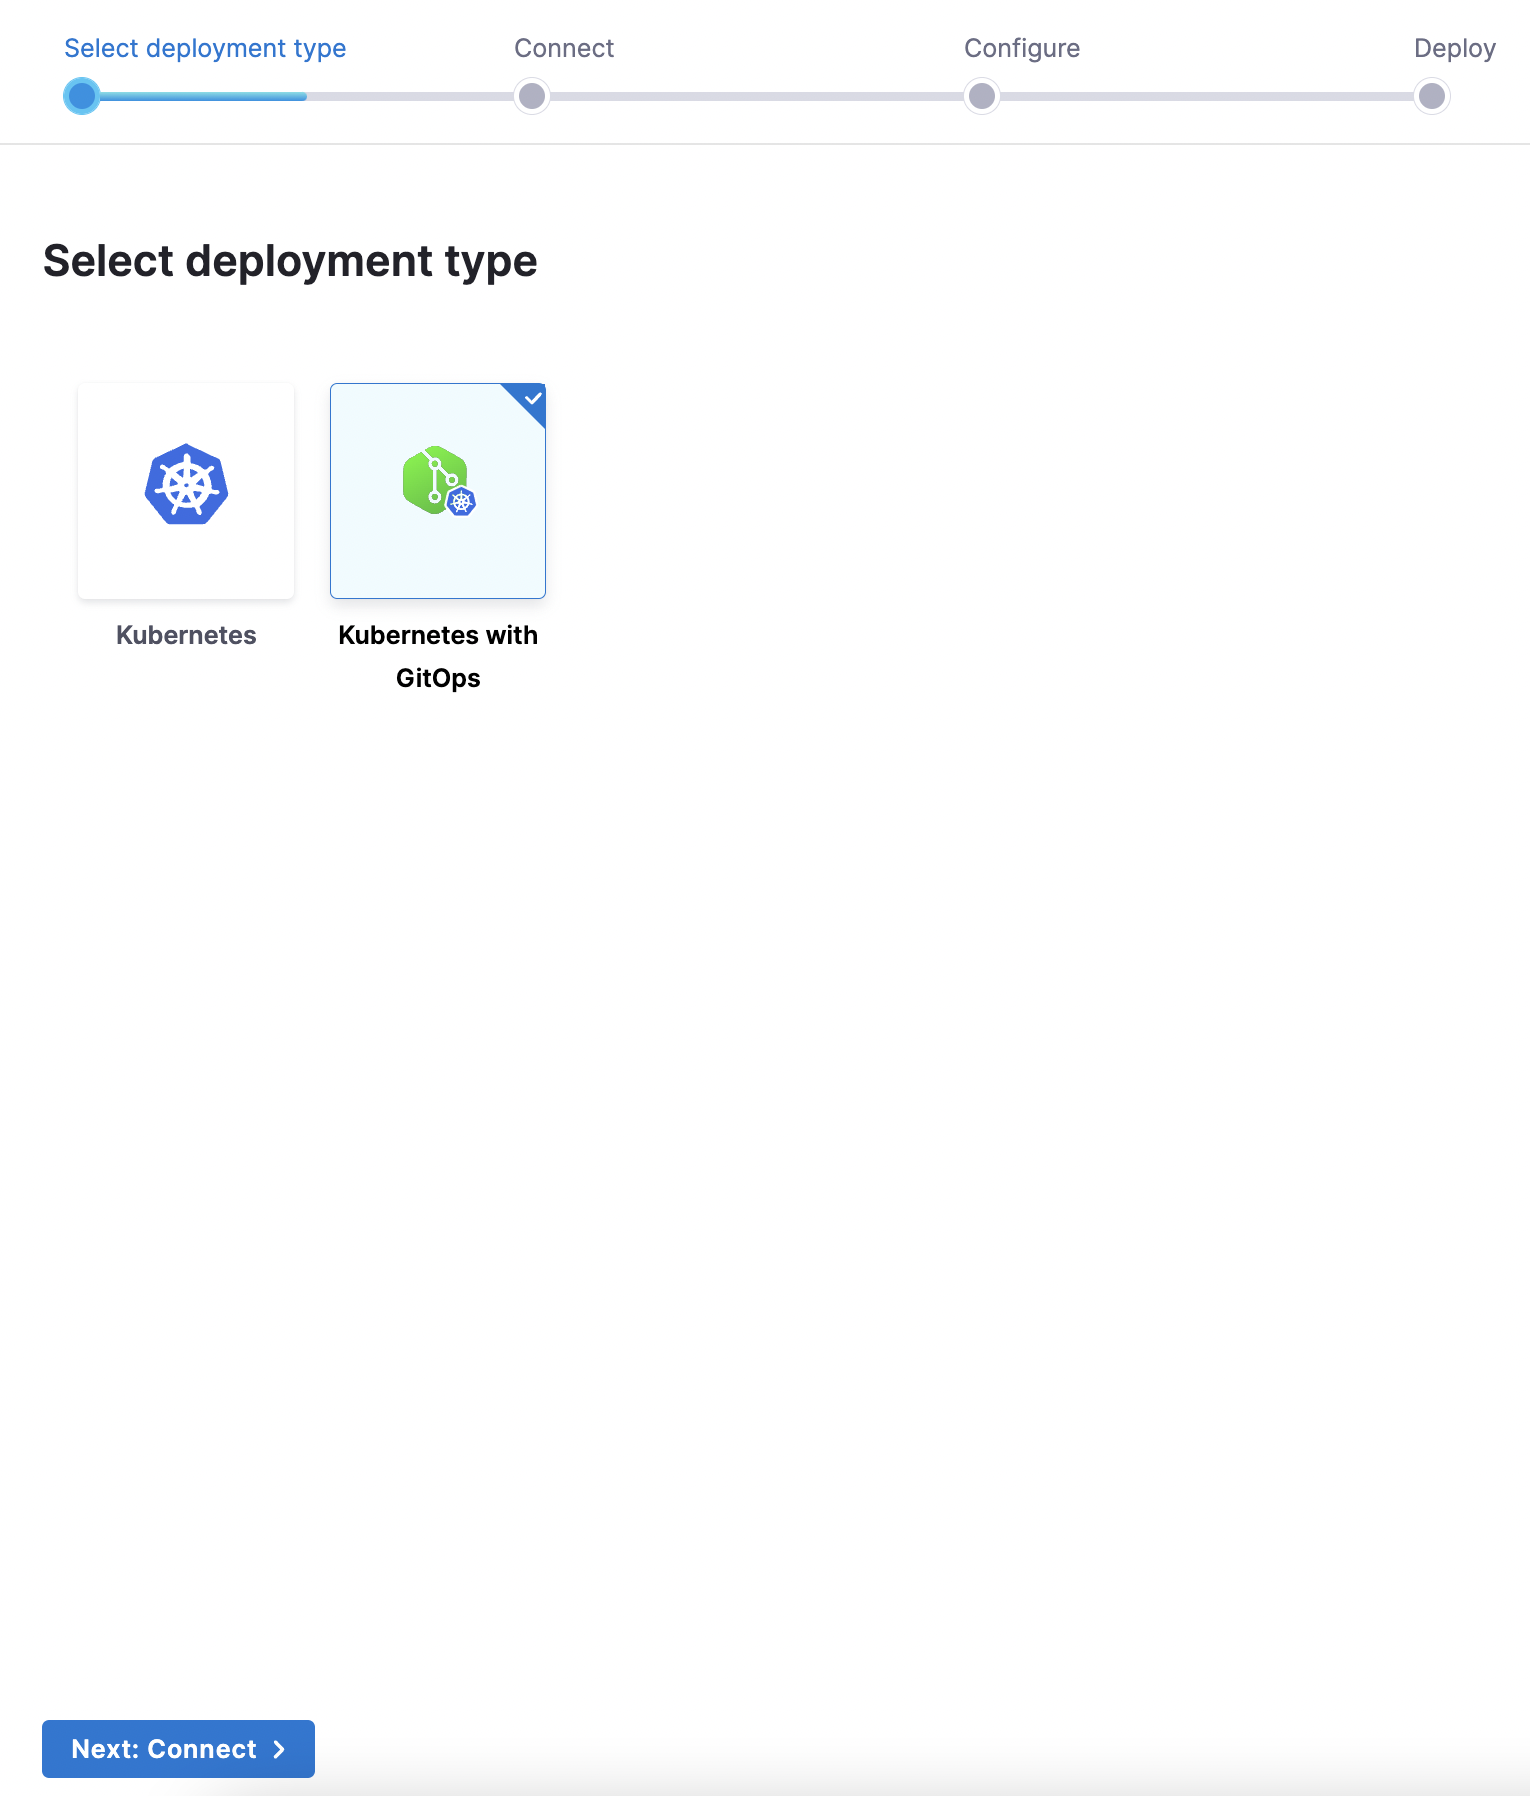
You will be presented with the below deployment options - Kubernetes and Kubernetes with GitOps.
Select 'Kubernetes with GitOps' and continue.
You don't have to worry about any set up and installation. Harness takes care of everything. It connects to Harness by provisioning hosted agent.
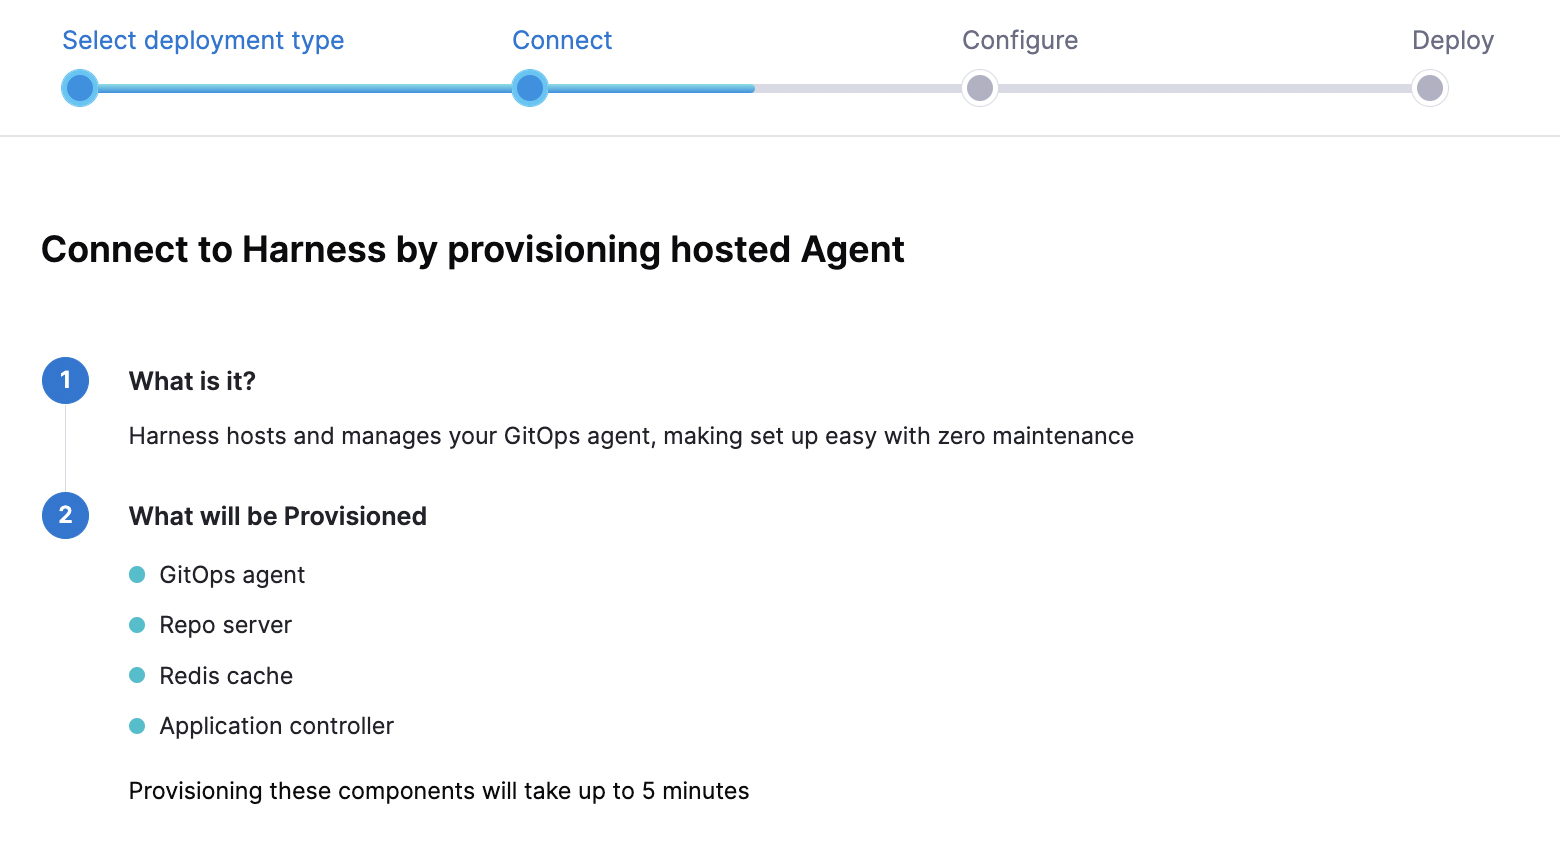
You can click 'provision' and wait for some time to get green checkbox for your agent.
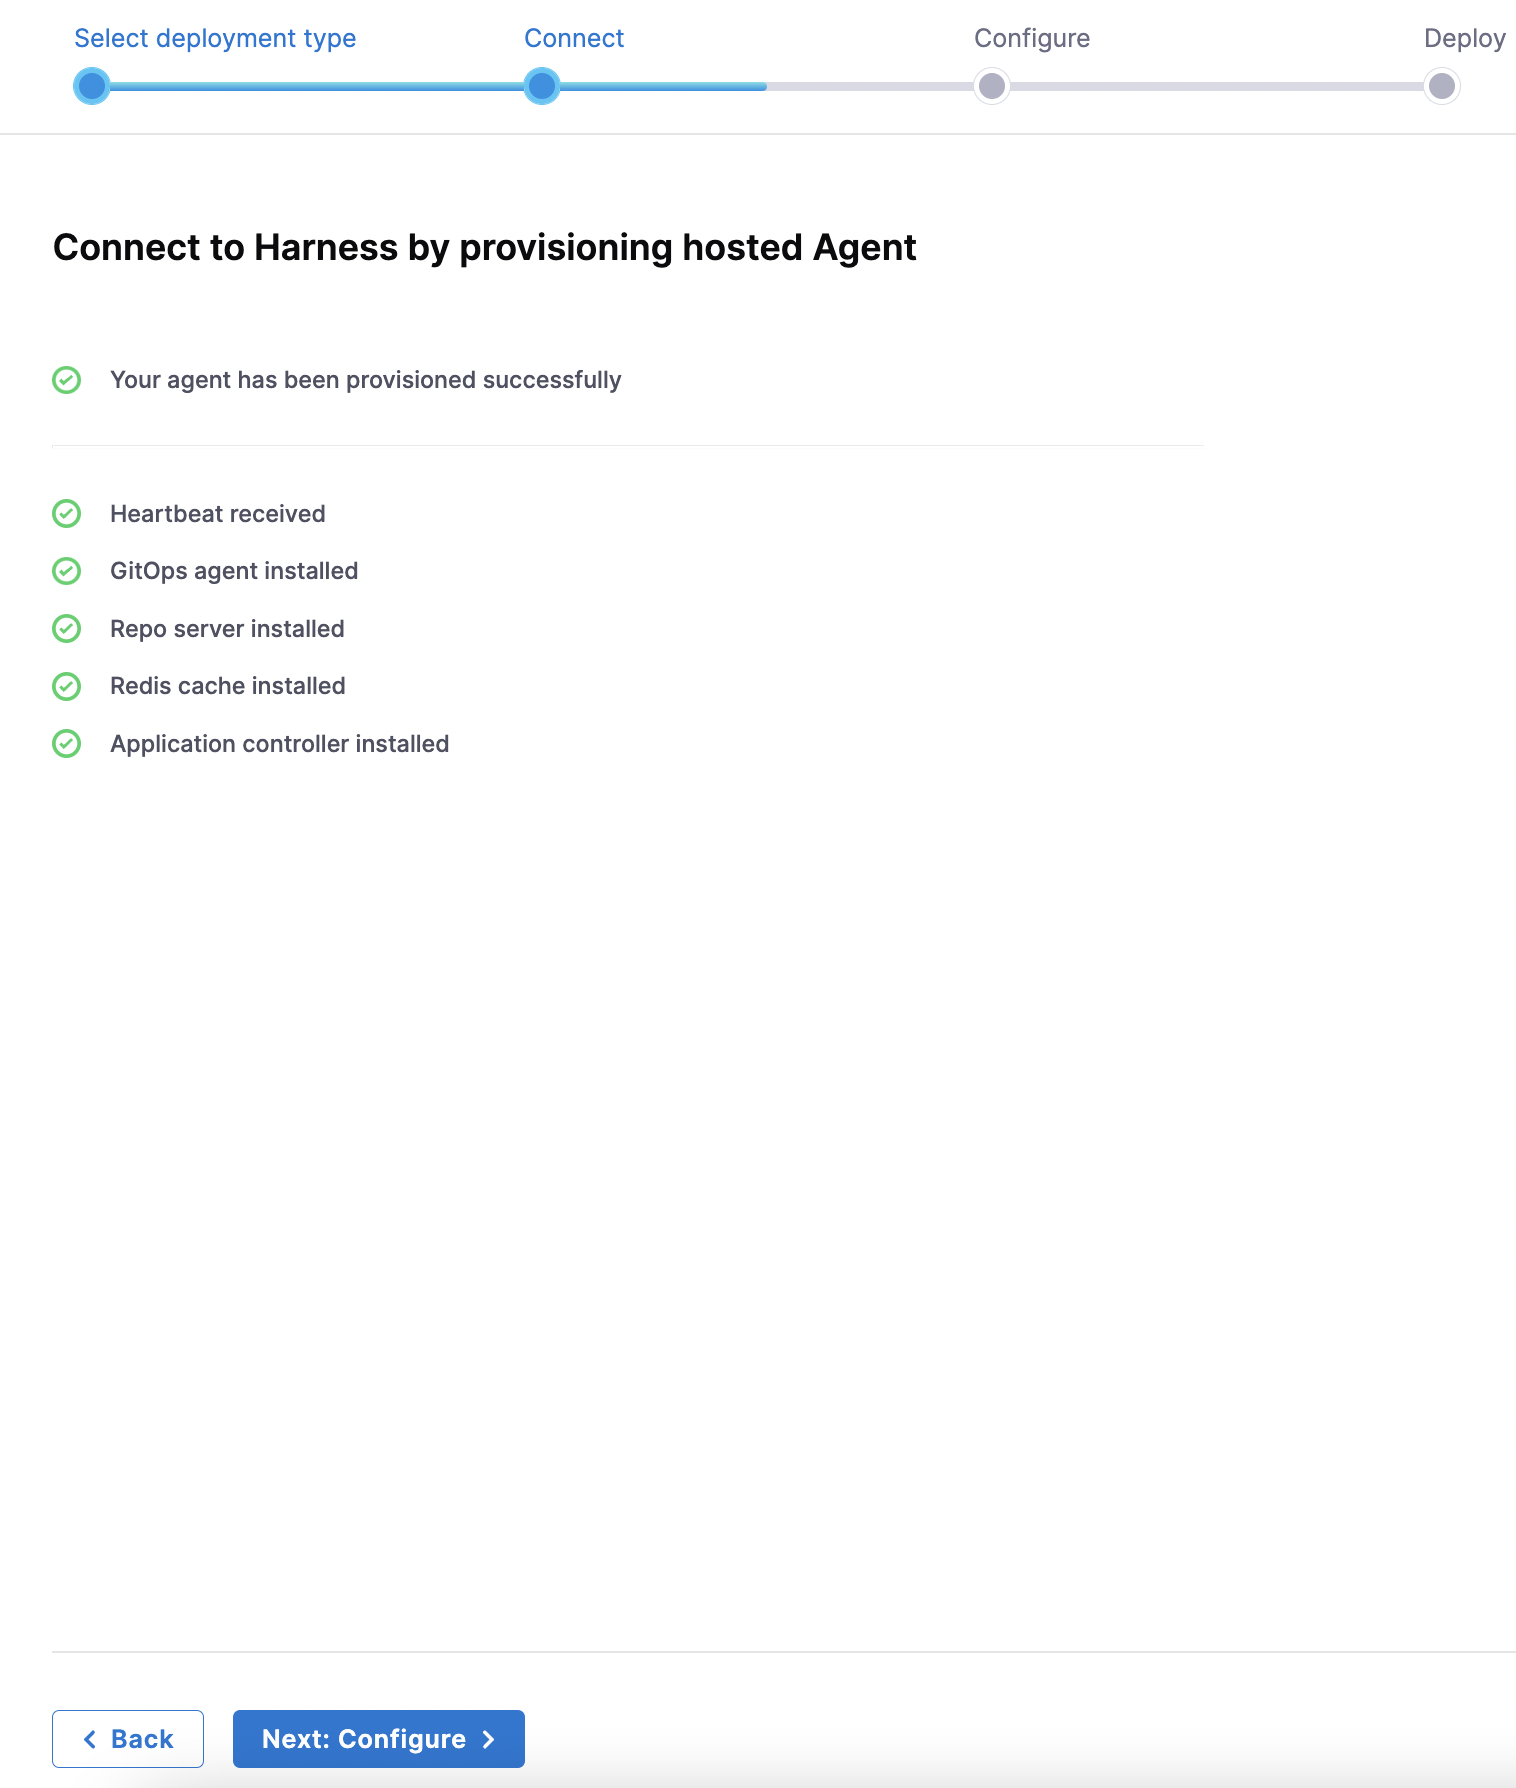
Once the agent gets installed successfully, get to the next configuration.
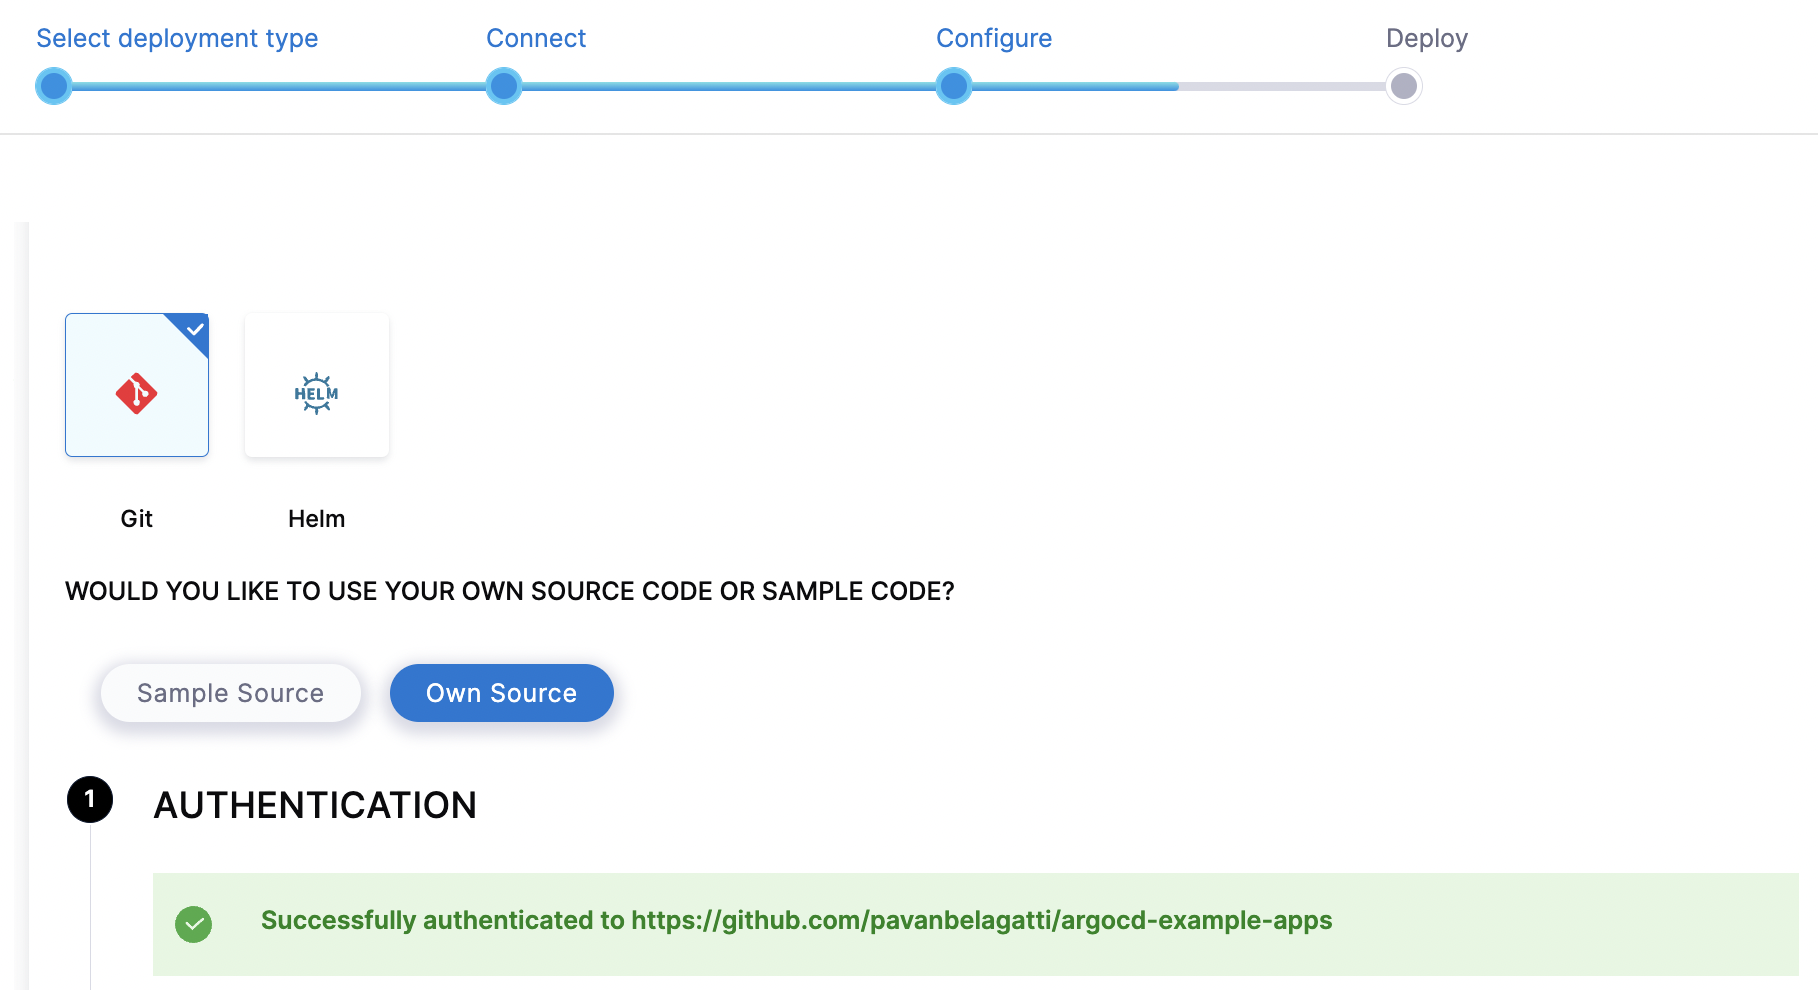
This is where we provide simple details like source, authentication and Git details.
Select Git and own source code from the options. Add our Git repo link - https://github.com/pavanbelagatti/argocd-example-apps
Note: Above shown is my GitHub repo link, you should add your repo link, the one you forked at the beginning of this tutorial.
Once you add these details, make sure to add 'Anonymous' to authenticate your details. [BTW, its a public repo and hence no authentication is needed with username and password]
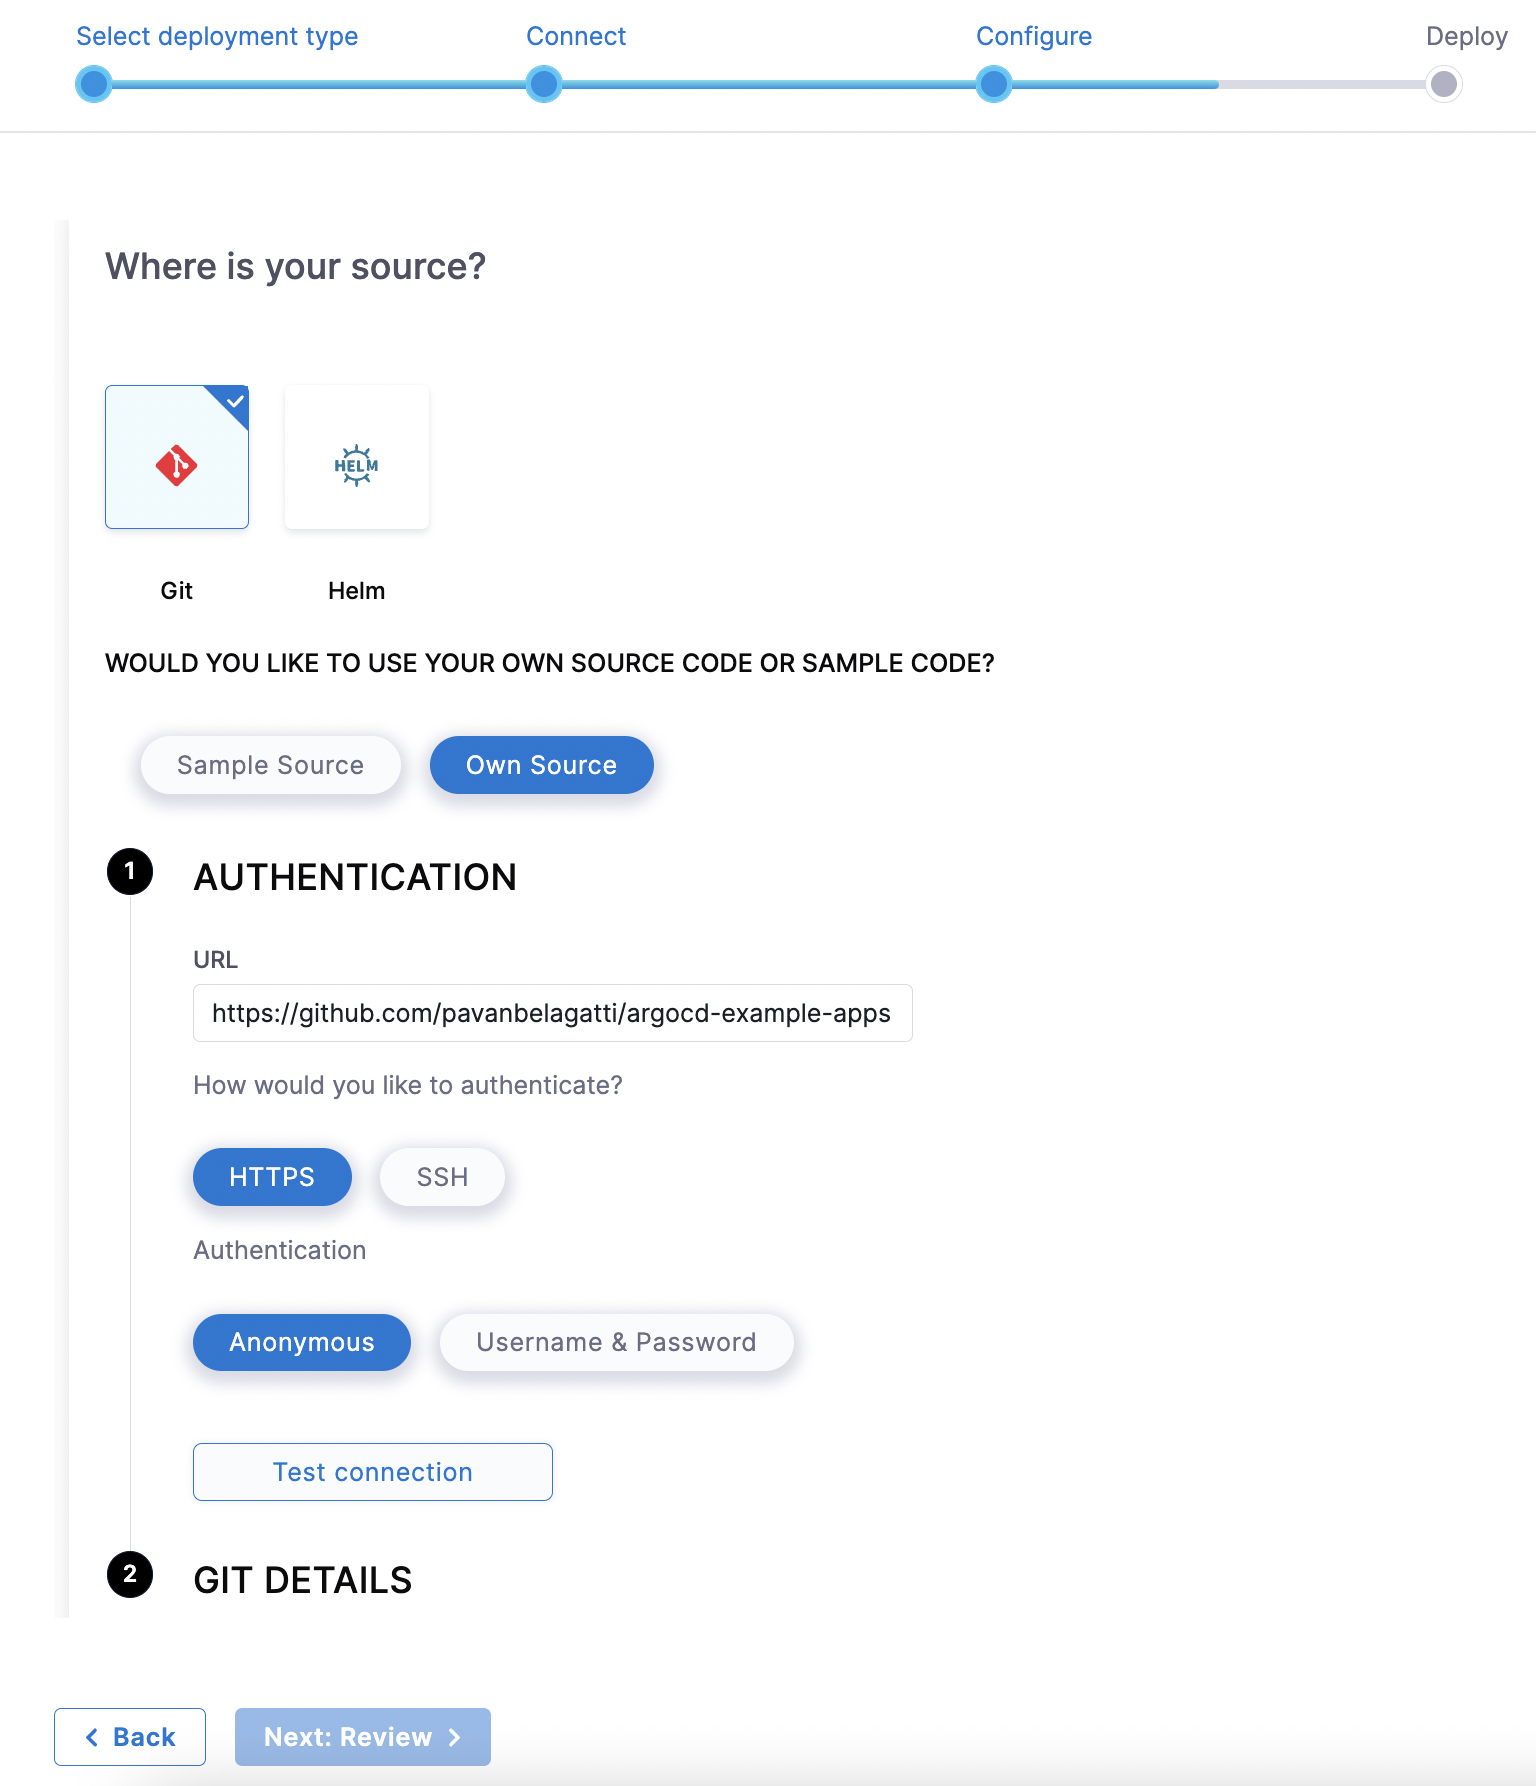
Make sure the authentication is successful.
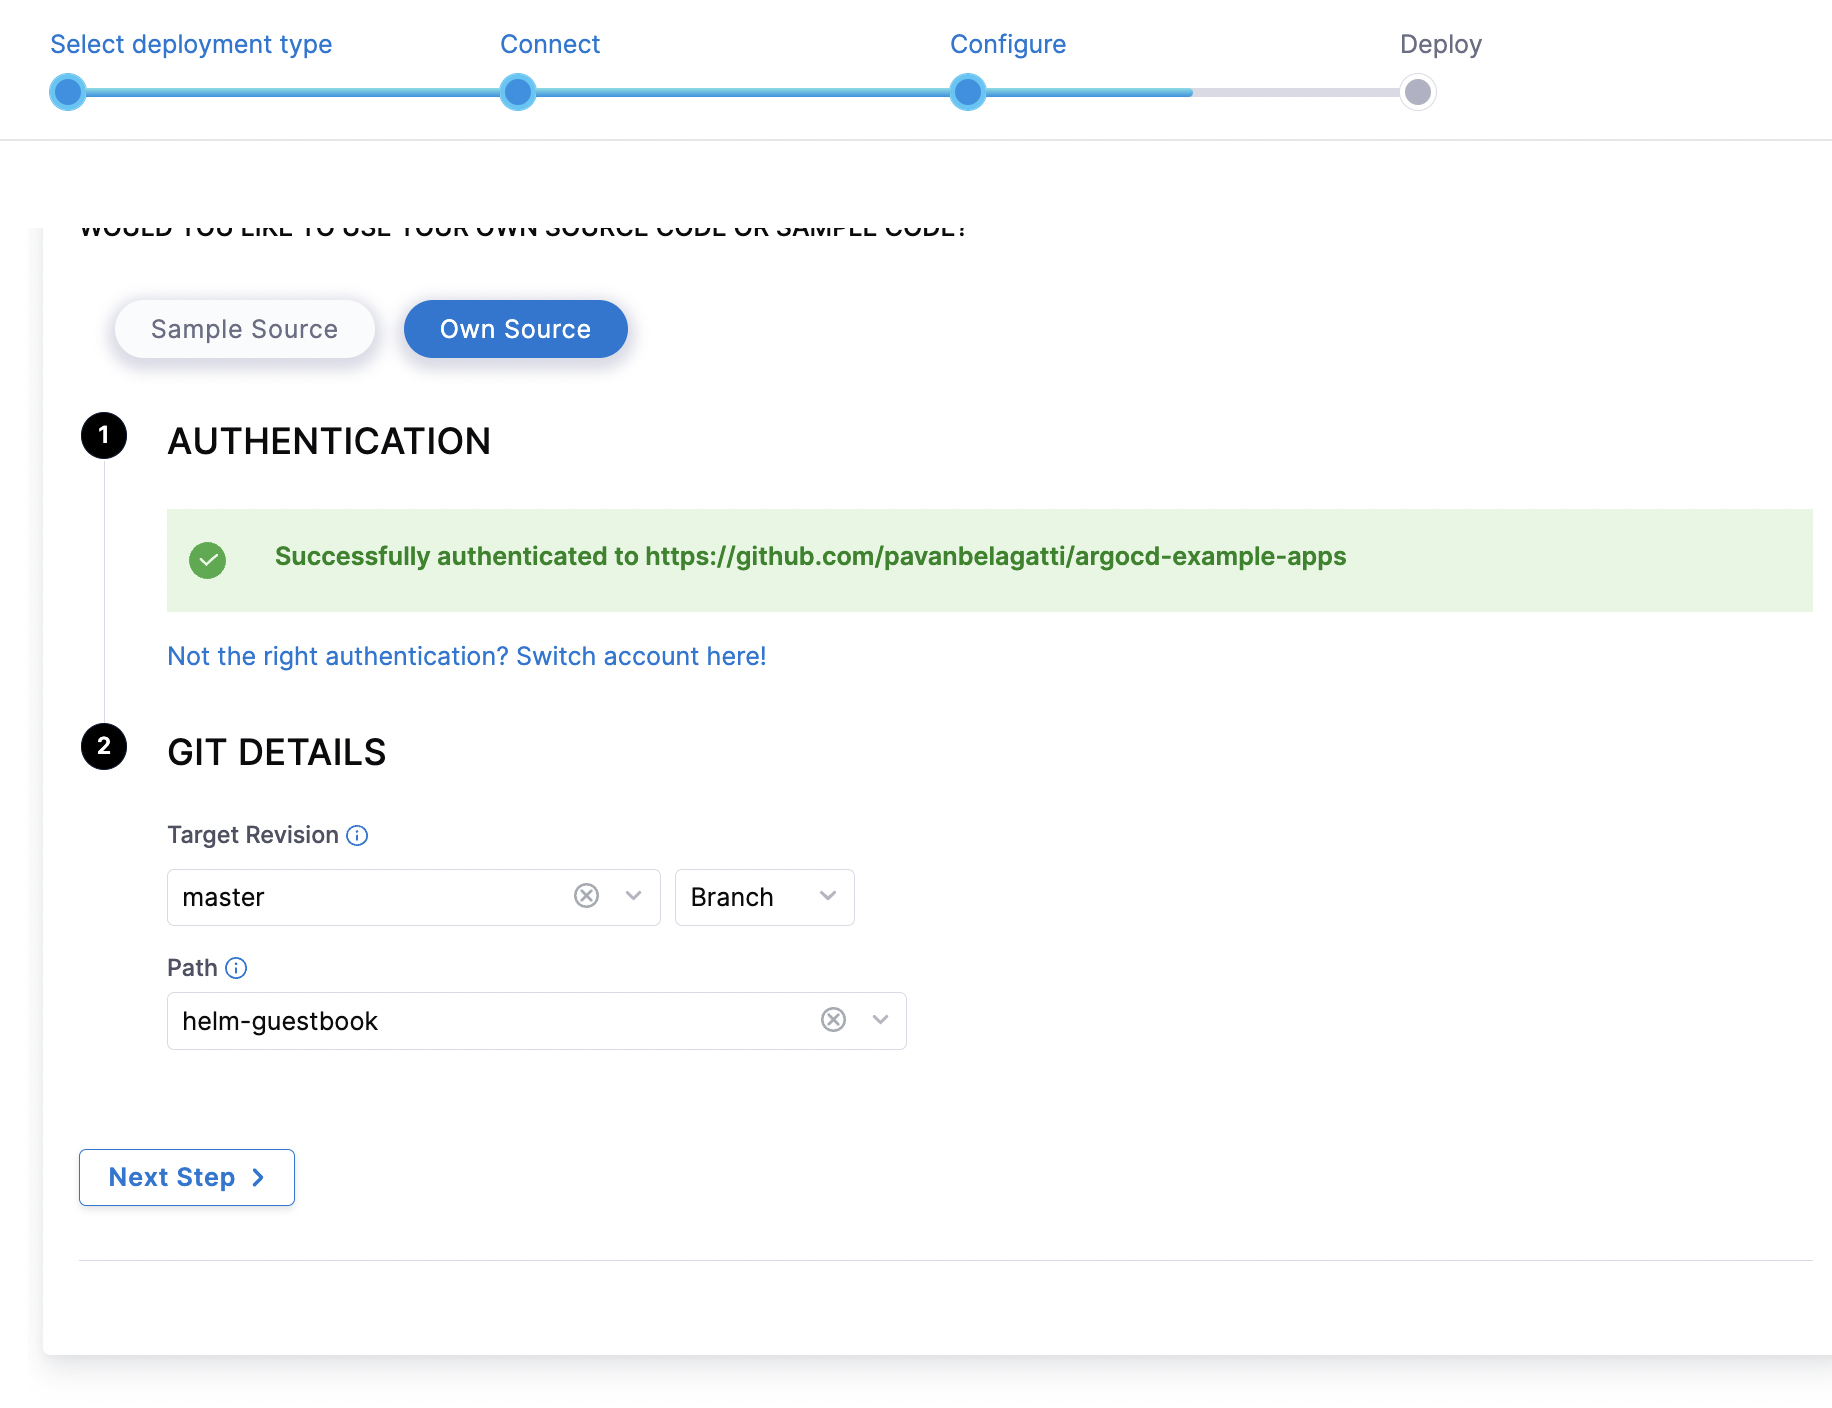
Next, let's add the other required Git details as shown below.
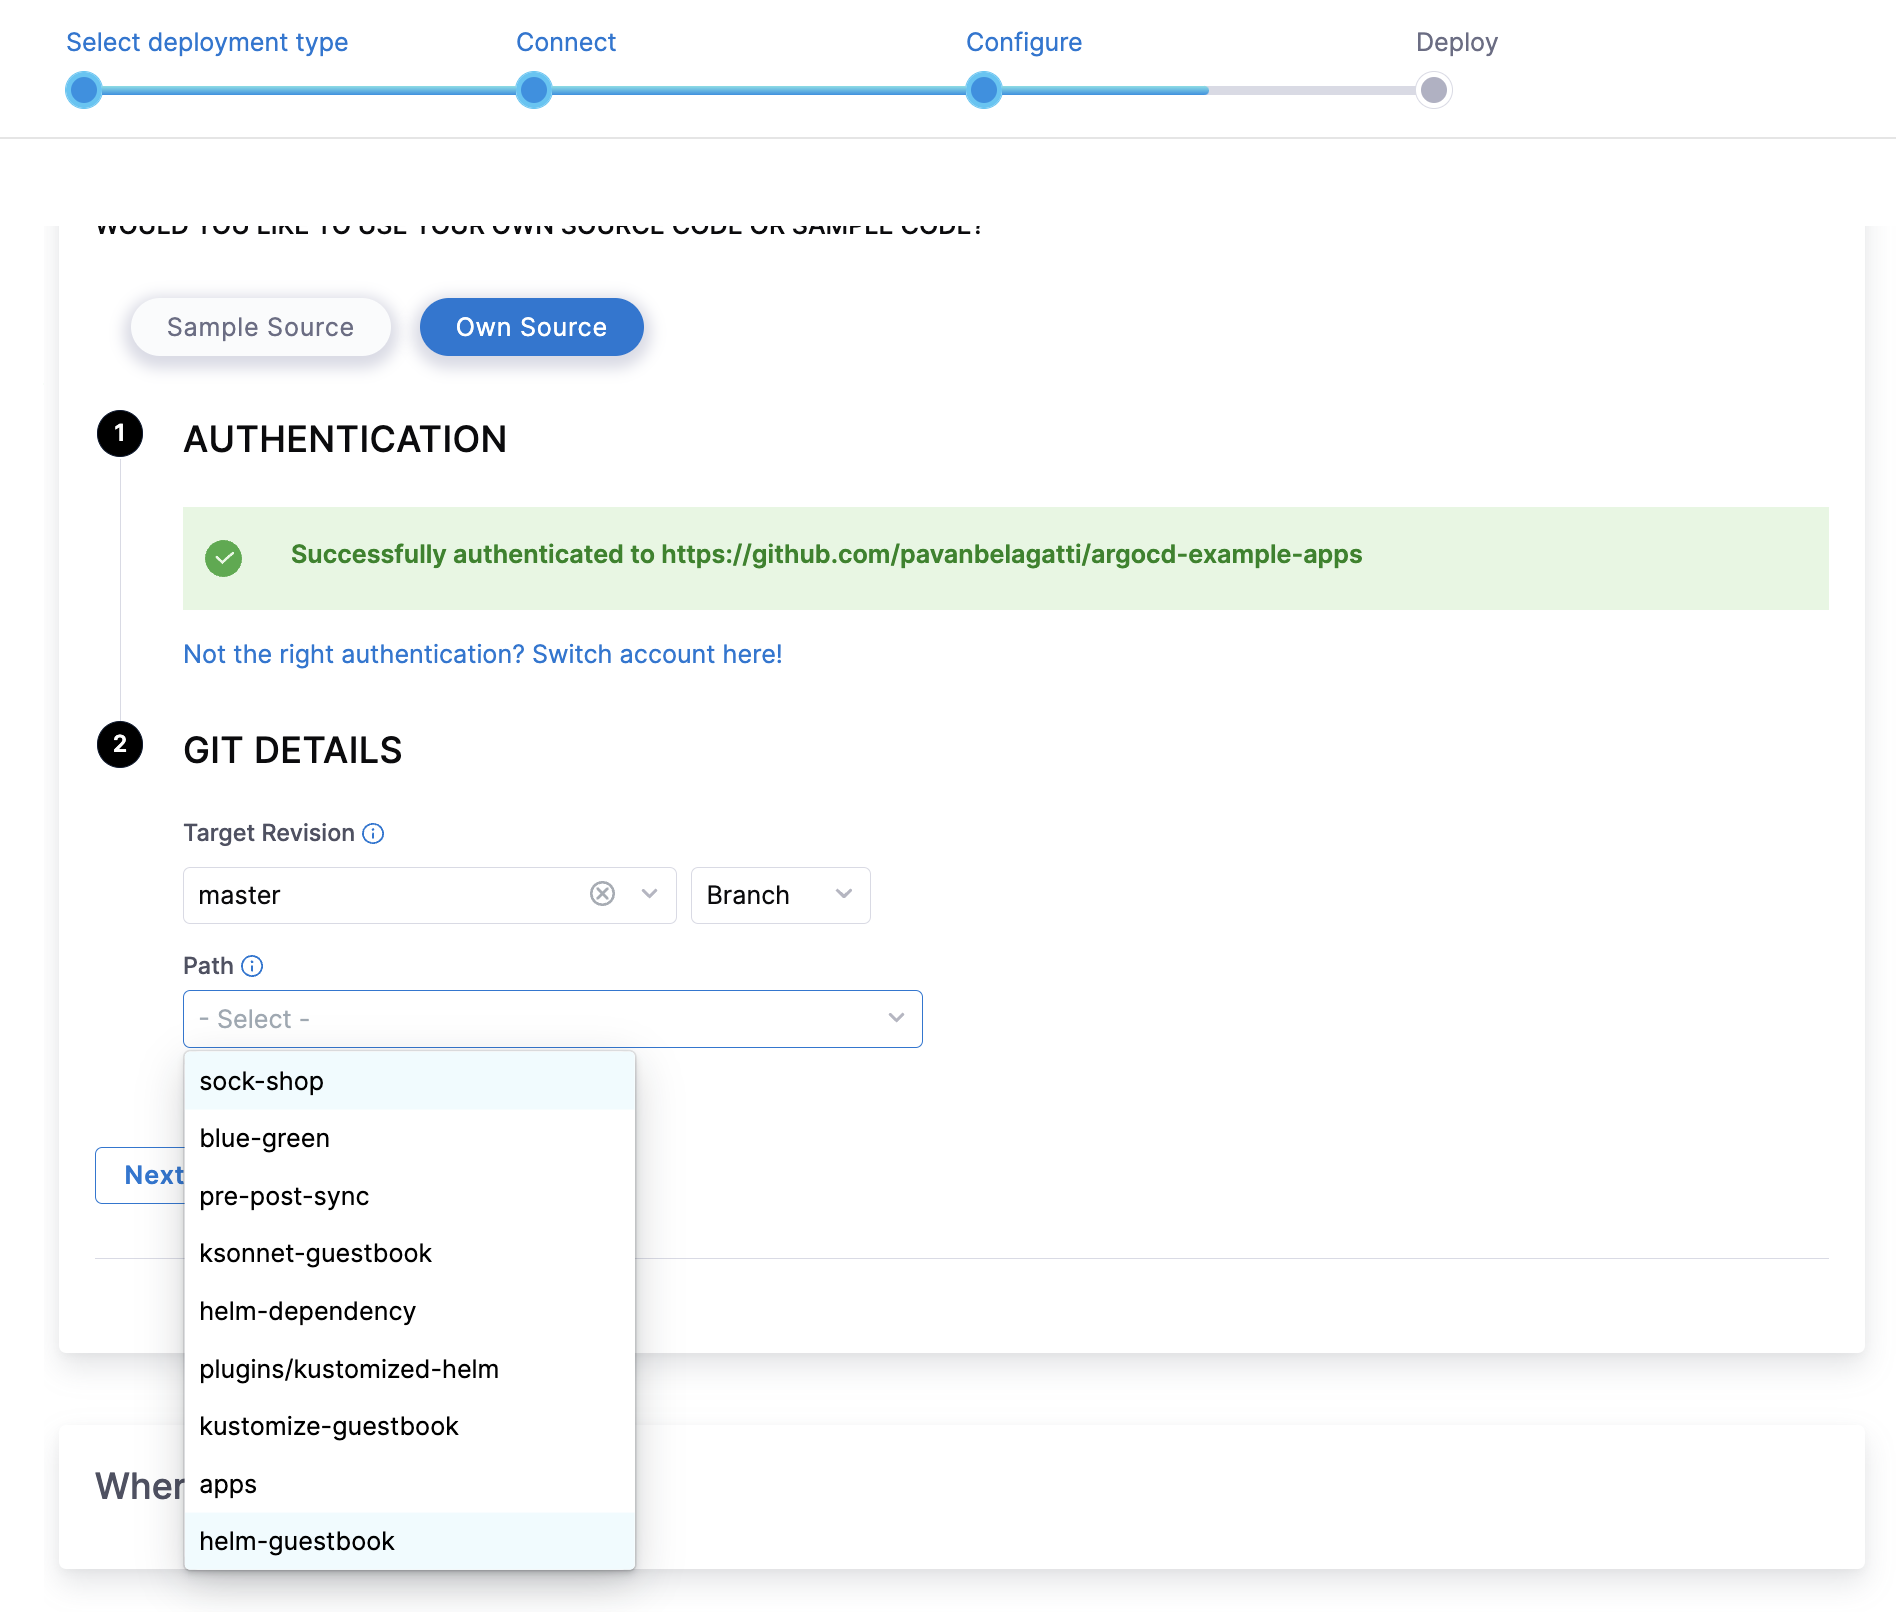
Select Target revision as 'master' and Path as 'helm-guestbook'
Next, select 'Harness Hosted' to test the GitOps workflow. You can choose self-managed too. But for this tutorial, we will select 'Harness Hosted'.
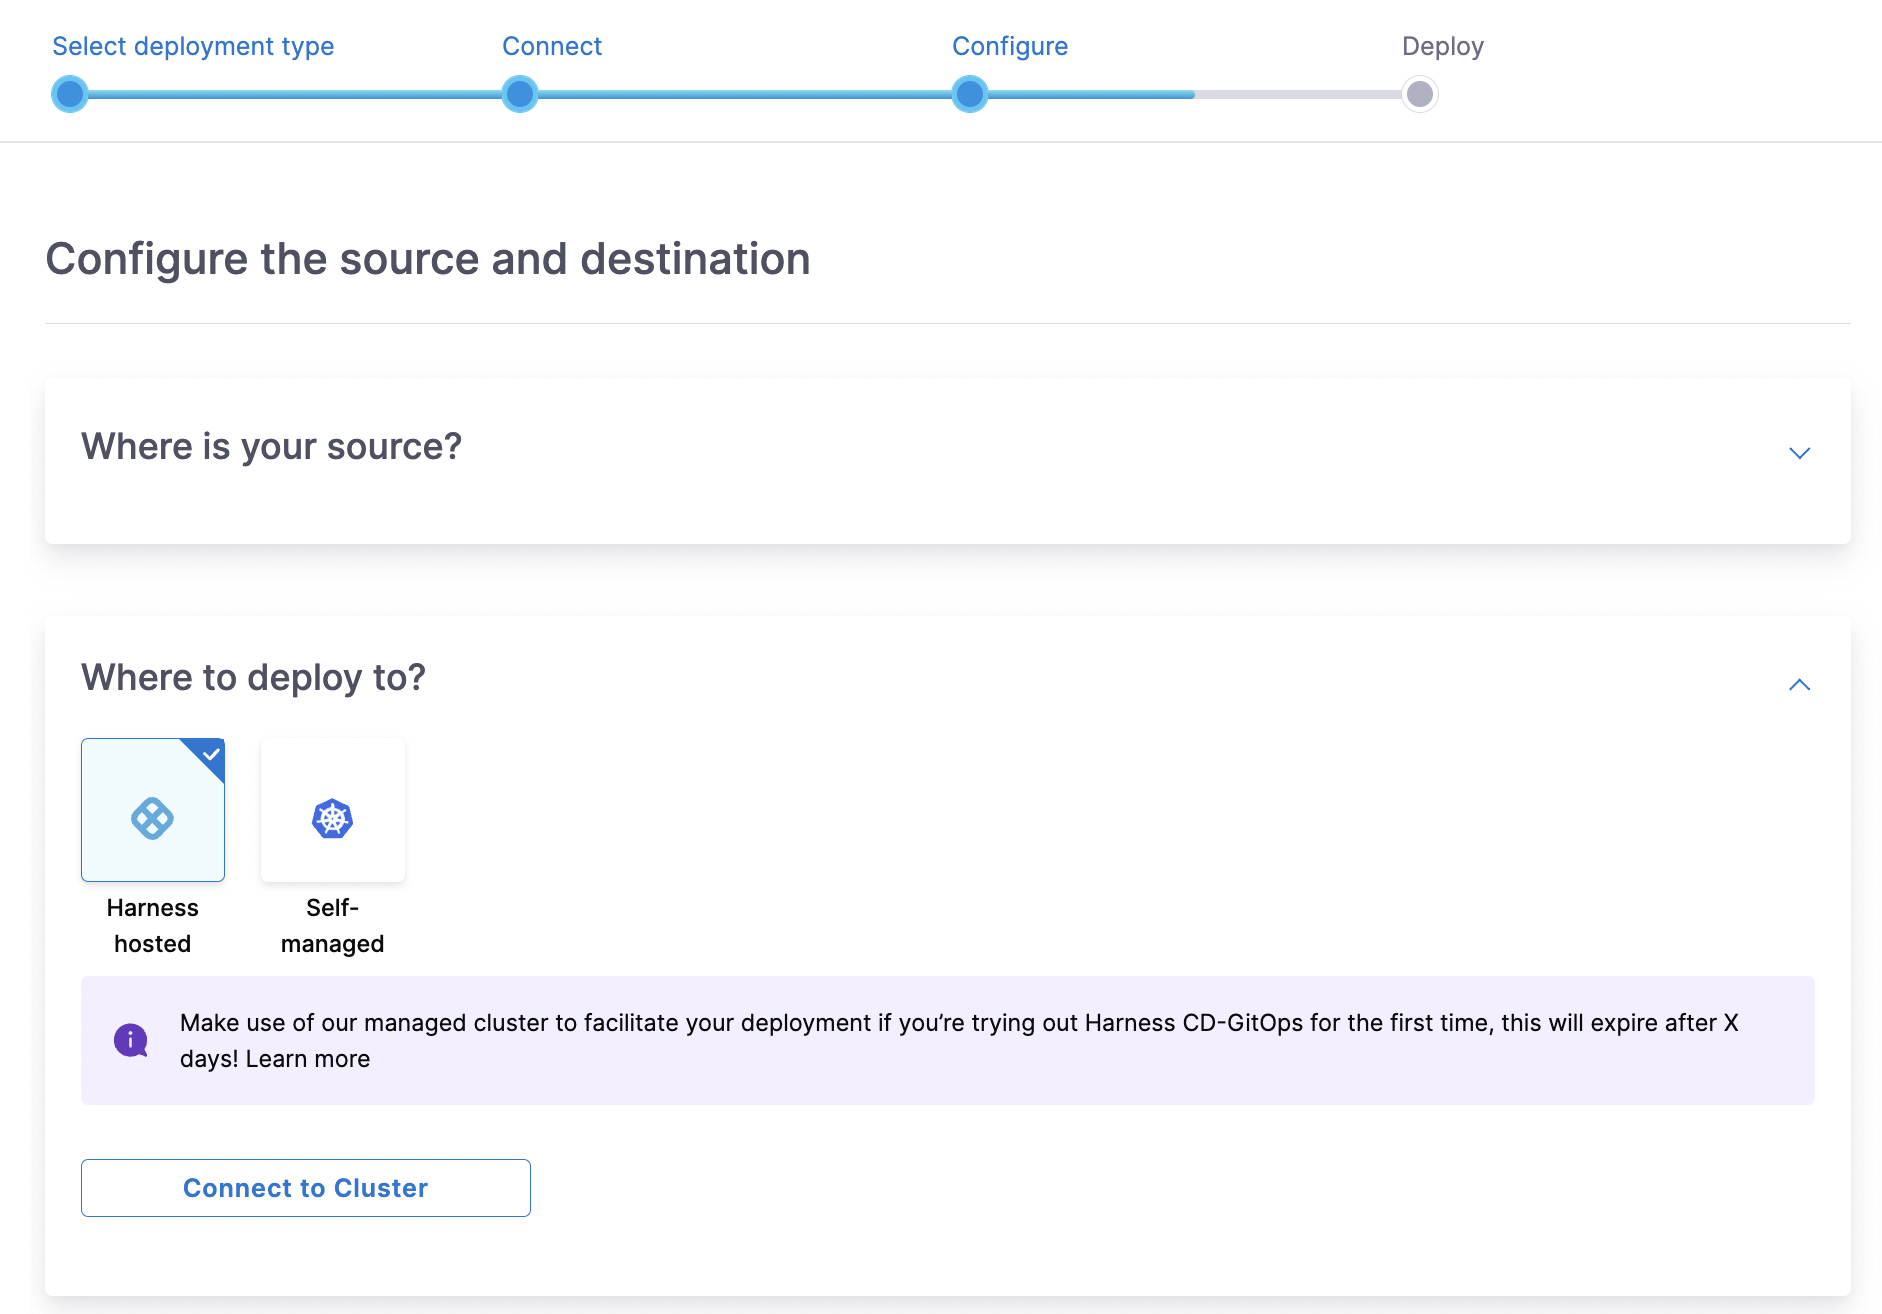
Click the 'Connect to Cluster' button and make sure the connection is successful.

Next, you will see the last step where we are all set to deploy the application.
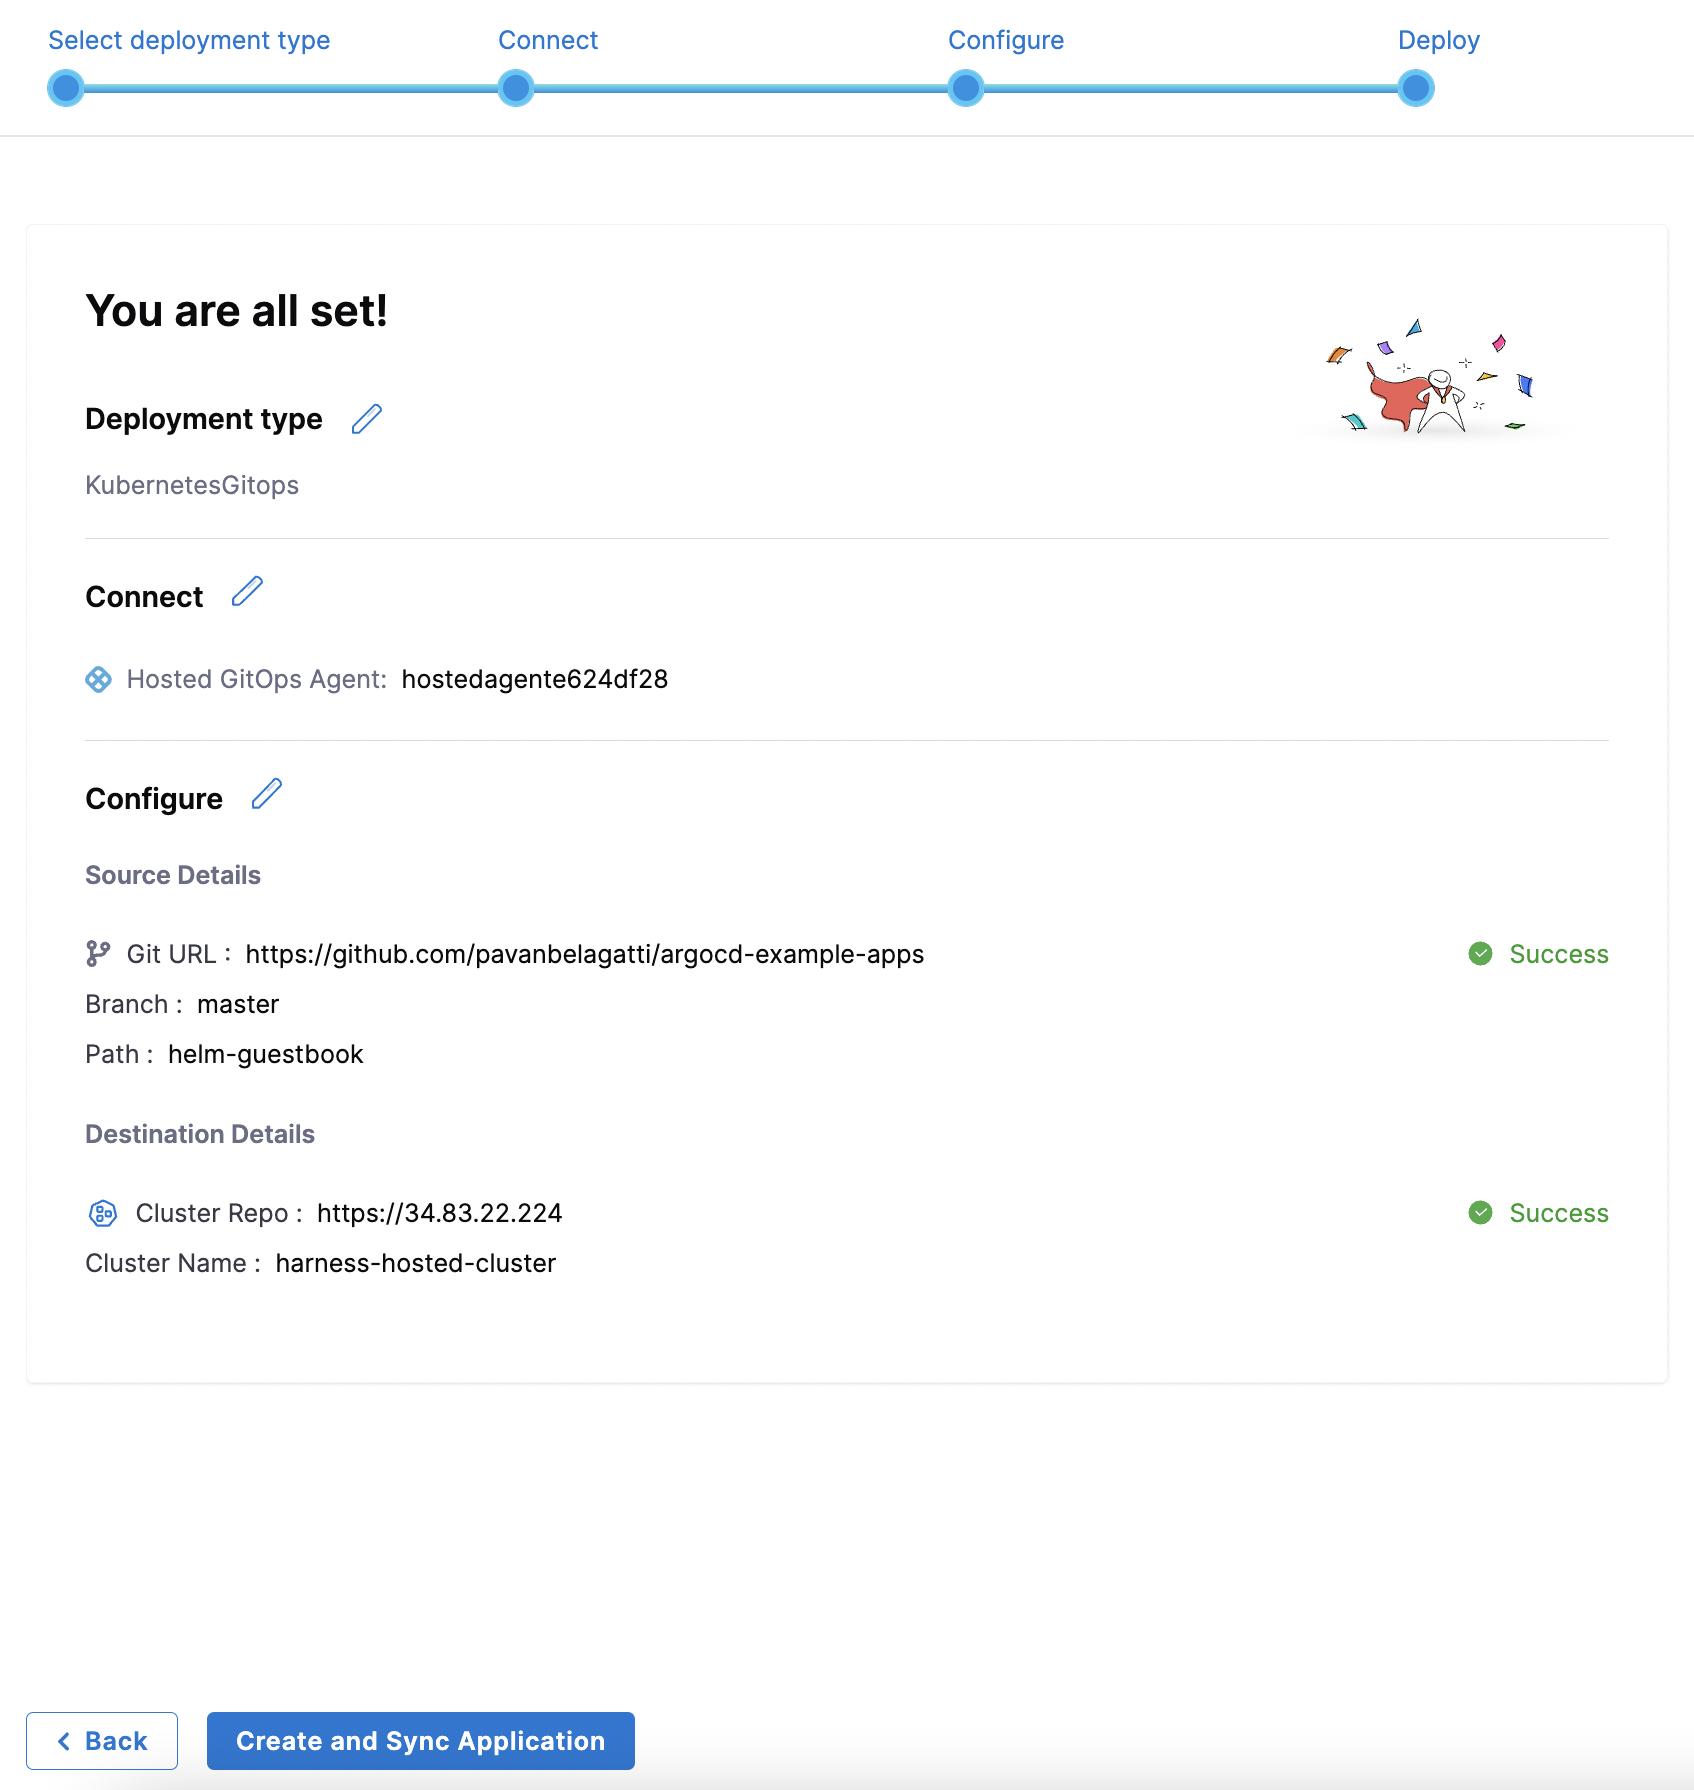
Click on 'Create and Sync Application'.
This is the GitOps dashboard you will enter where all your GitOps details will be present.

You will see the 'Sync' status running.
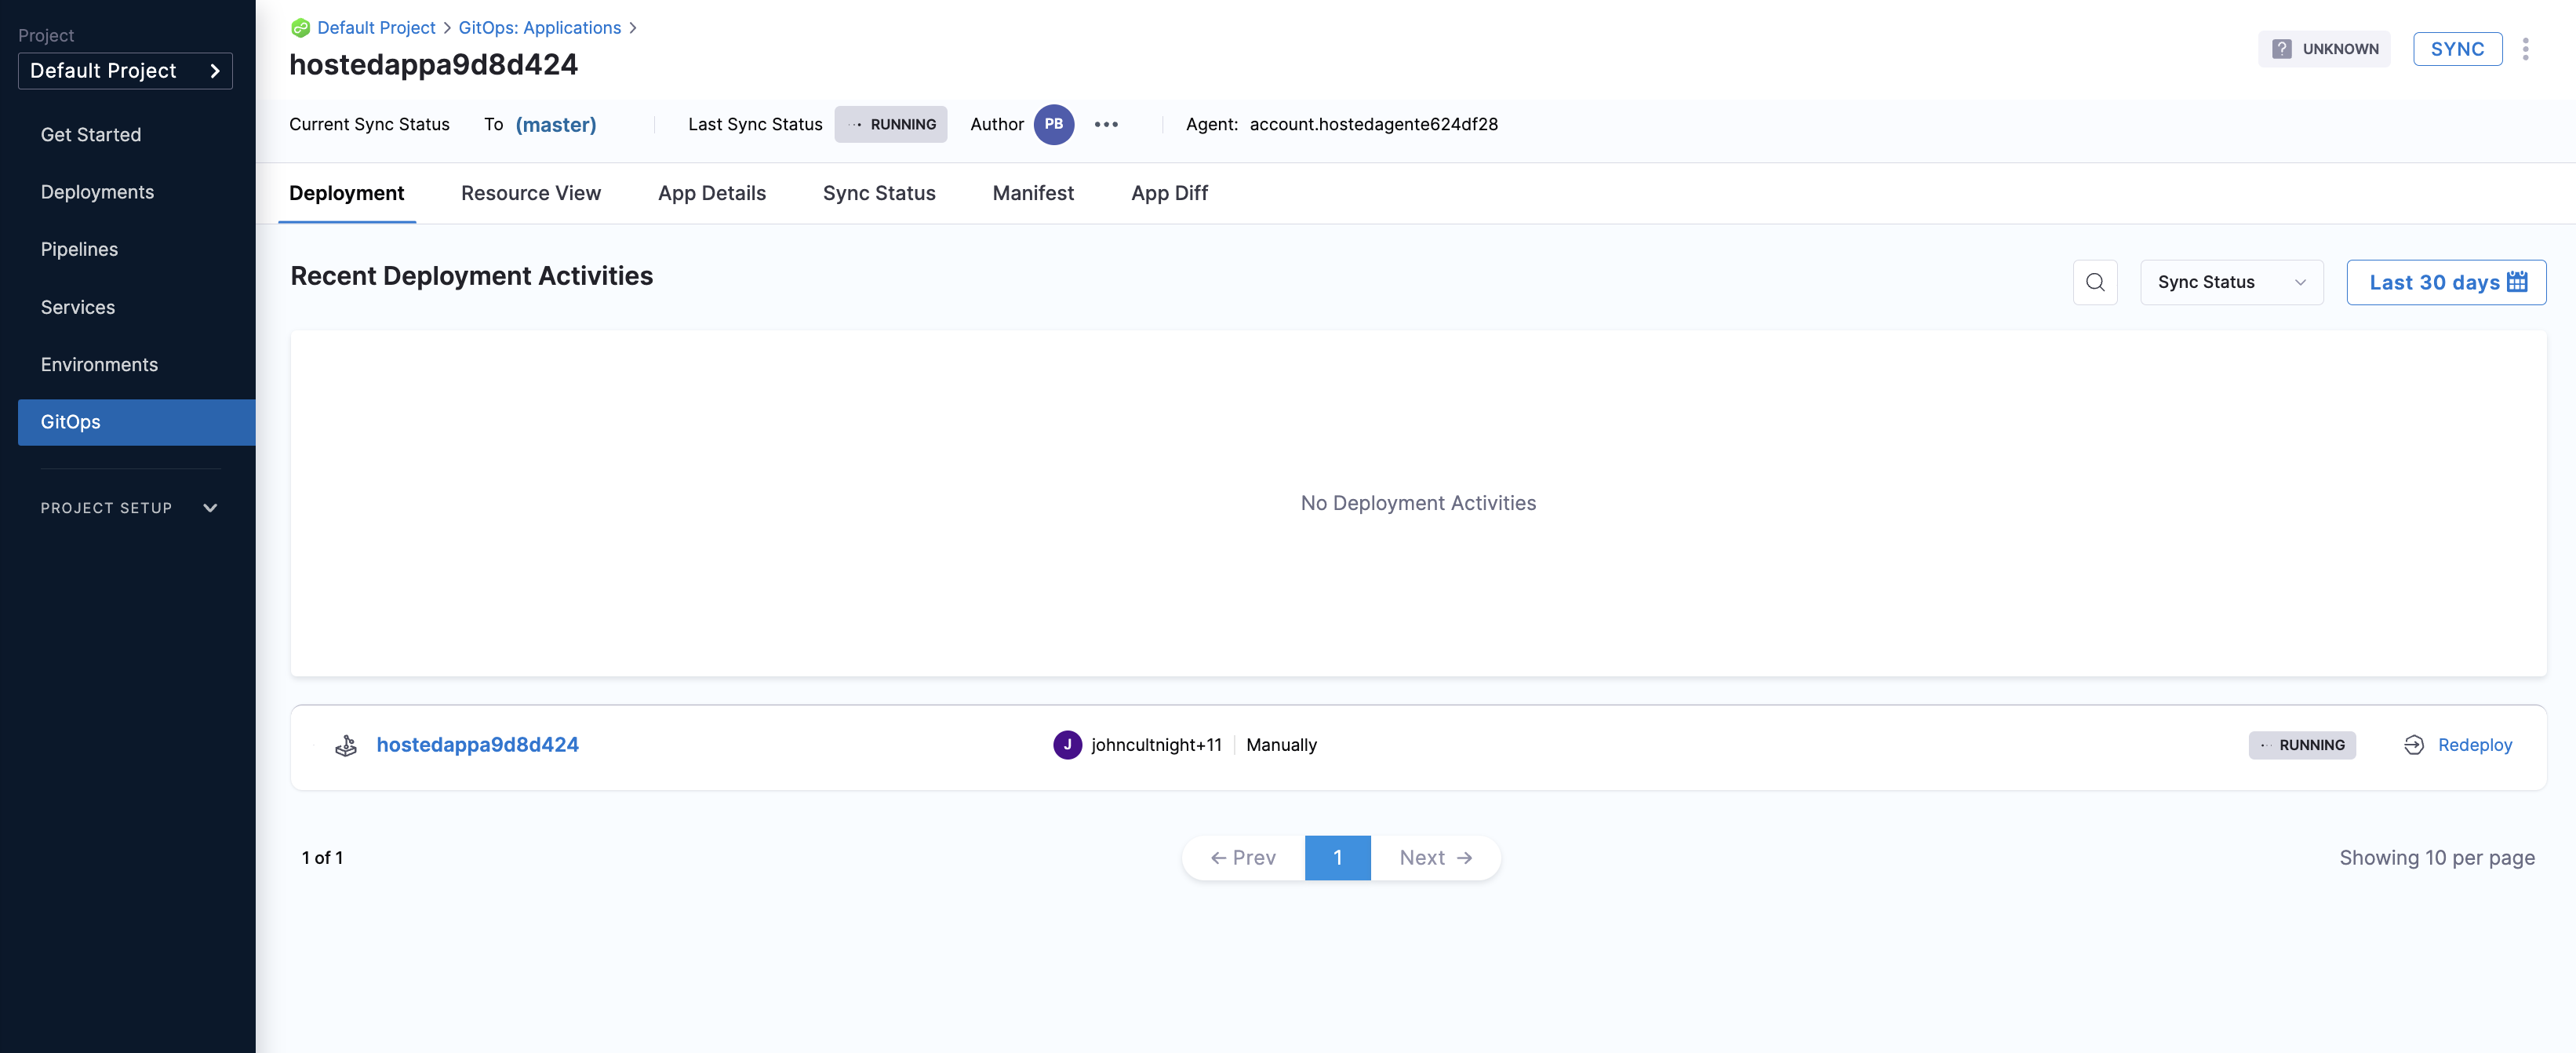
In a minute or two, we can see the successful message.

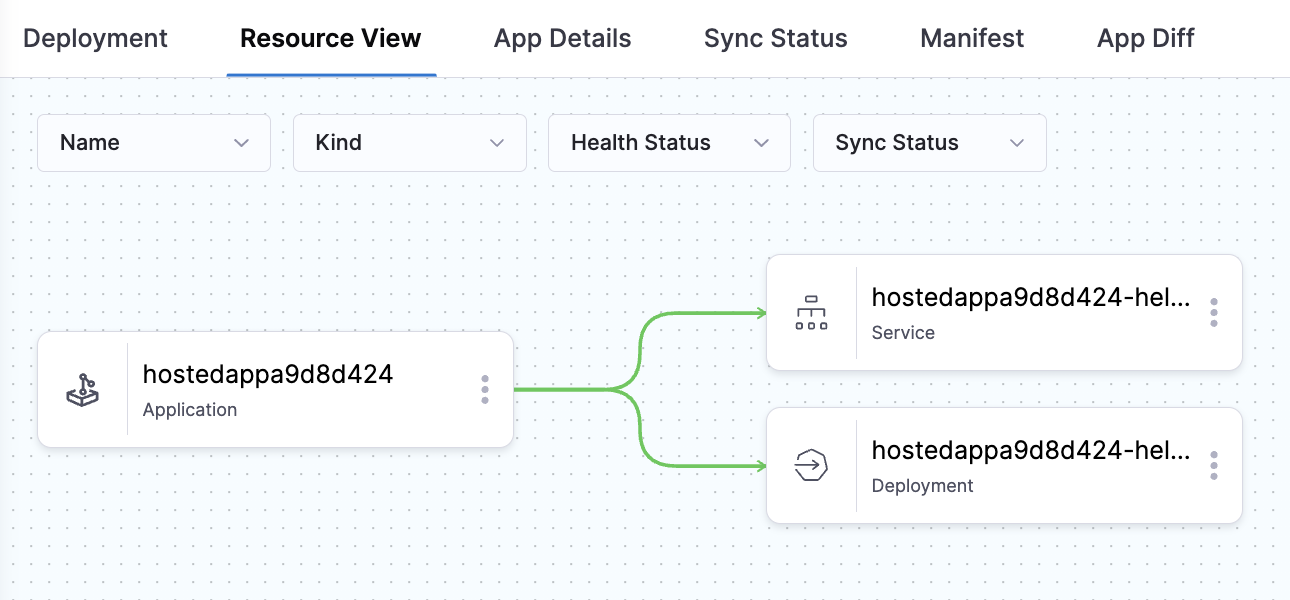
You can check each tab starting from the 'Resource View'
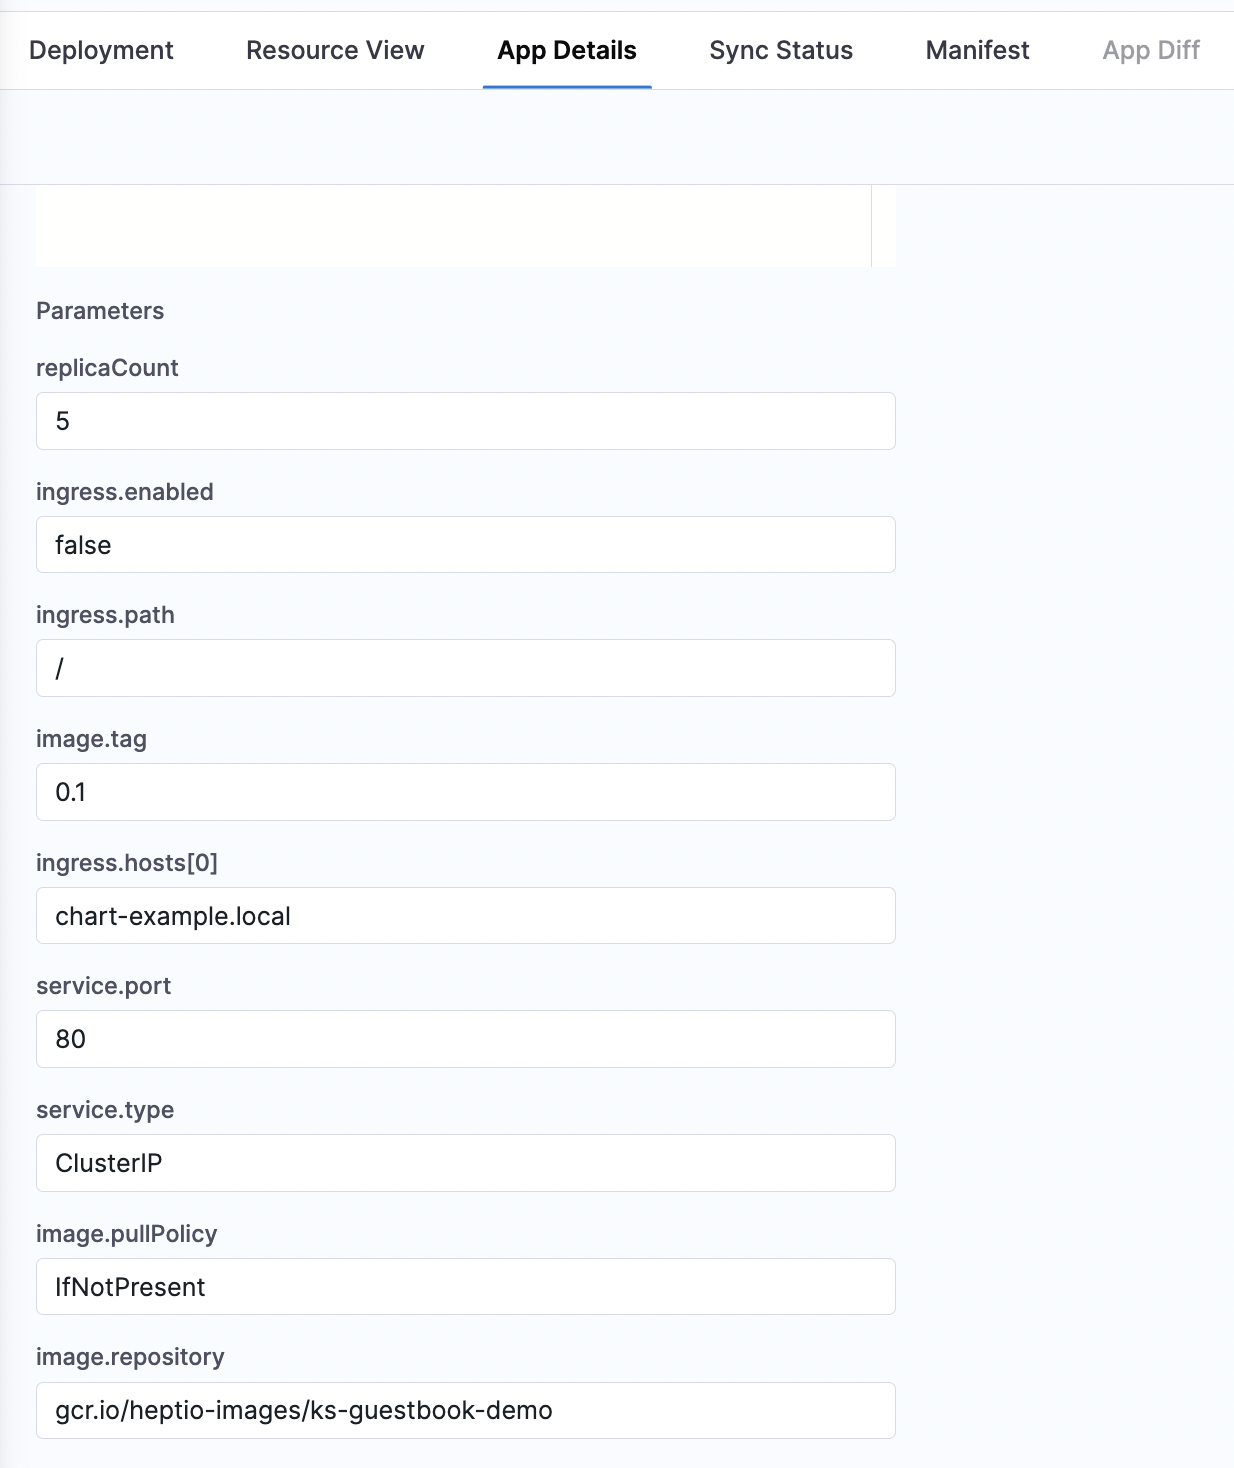
These are the 'App Details' tab features shown below.
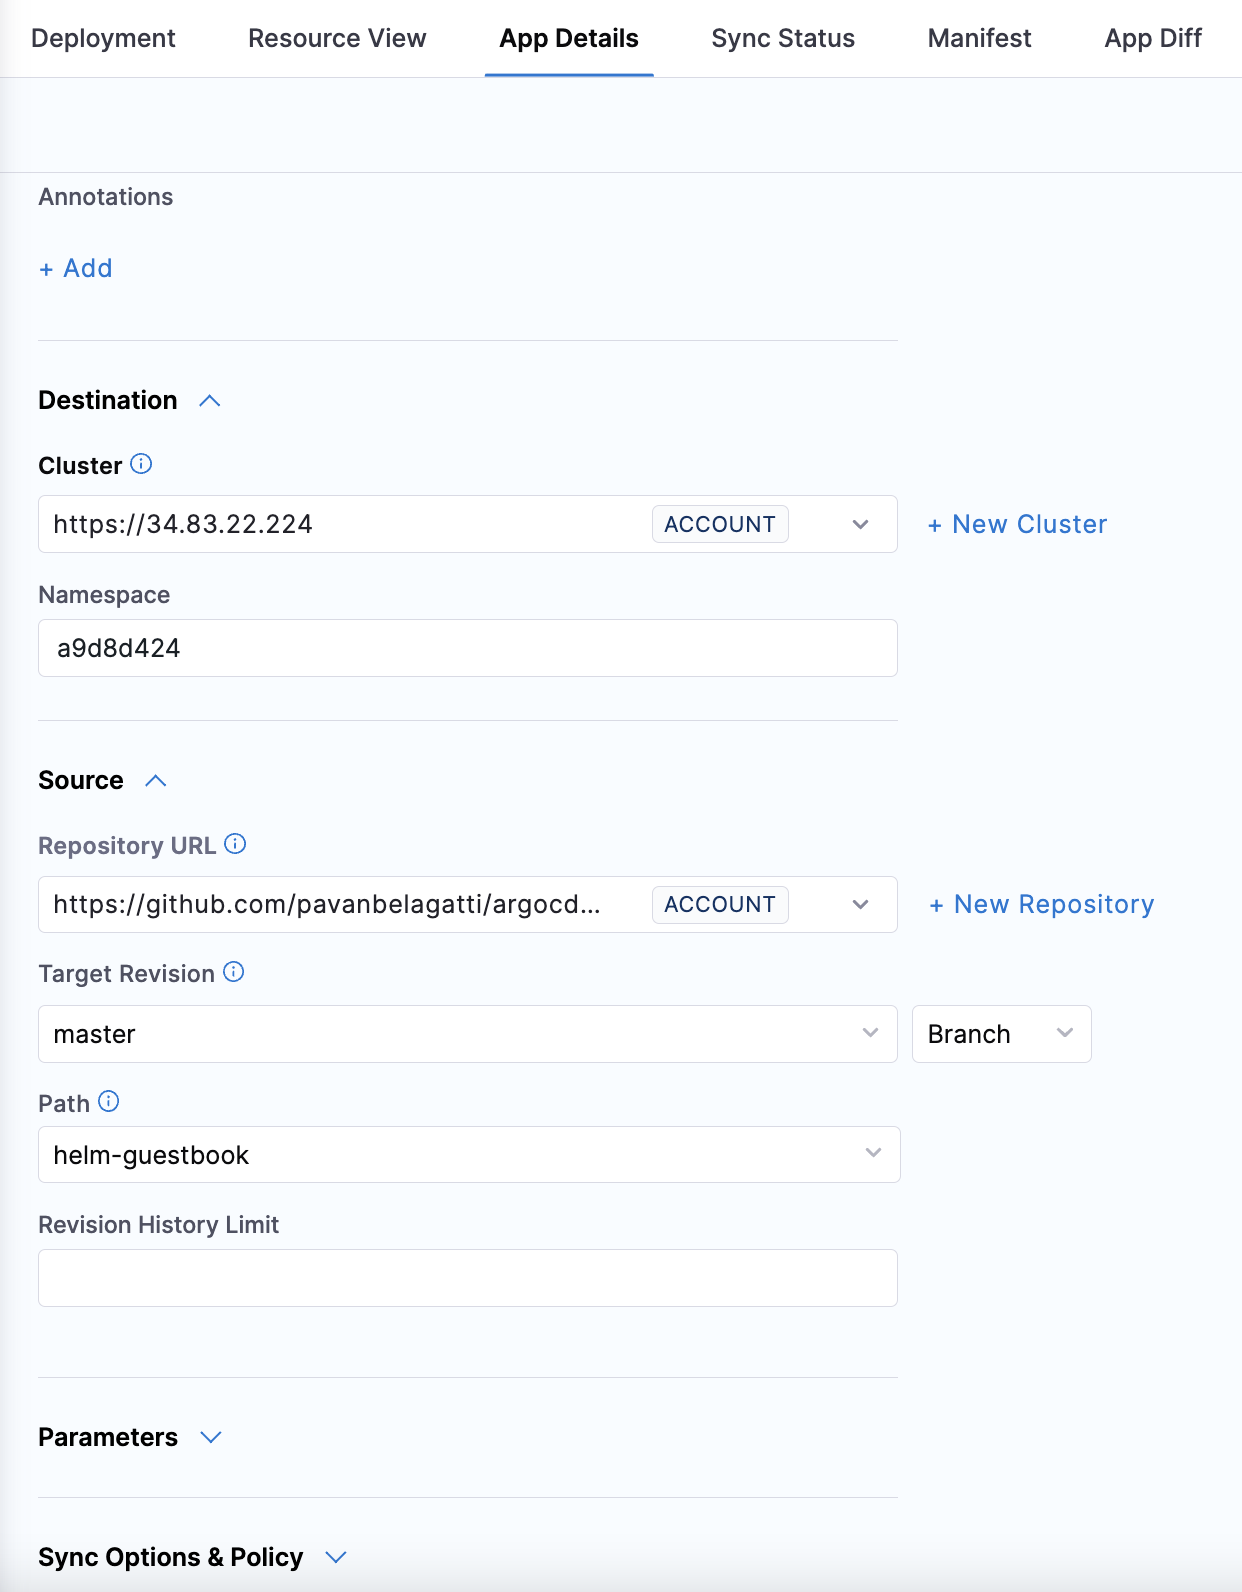
In the same tab, you can see the sync policy, it is set as 'manual', change it to 'Automated'.
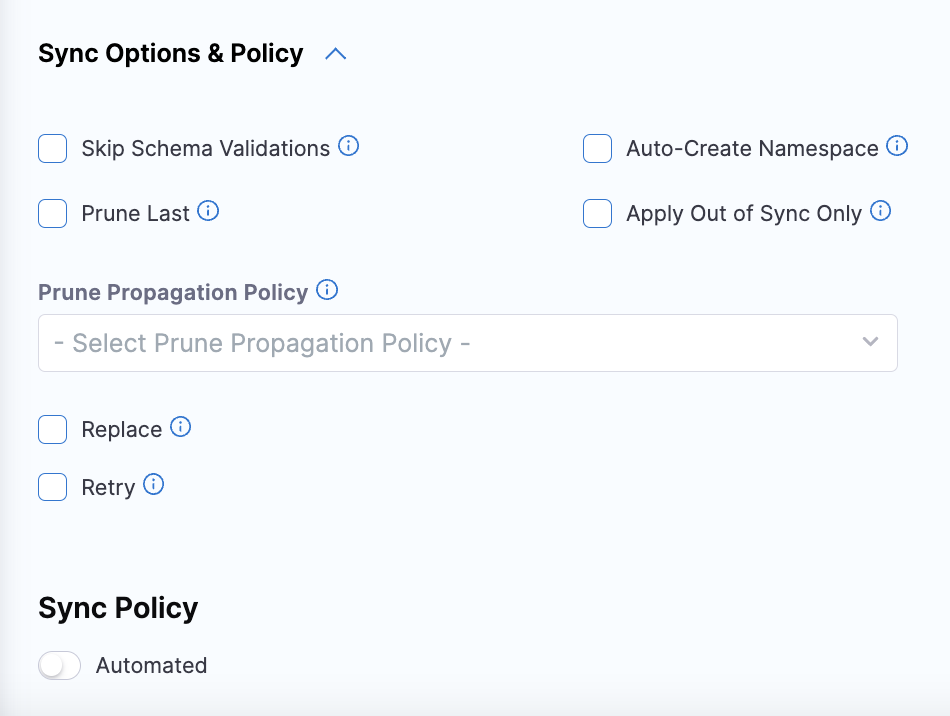
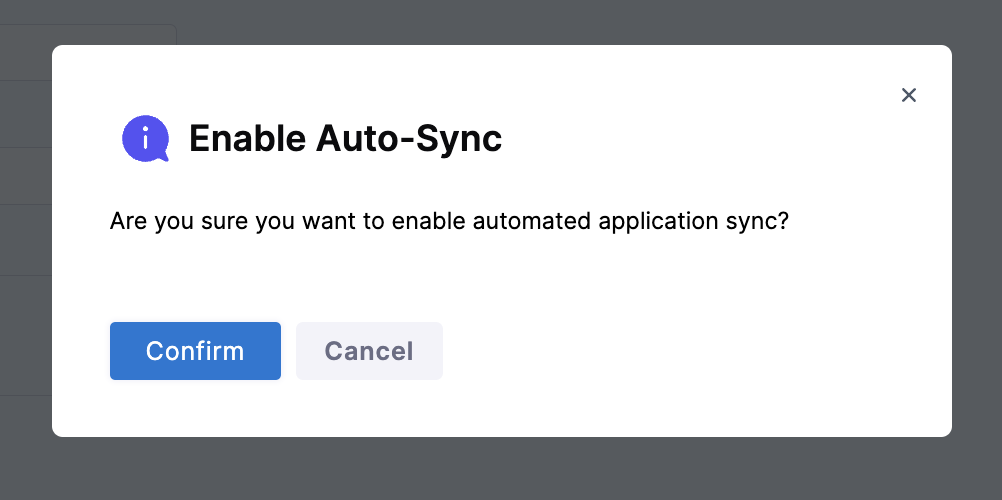
This means, when any changes happen to your GitHub repo, the GitOps agent will pick those changes automatically and syncing will happen in an automated fashion.
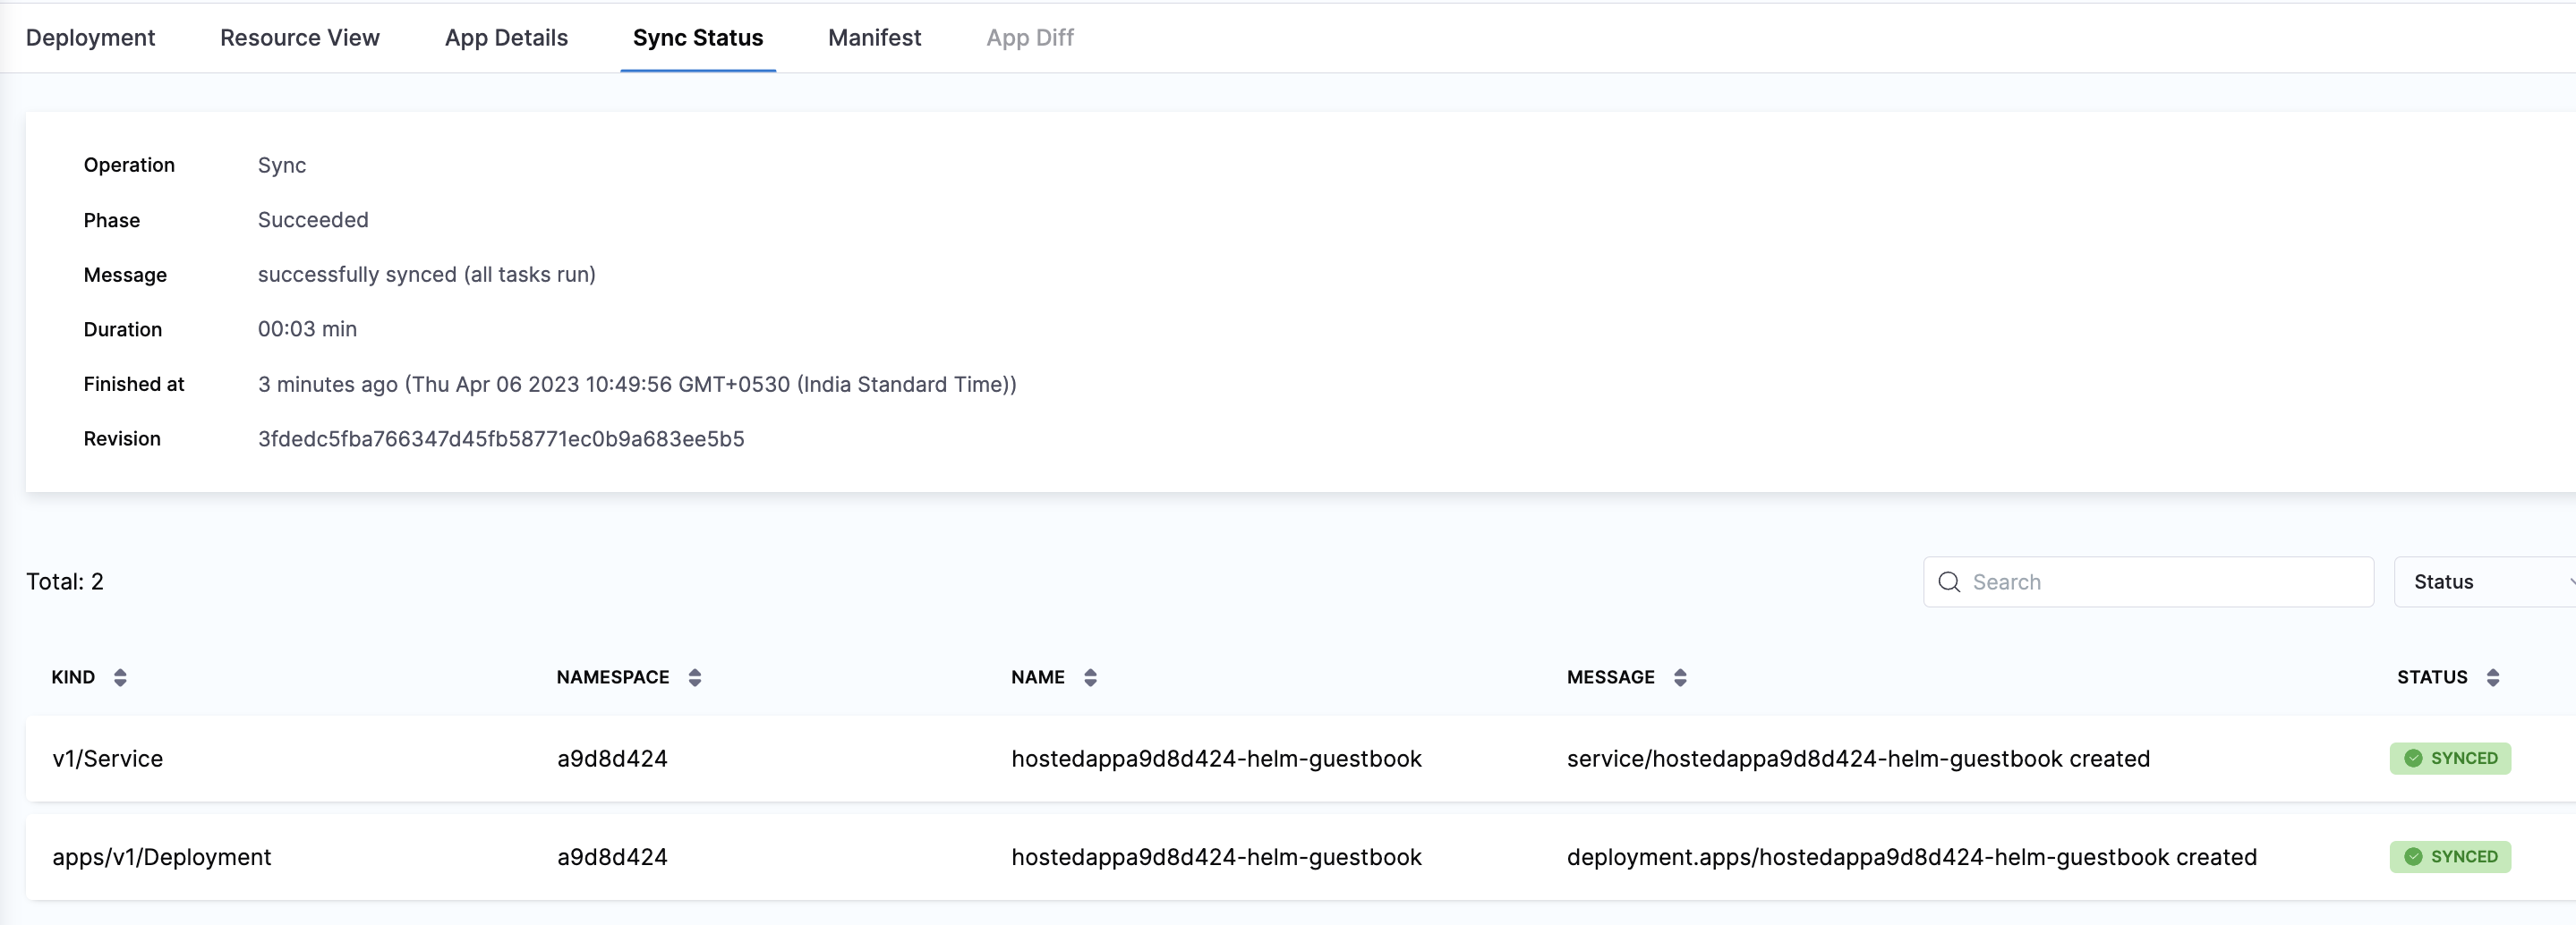
The next tab shows the sync status of the application.
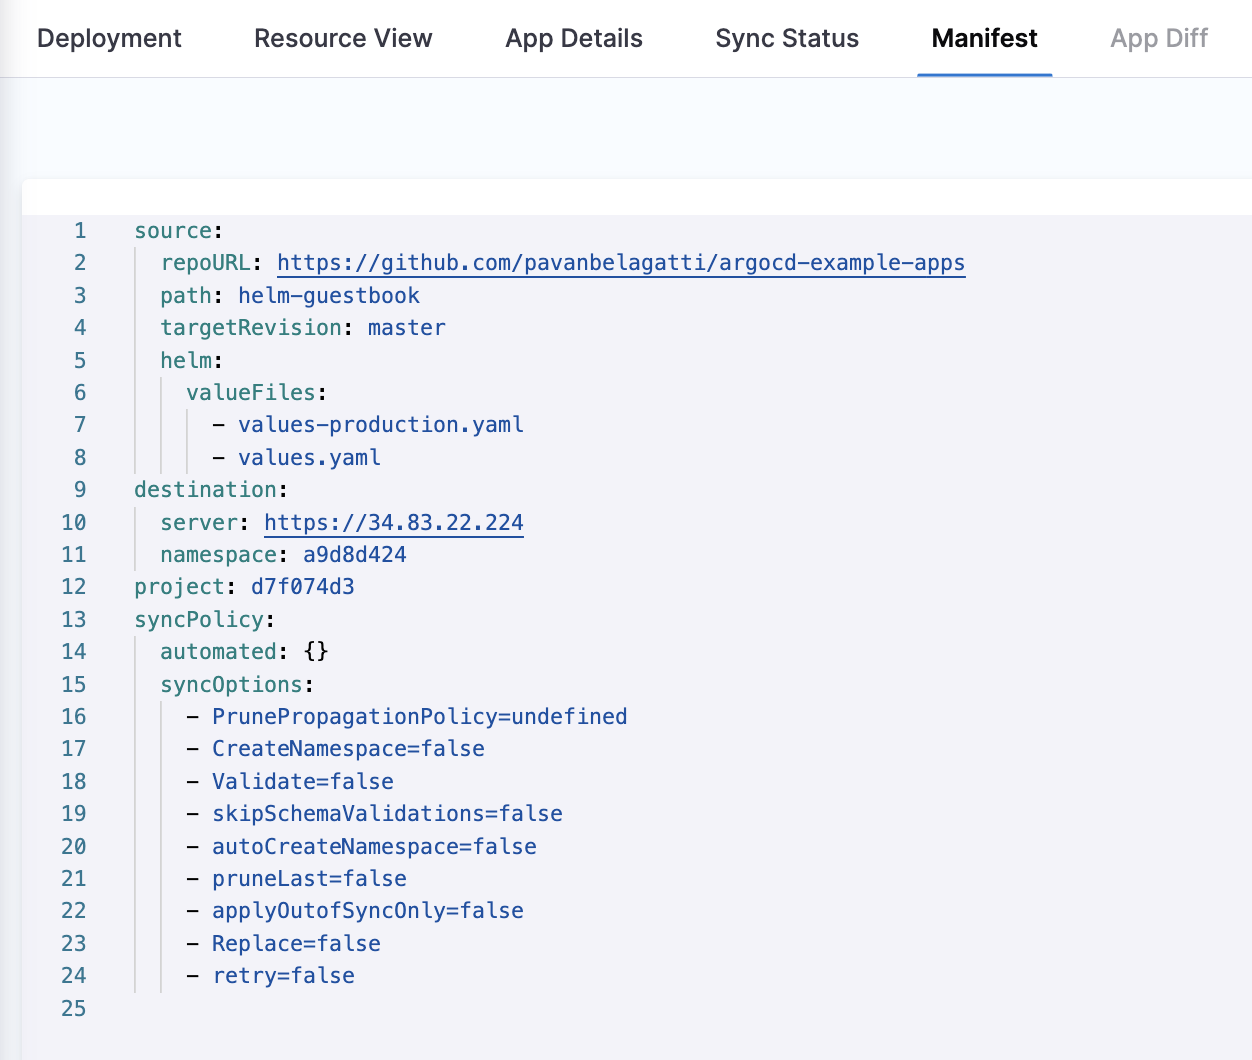
The manifest tab shows the manifest details of the application.
In the main dashboard, go to the 'GitOps' tab is the entry to your GitOps workflows.
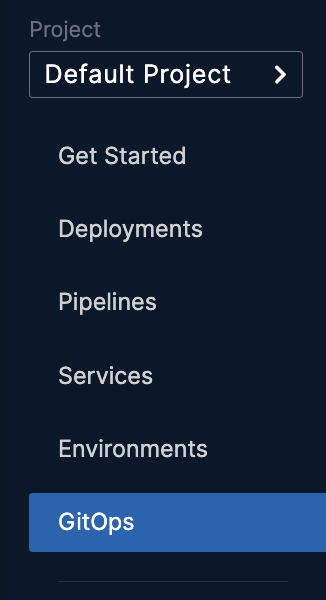
Once you click on the 'GitOps' tab, you should see the overview of your GitOps dashboard.
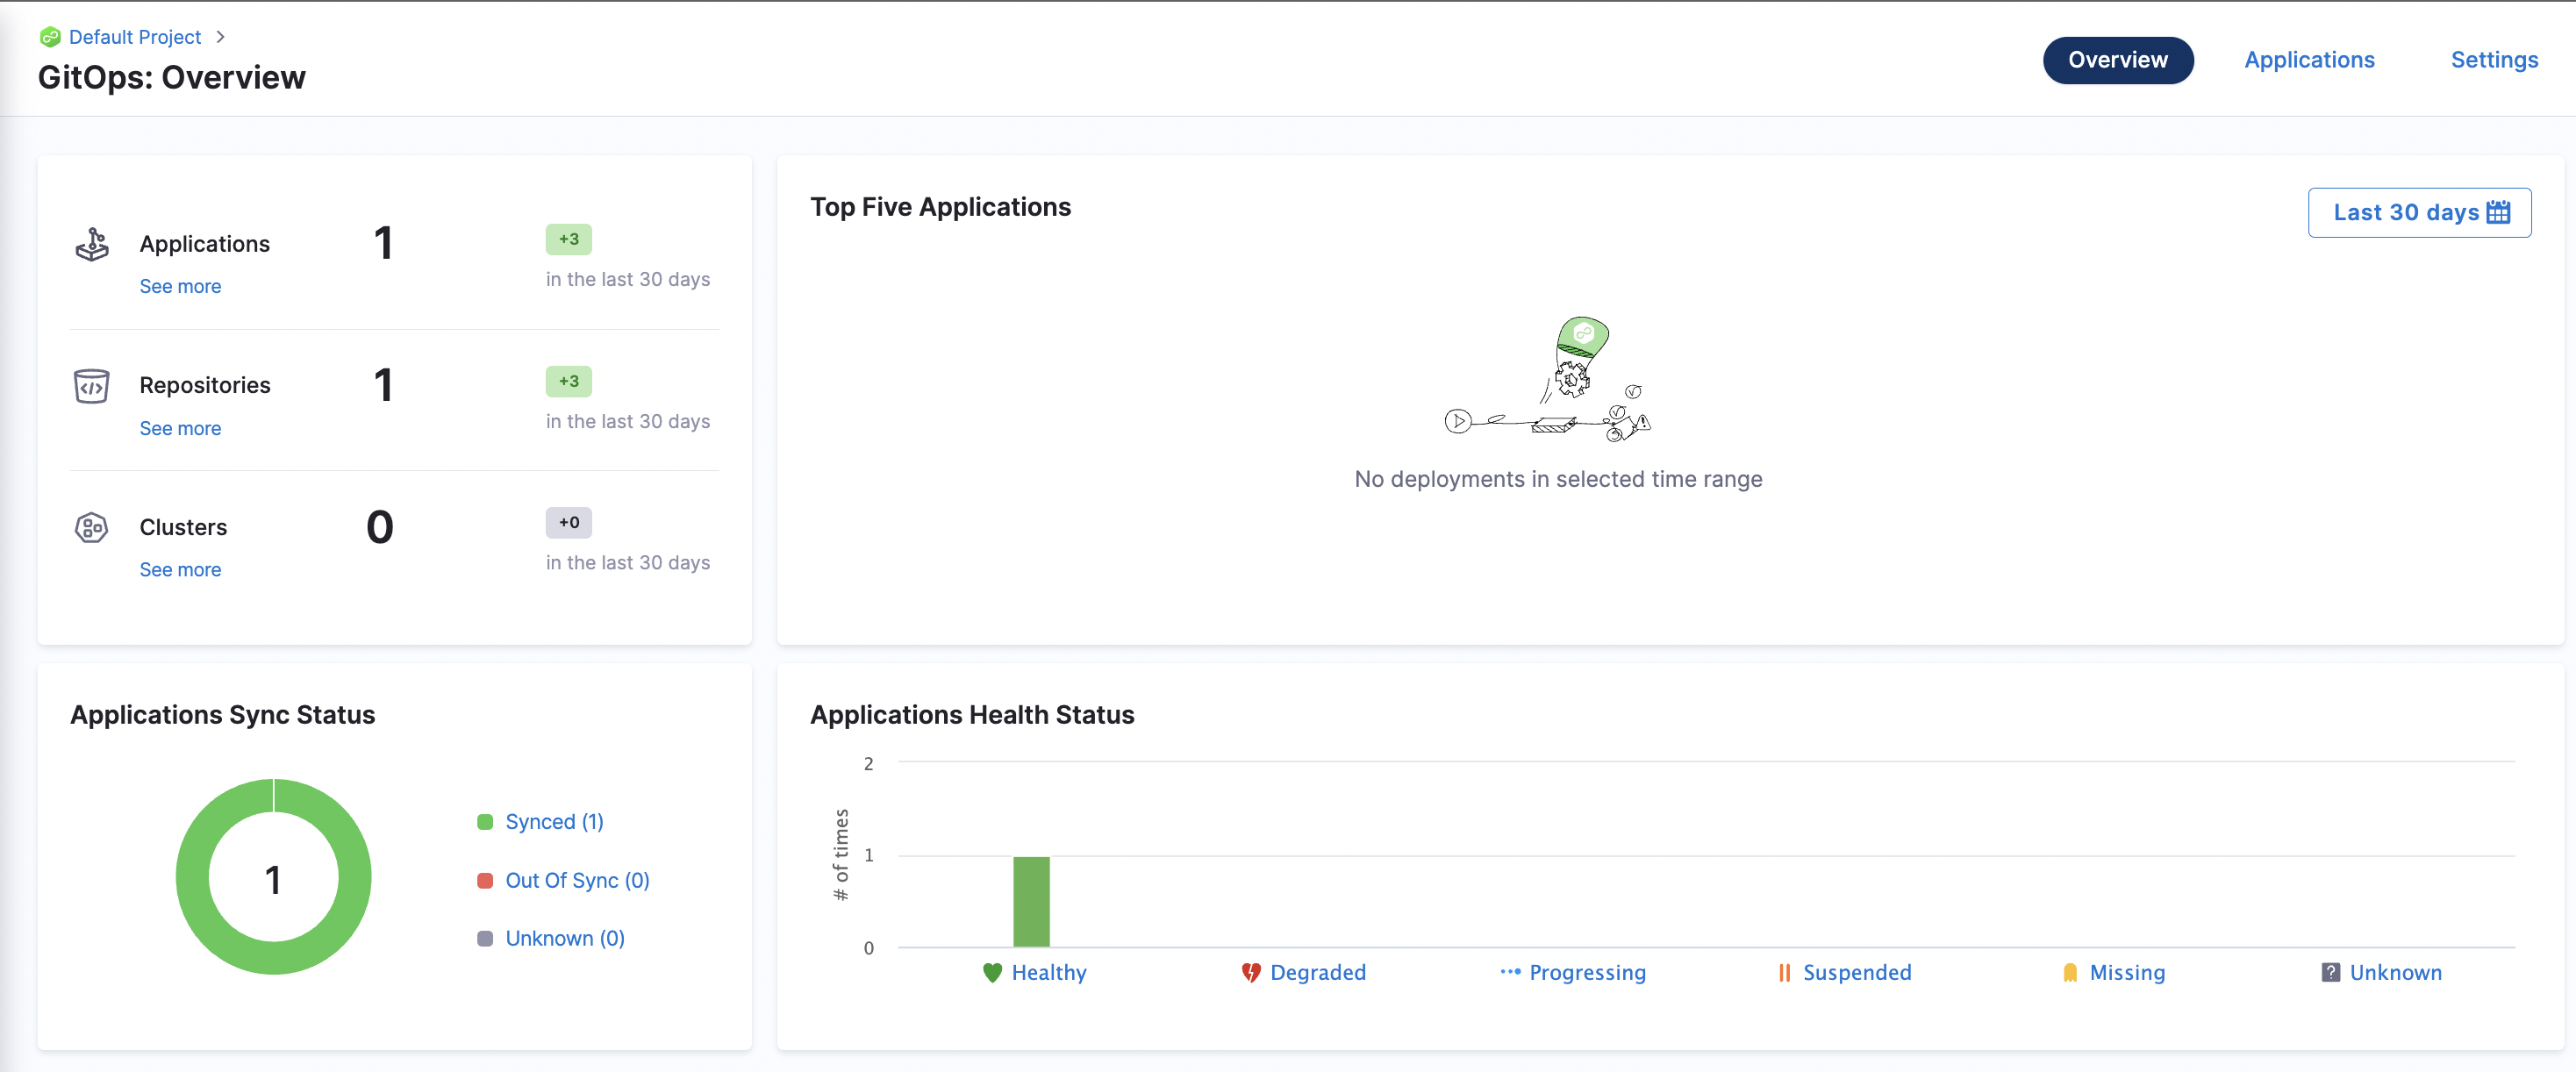
If you click on the application, you should see our application.
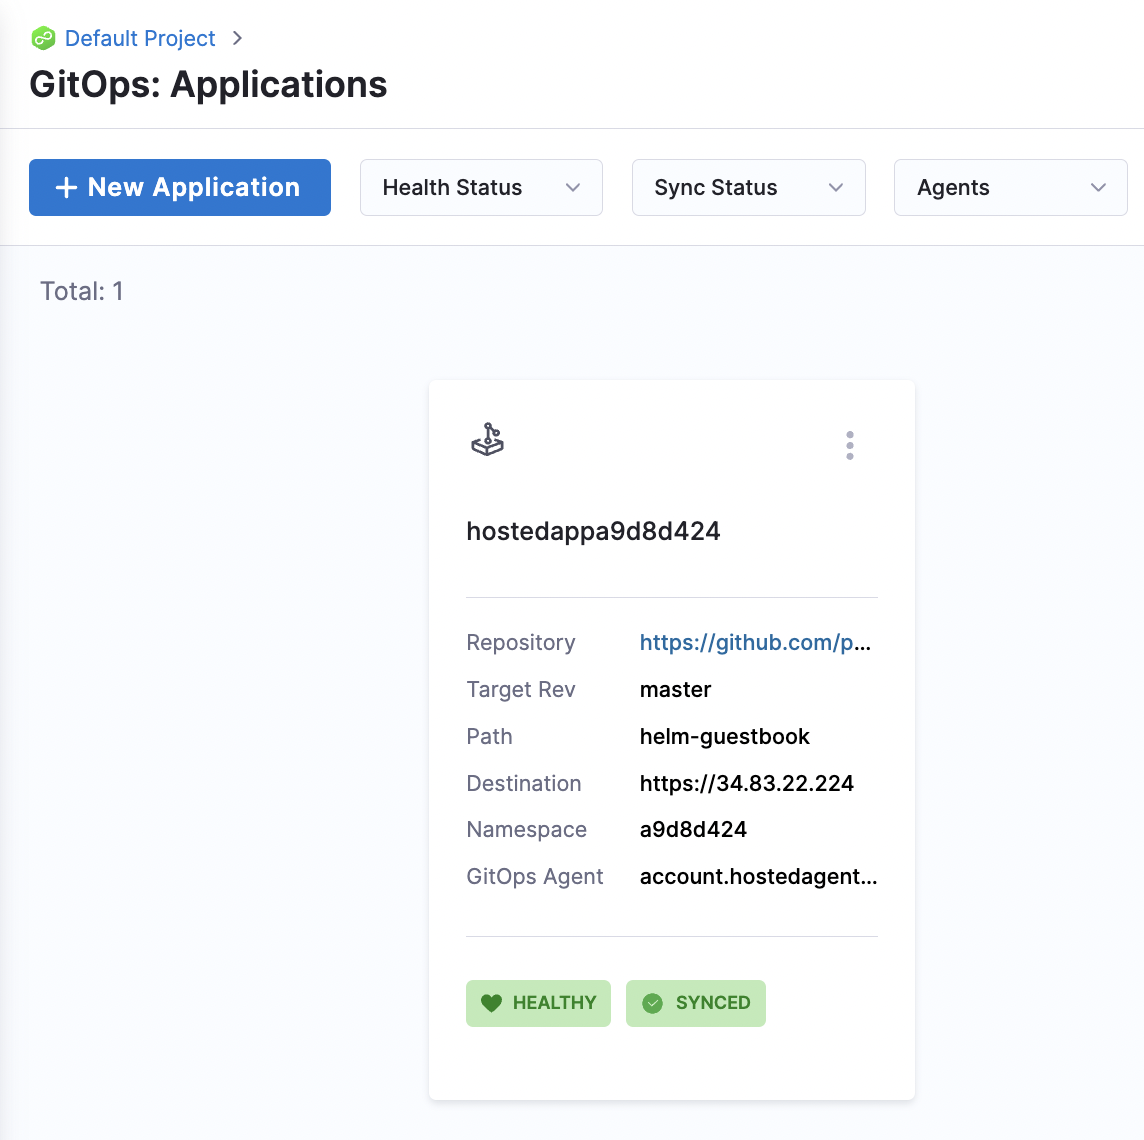
You click on it and go to the Resource view. You will see 4 replicas running as mentioned in our values.yaml file.
This is our values.yaml file from the example repo.
# Default values for helm-guestbook.
# This is a YAML-formatted file.
# Declare variables to be passed into your templates.

replicaCount: 4

image:
  repository: gcr.io/heptio-images/ks-guestbook-demo
  tag: 0.1
  pullPolicy: IfNotPresent

service:
  type: ClusterIP
  port: 80

ingress:
  enabled: false
  annotations: {}
    # kubernetes.io/ingress.class: nginx
    # kubernetes.io/tls-acme: "true"
  path: /
  hosts:
    - chart-example.local
  tls: []
  #  - secretName: chart-example-tls
  #    hosts:
  #      - chart-example.local

resources: {}
  # We usually recommend not to specify default resources and to leave this as a conscious
  # choice for the user. This also increases chances charts run on environments with little
  # resources, such as Minikube. If you do want to specify resources, uncomment the following
  # lines, adjust them as necessary, and remove the curly braces after 'resources:'.
  # limits:
  #  cpu: 100m
  #  memory: 128Mi
  # requests:
  #  cpu: 100m
  #  memory: 128Mi

nodeSelector: {}

tolerations: []

affinity: {}
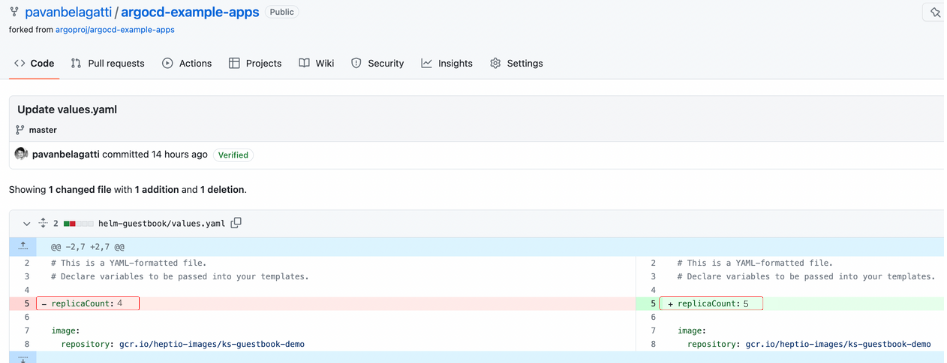
Now, change the replicaCount: 4 from 4 to 5.
You should see that the GitOps agent will see this difference and picks it up. Suddenly the application configuration goes out of sync. Takes some time to match up and gets back to the healthy and successful sync state.

You can see the second deployment as 'Automated' since we changed the sync policy to automated.
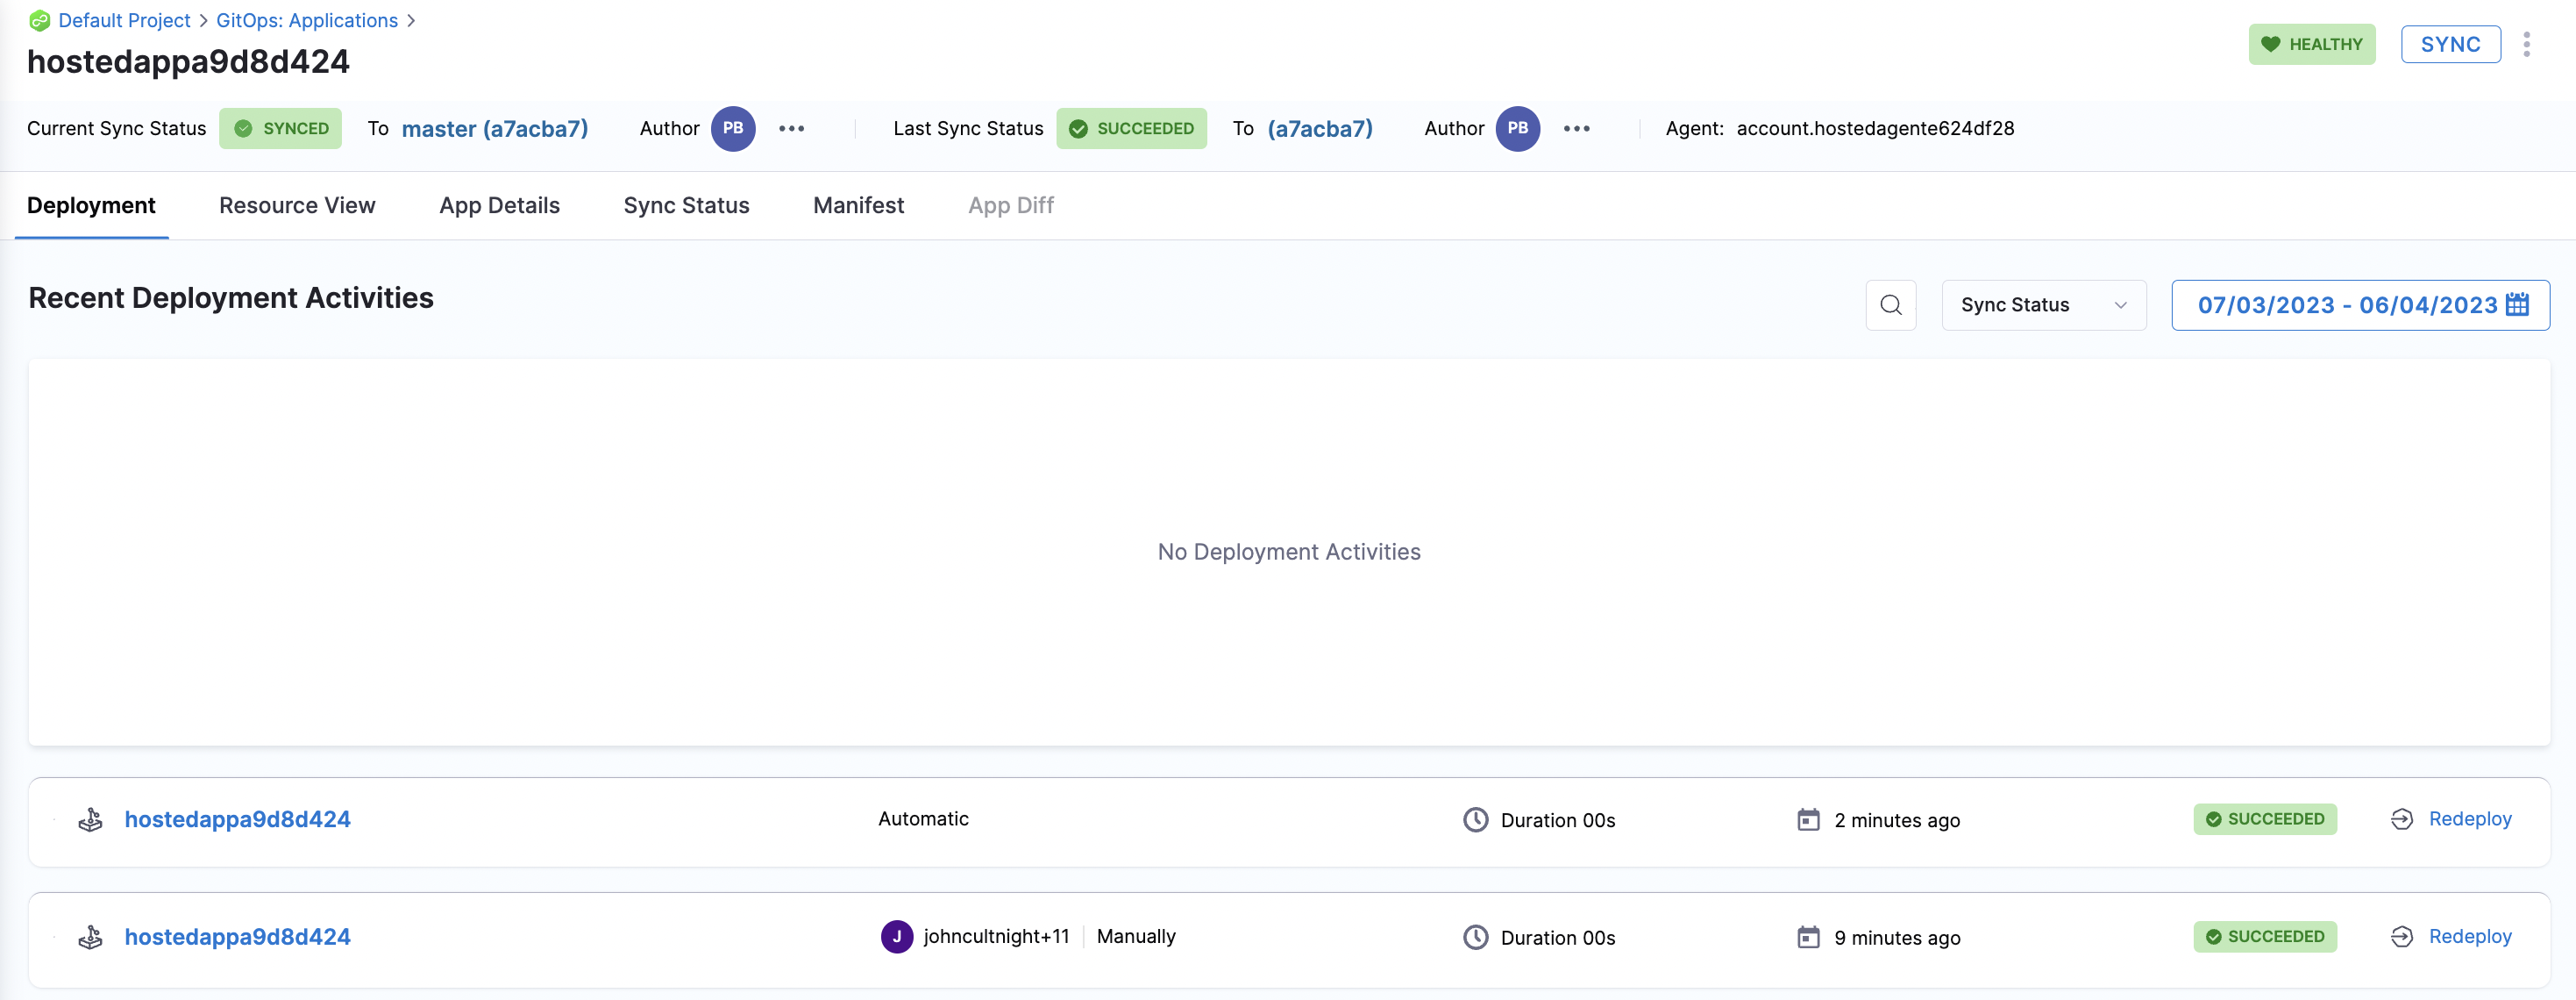
Well, after some time, the application configuration state shows a healthy and successful sync state.
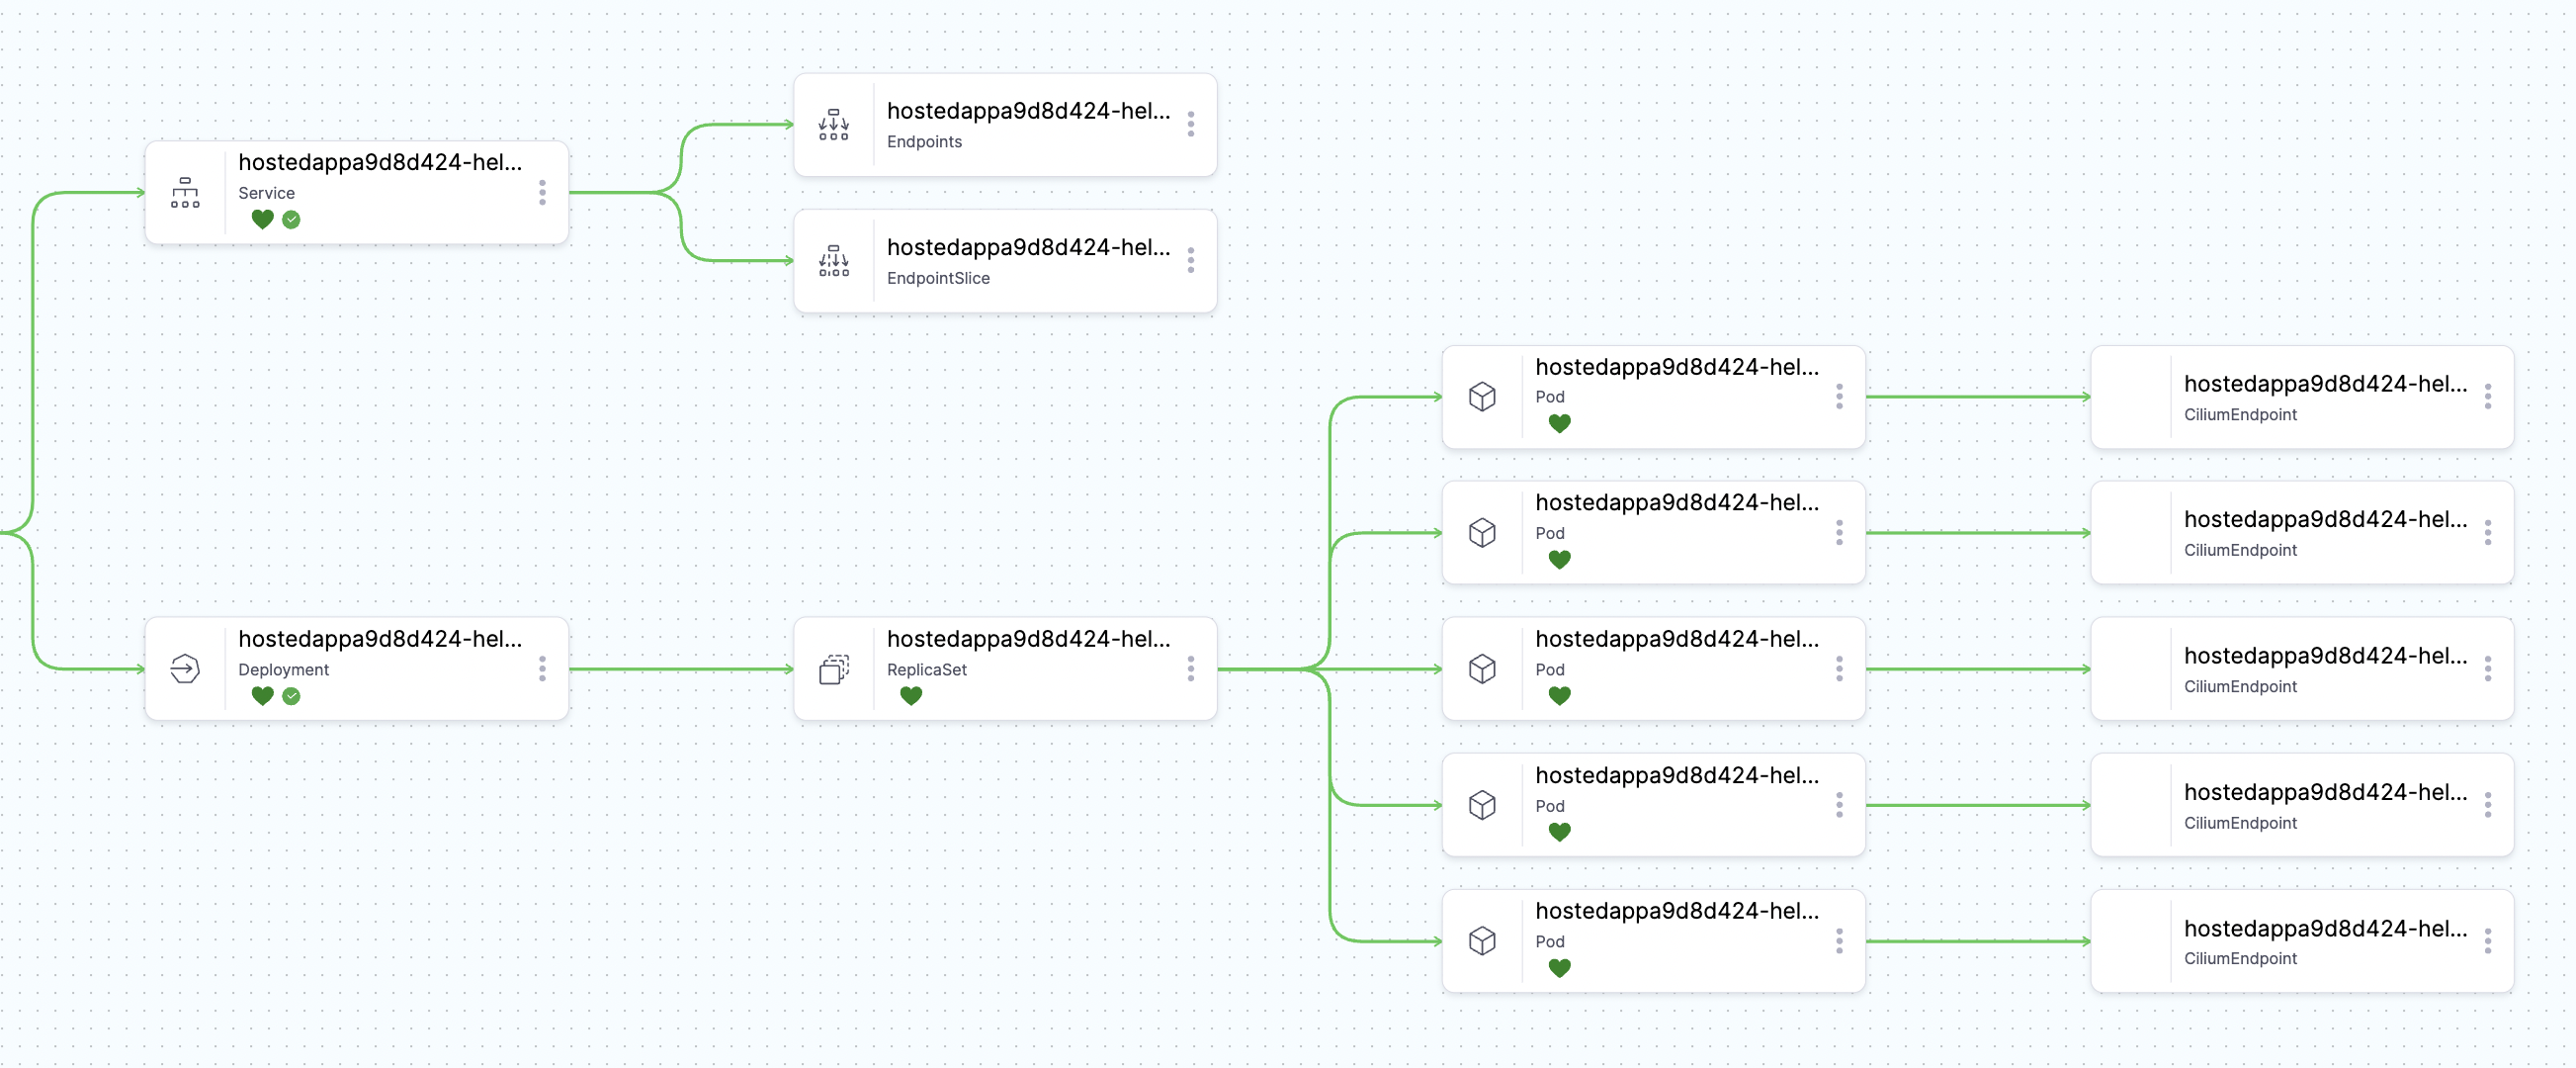
In the above resource view, you can see that the replicas have been matched to 5 as we wanted 5 replicas.
As GitOps uses Git as the source of truth, it keeps a record of who committed what code and if someone changed something in the repository. You can see this from our GitOps dashboard.

Once you click on that id number shown in red box above, you can see what changed.
This is how intuitive and simple it is to deploy applications via the GitOps way using Harness CD.
Kubernetes GitOps is a fantastic approach to handling complex cloud-native application deployments. Since it uses a simple tool like Git that developers already know, it becomes easy to learn and streamline your application deployment approach. Make your applications more stable, agile and efficient with Kubernetes GitOps. Get started with GitOps today!


![This is How I Built a Real-time Chat Application with Socket.io & Node.js [Added Automated Testing]](/_next/image?url=https%3A%2F%2Fcdn.hashnode.com%2Fres%2Fhashnode%2Fimage%2Fupload%2Fv1681709527211%2Ffde84202-e495-4ba0-8258-05288d138179.png&w=3840&q=75)