Continuous Integration for Serverless Applications

Tech Storyteller | Developer Advocate | Guest Writer | Speaker. #DevOps
Serverless has revolutionized the way applications are developed and deployed. With serverless architecture, developers can build and run applications without worrying about the underlying infrastructure. Node.js, a popular open-source platform, has become a go-to choice for building serverless applications due to its flexibility and scalability. Node.js helps developers build serverless applications quickly and efficiently. It offers an event-driven, non-blocking I/O model that makes it lightweight and ideal for microservices architecture. With Node.js, developers can build event-driven applications that can handle a large number of requests at once. It also offers a rich set of modules and libraries that make it easy to build complex serverless applications.
Today, we will see how to build an automated continuous integration pipeline to test our sample Node.js serverless application. Let's go!
Prerequisites
Free Harness account to automate your tests
Sample Node.js serverless application. We have already created a sample serverless application; feel free to fork the same and use it.
Tutorial
First, sign in to your Harness account. Harness is a continuous delivery platform.
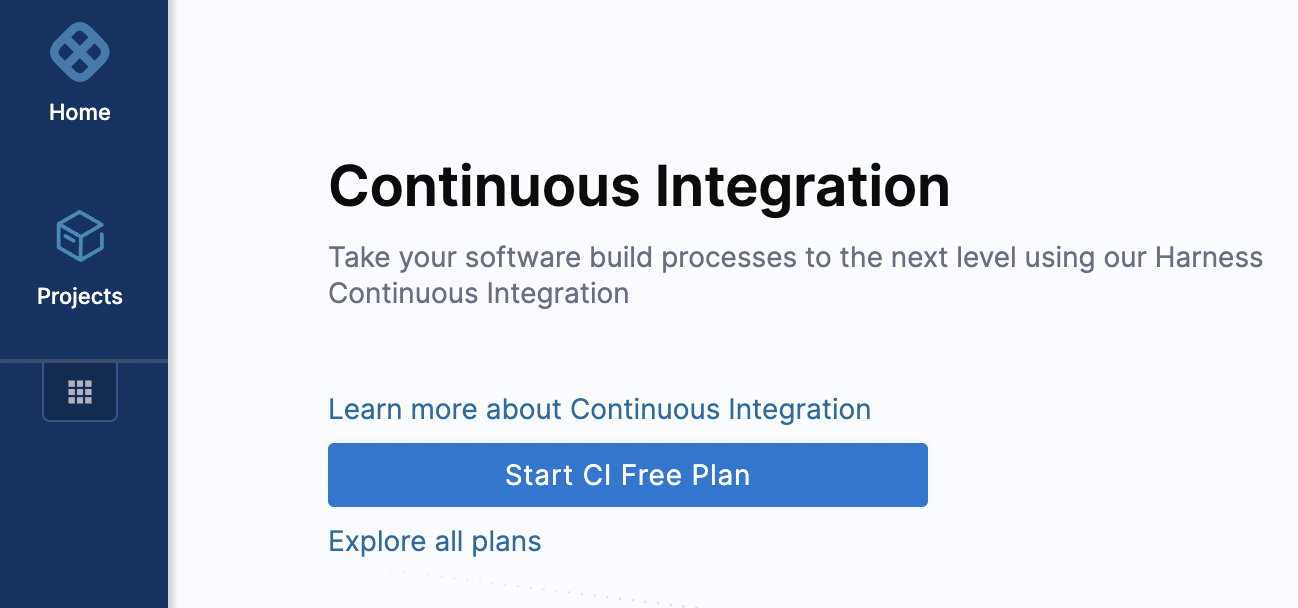
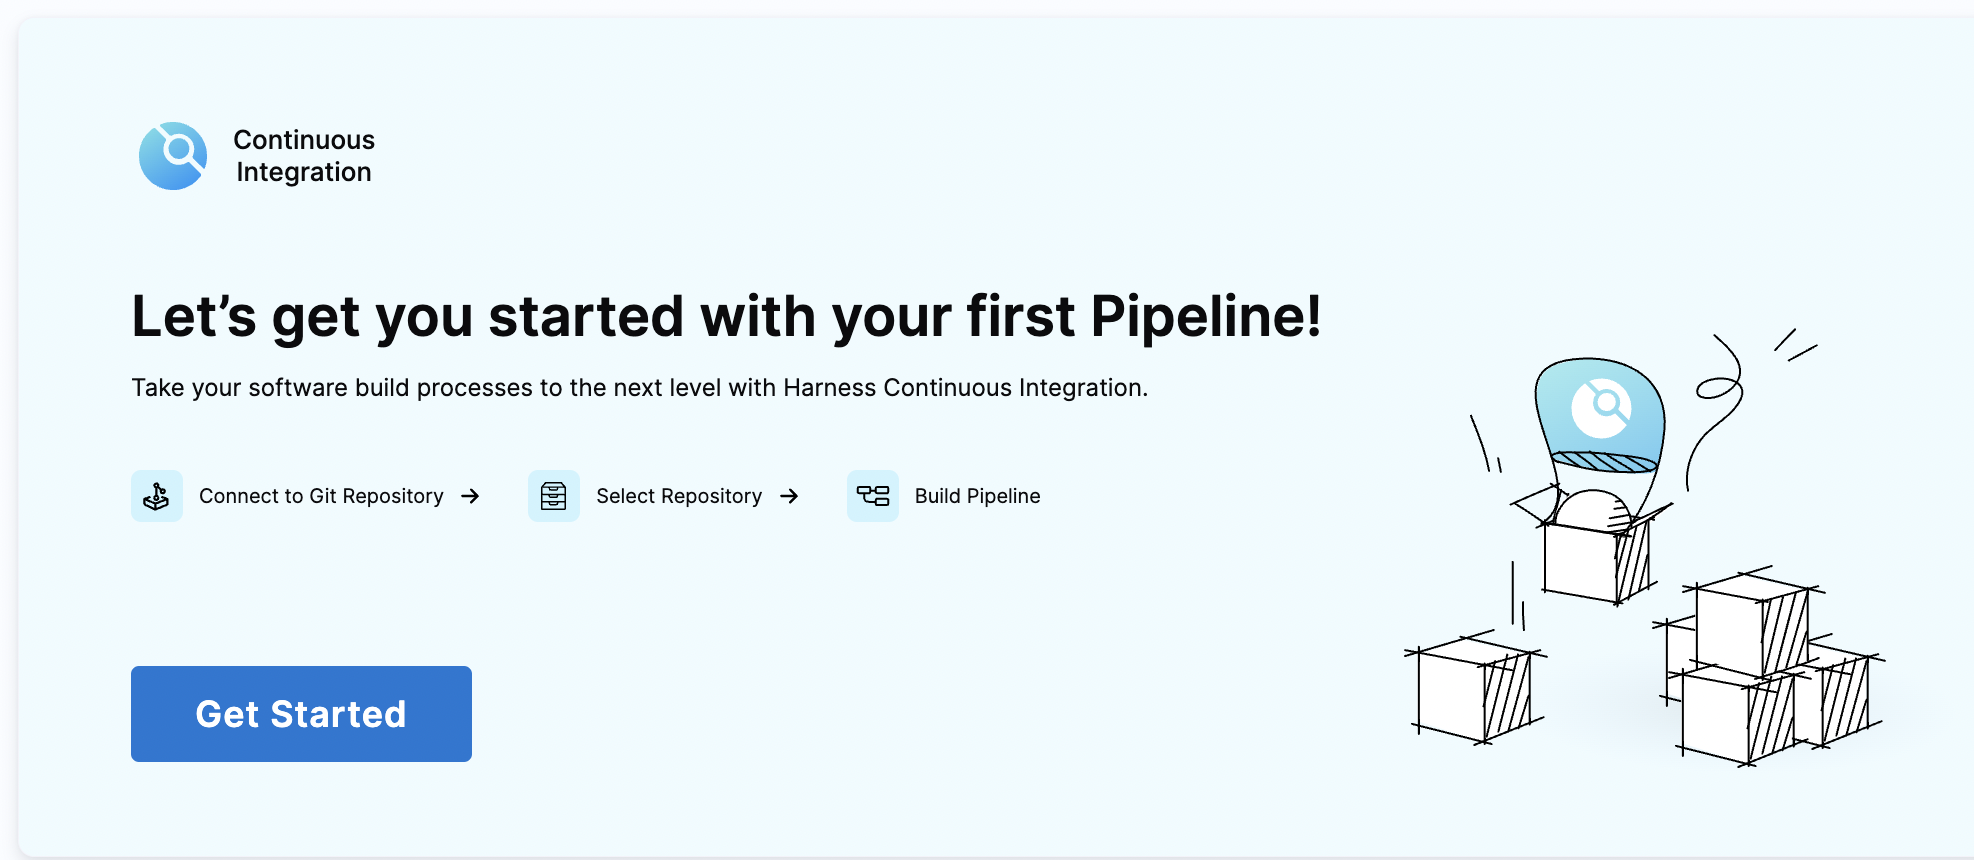
Get started with creating your first pipeline
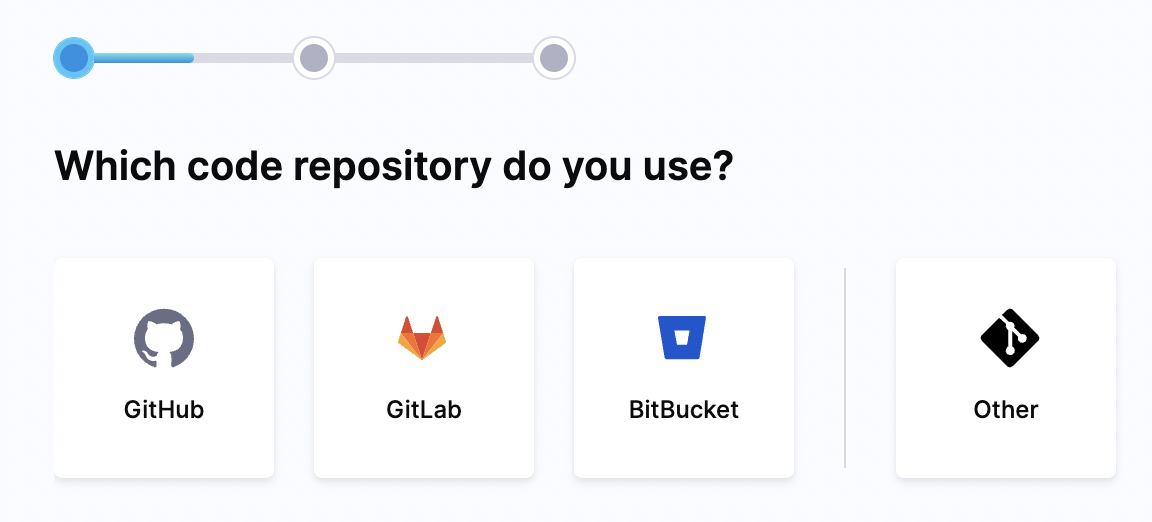
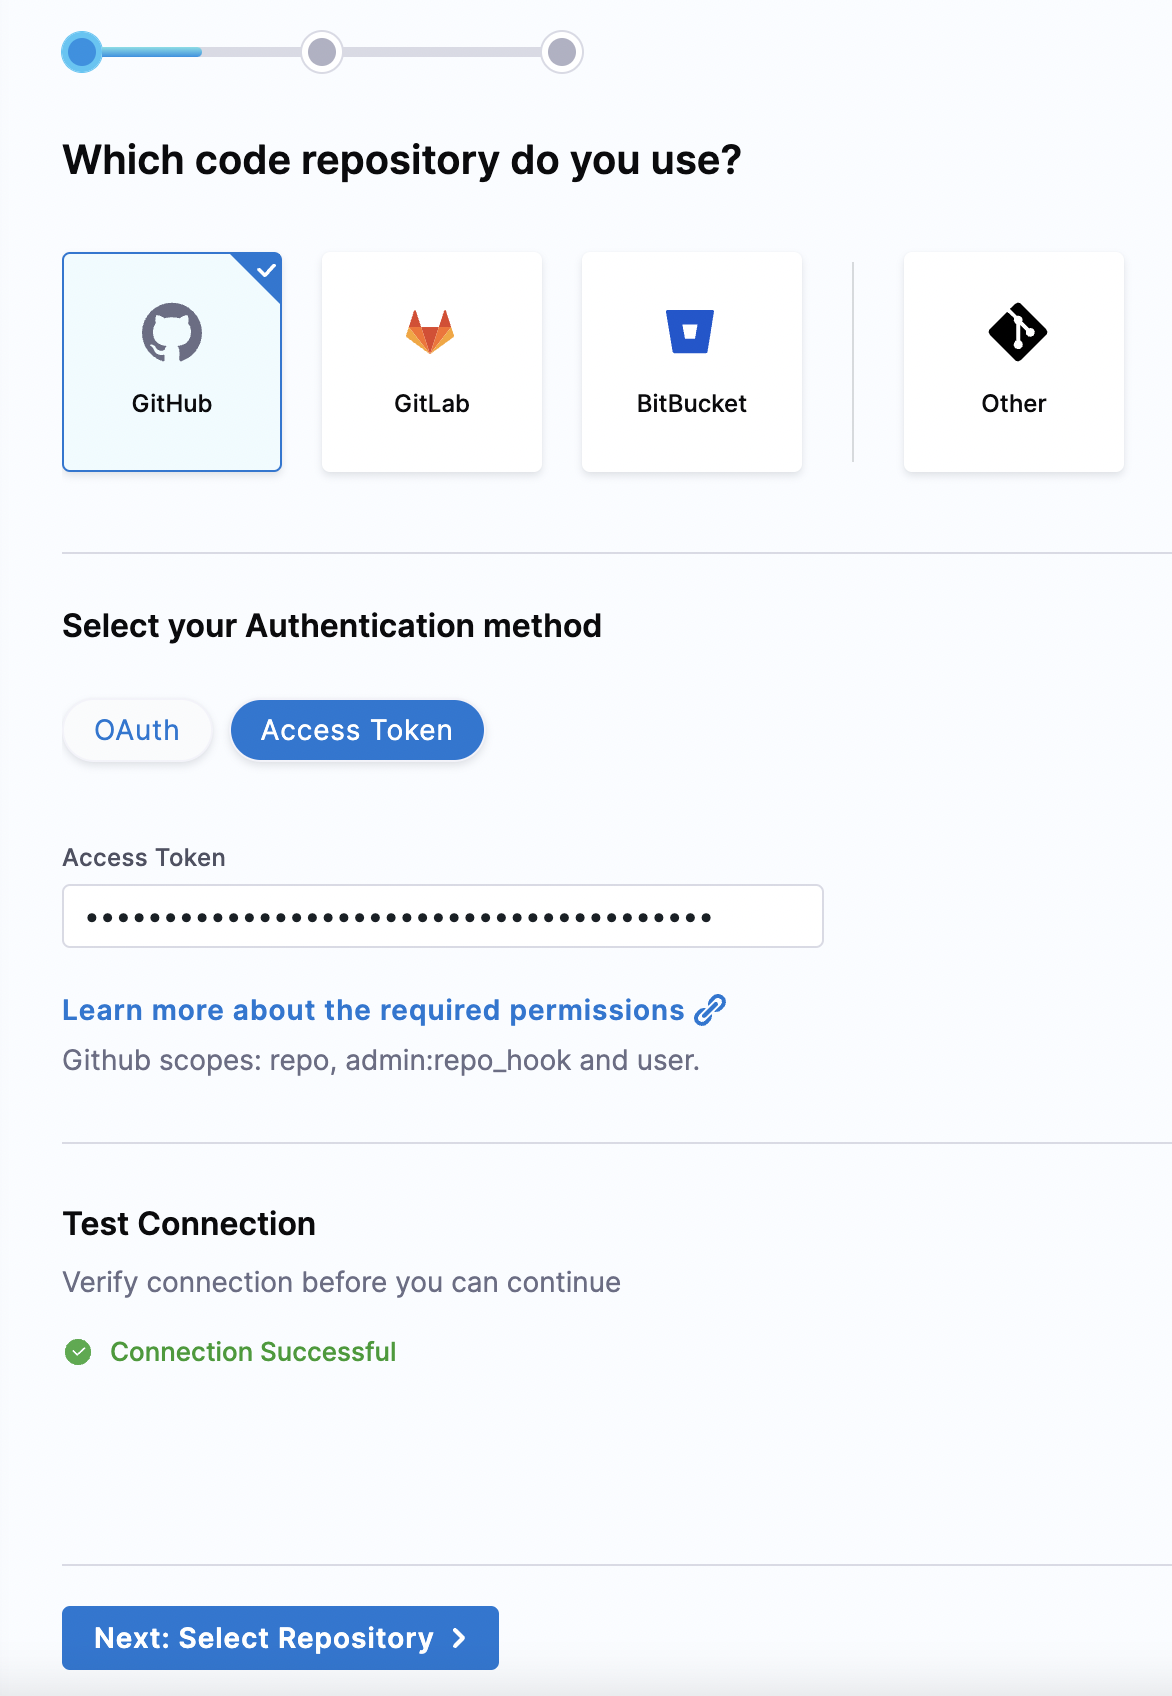
Authenticate with your GitHub account as your application code is present there.
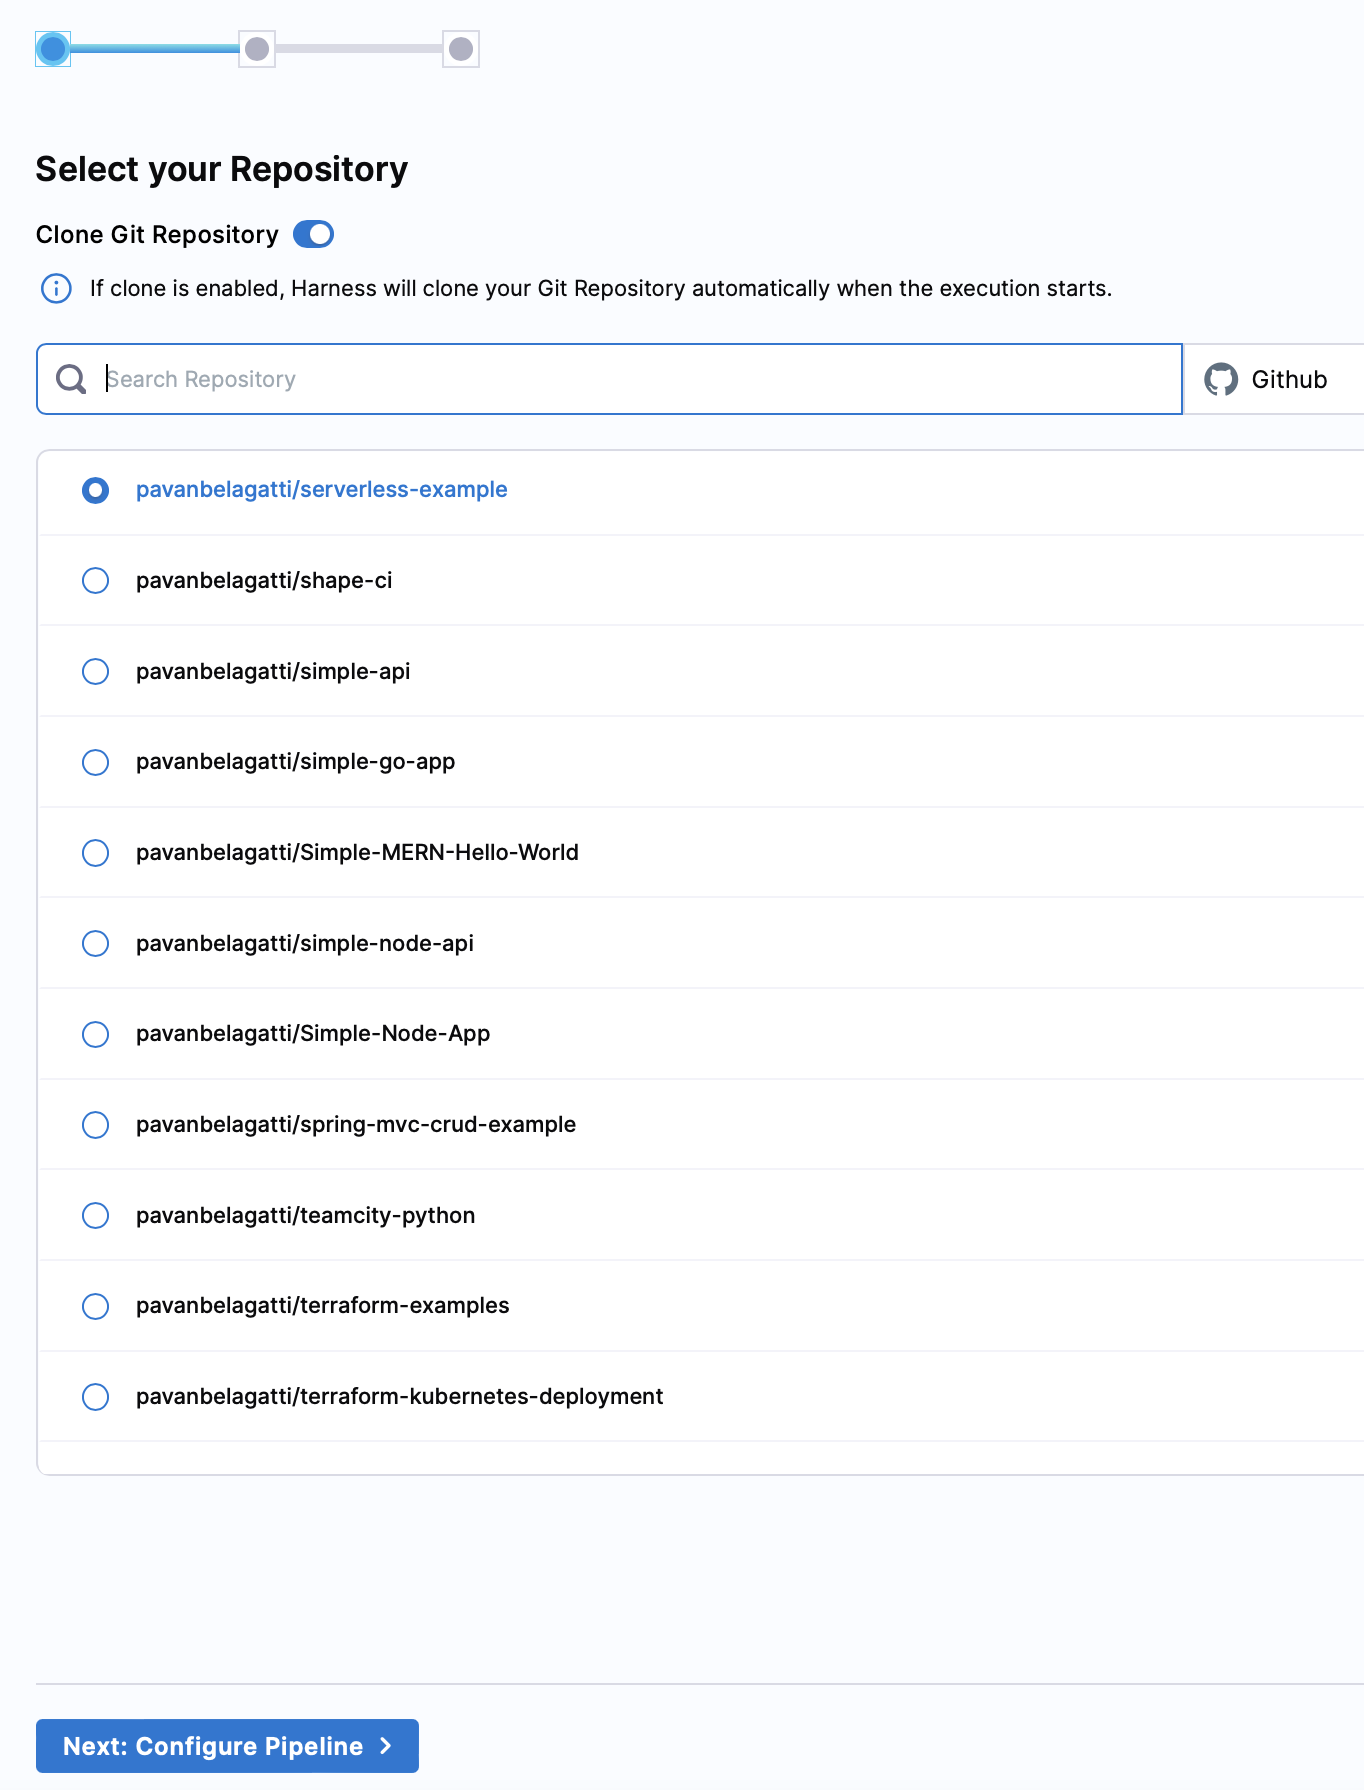
Select your application repository. The serverless application you forked above.
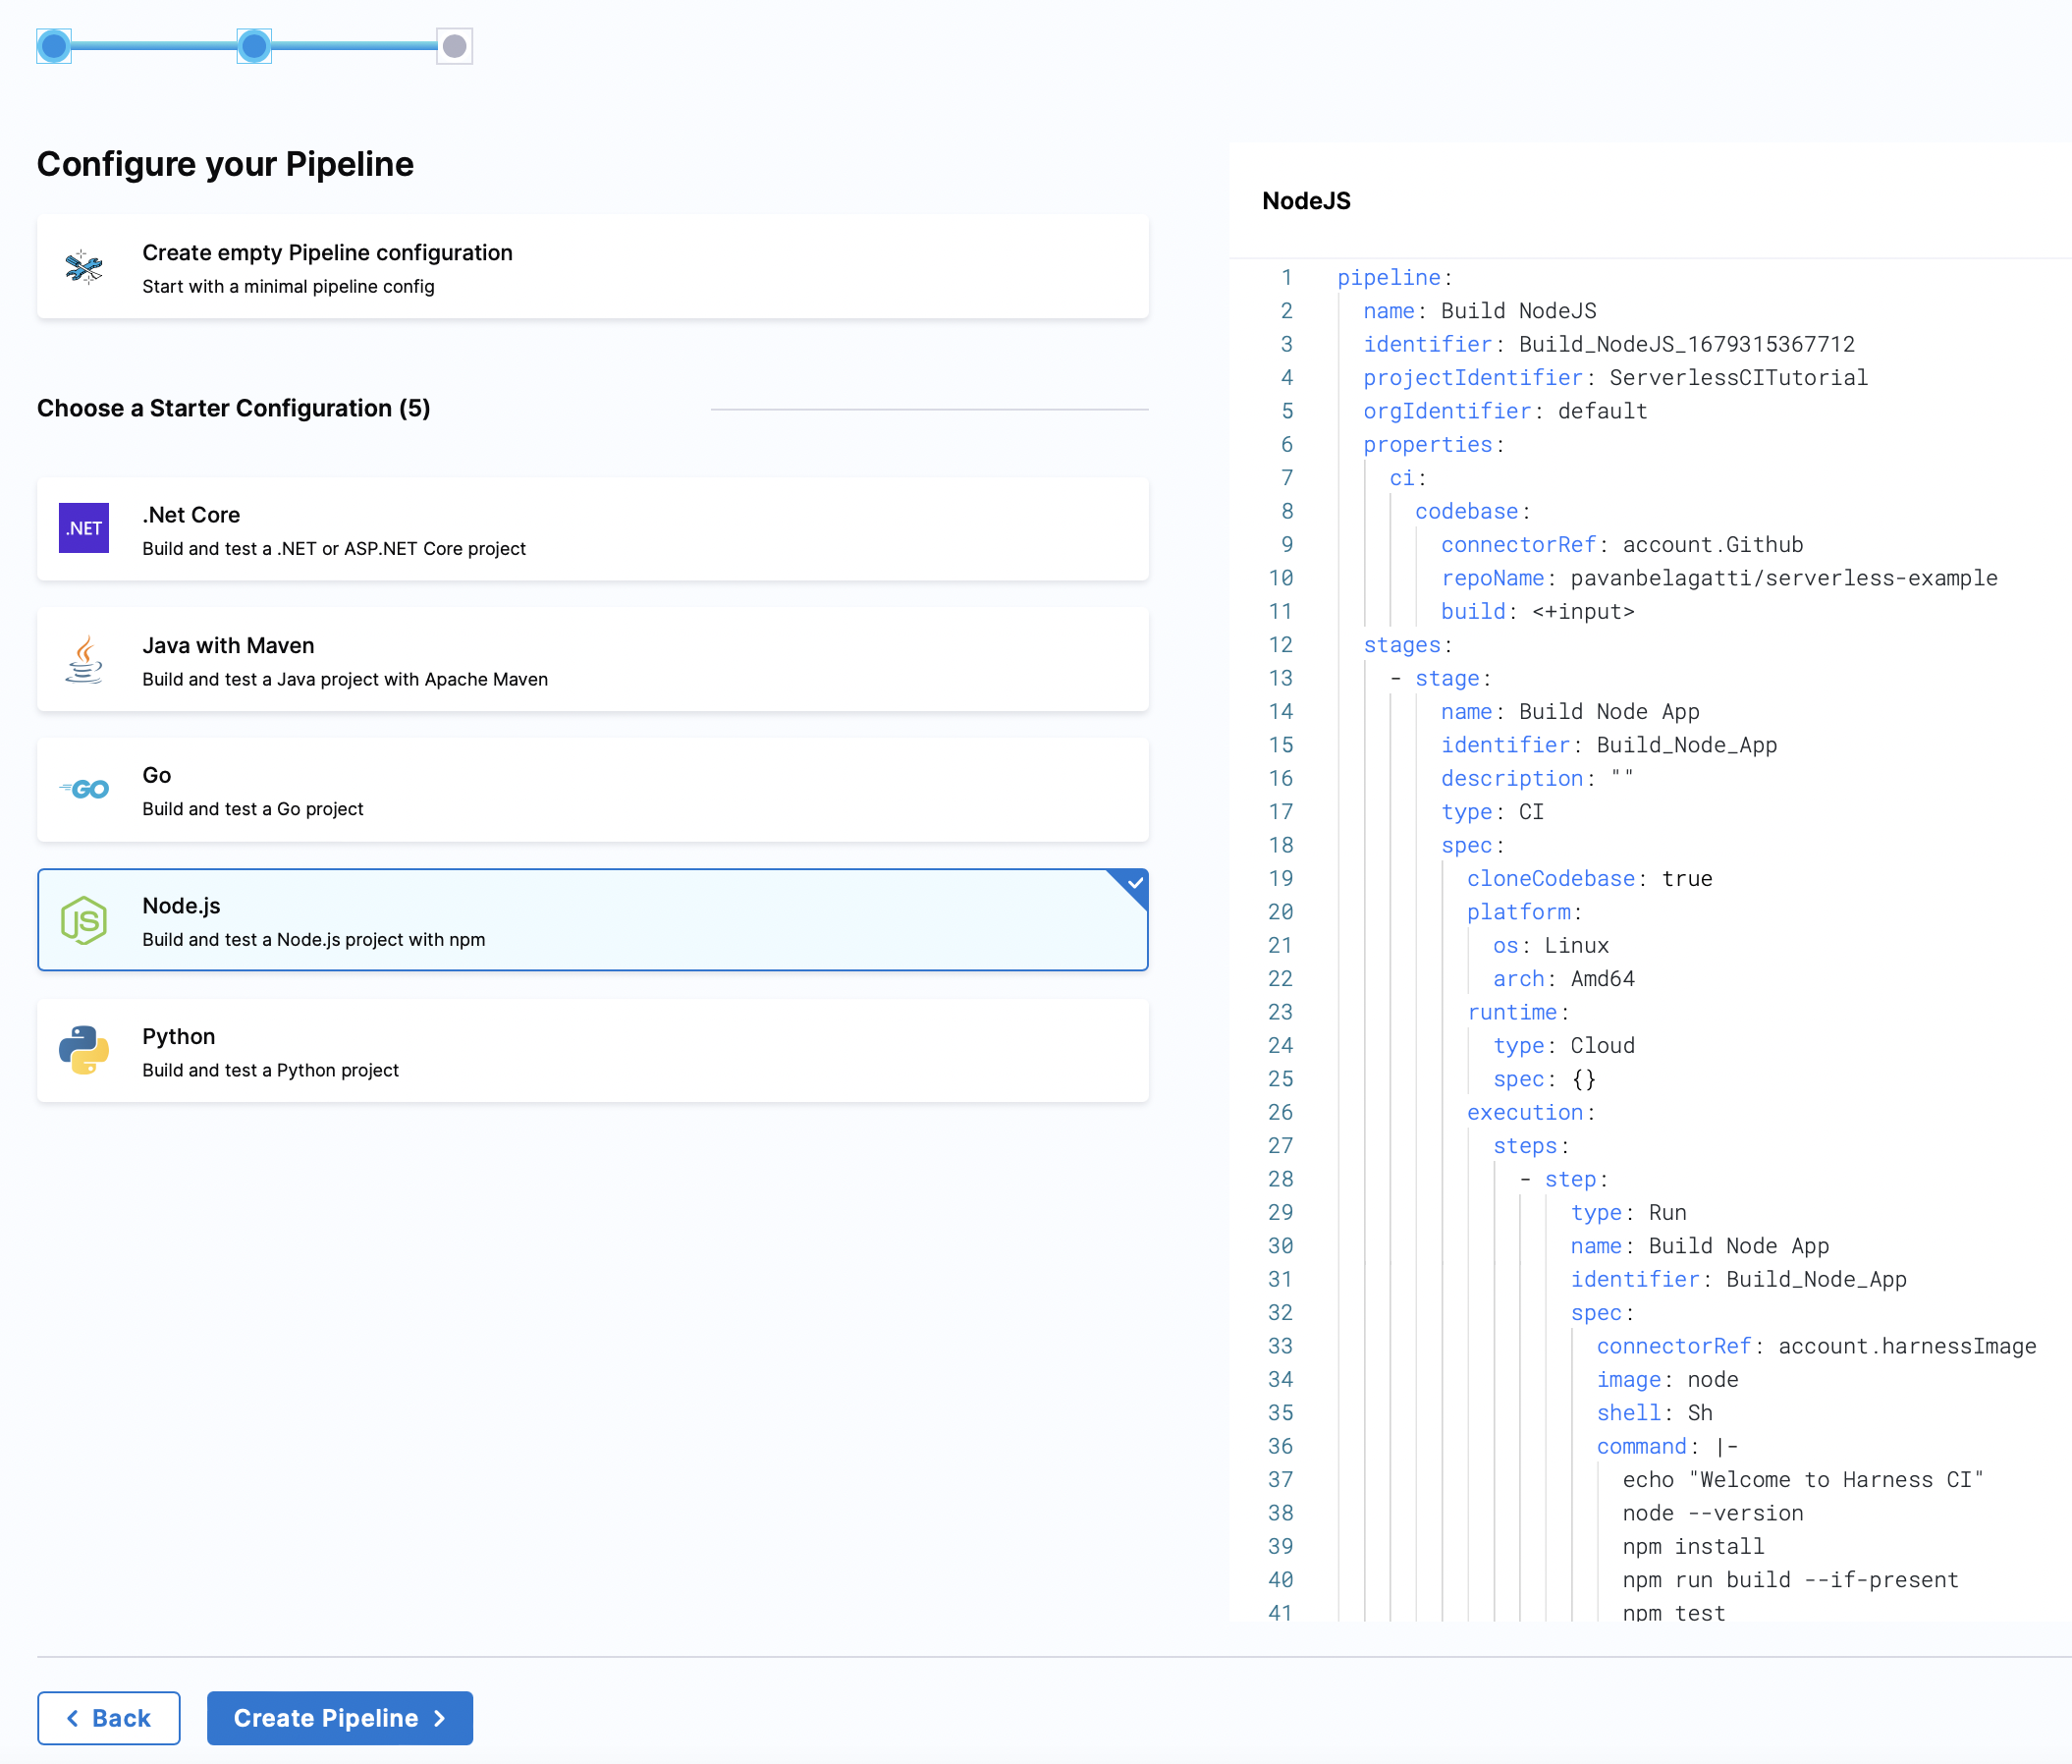
Select 'Node.js' from the list and start configuring the pipeline. The right side in the below screenshot you see is a default yaml configuration of your pipeline.
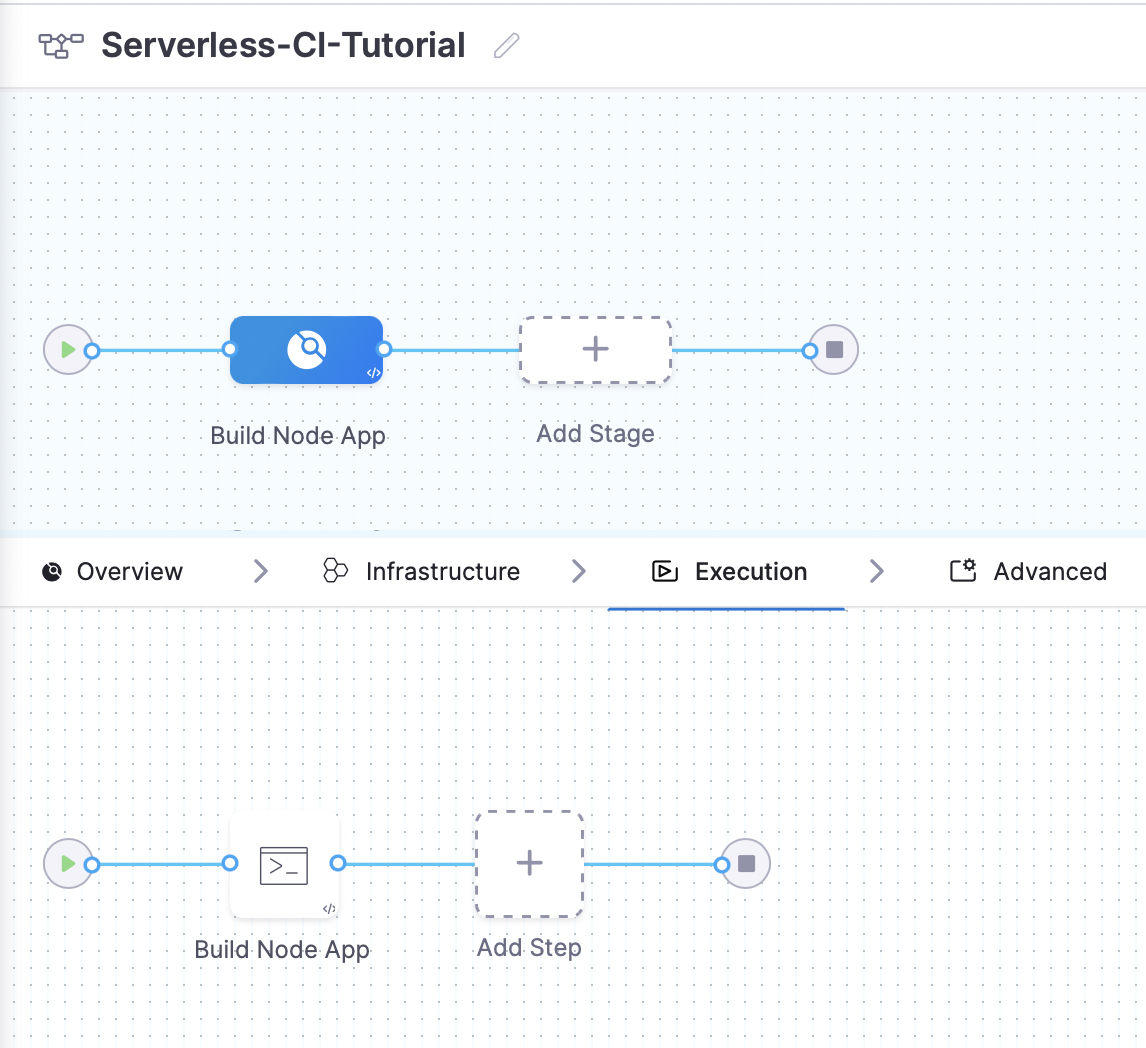
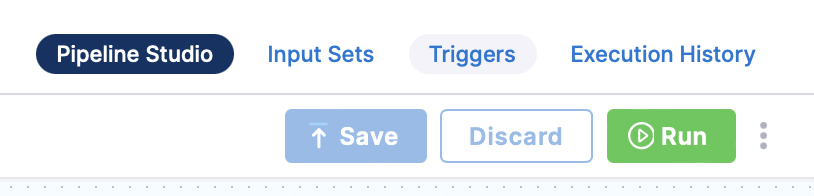
Once you continue, you will land on the pipeline studio which looks as below
Under the execution, click 'Build Node App' and you will see the default settings and commands.
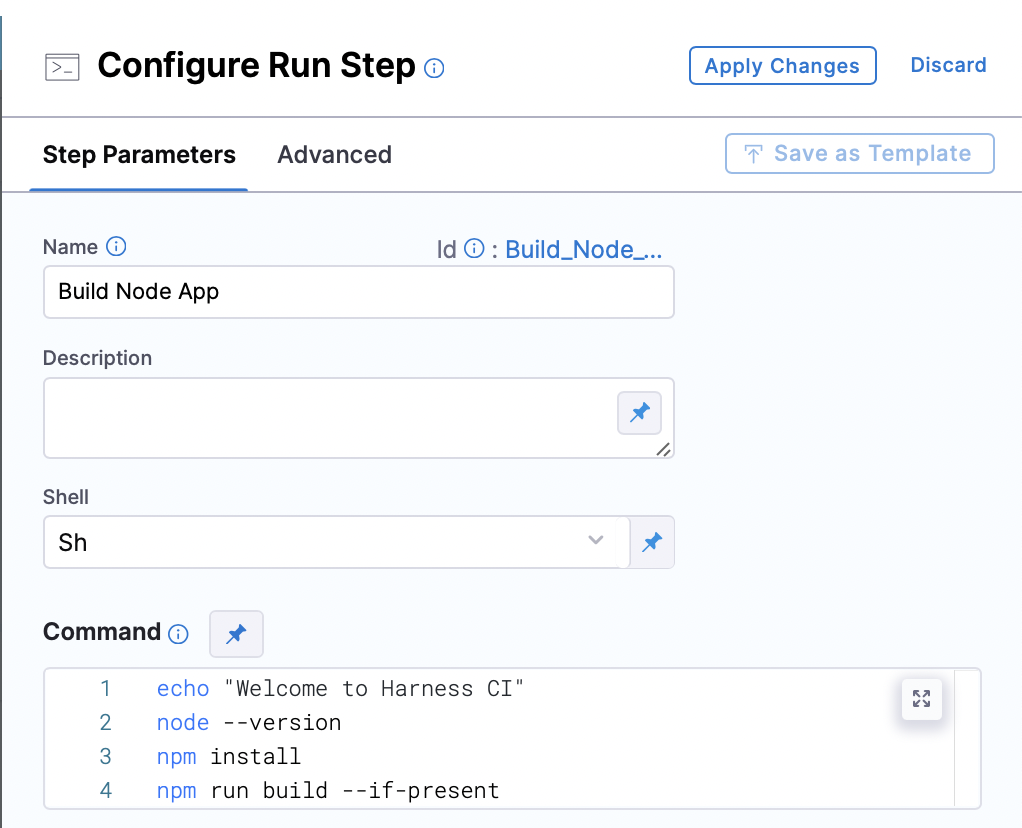
The commands you see are below,
echo "Welcome to Harness CI"
node --version
npm install
npm run build --if-present
npm test
You can modify and retain only the last three commands if you want.
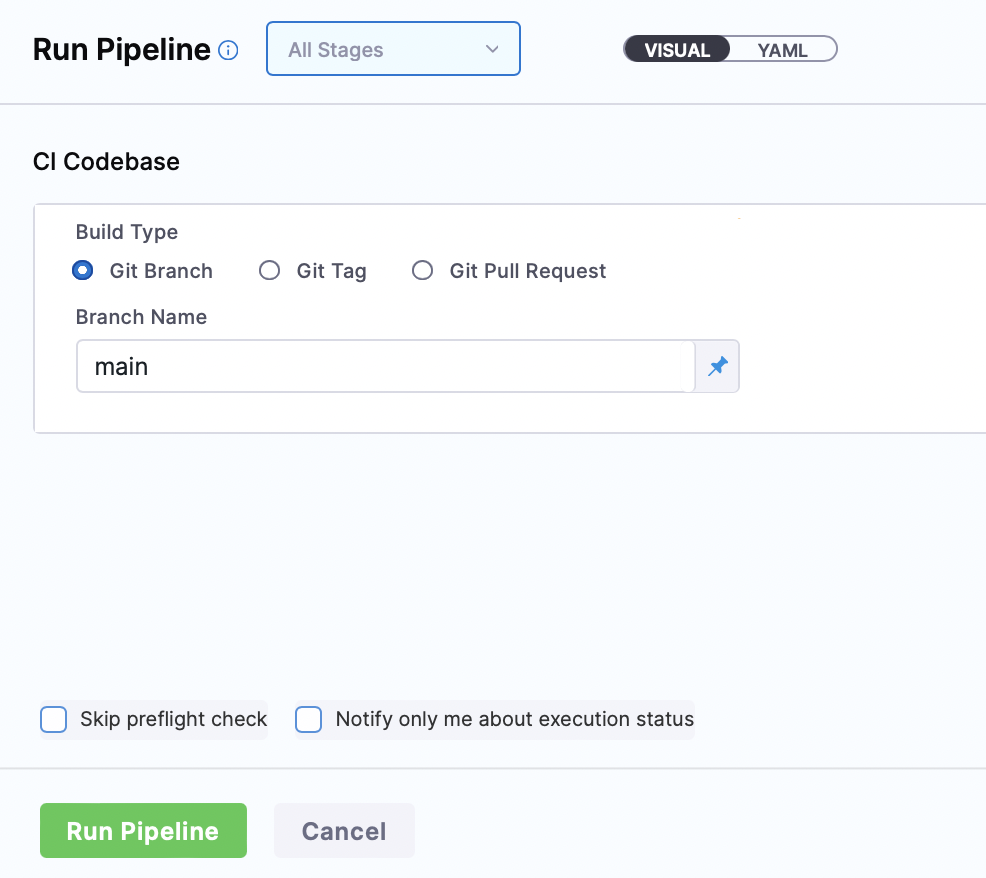
Apply changes, save everything and run the pipeline.
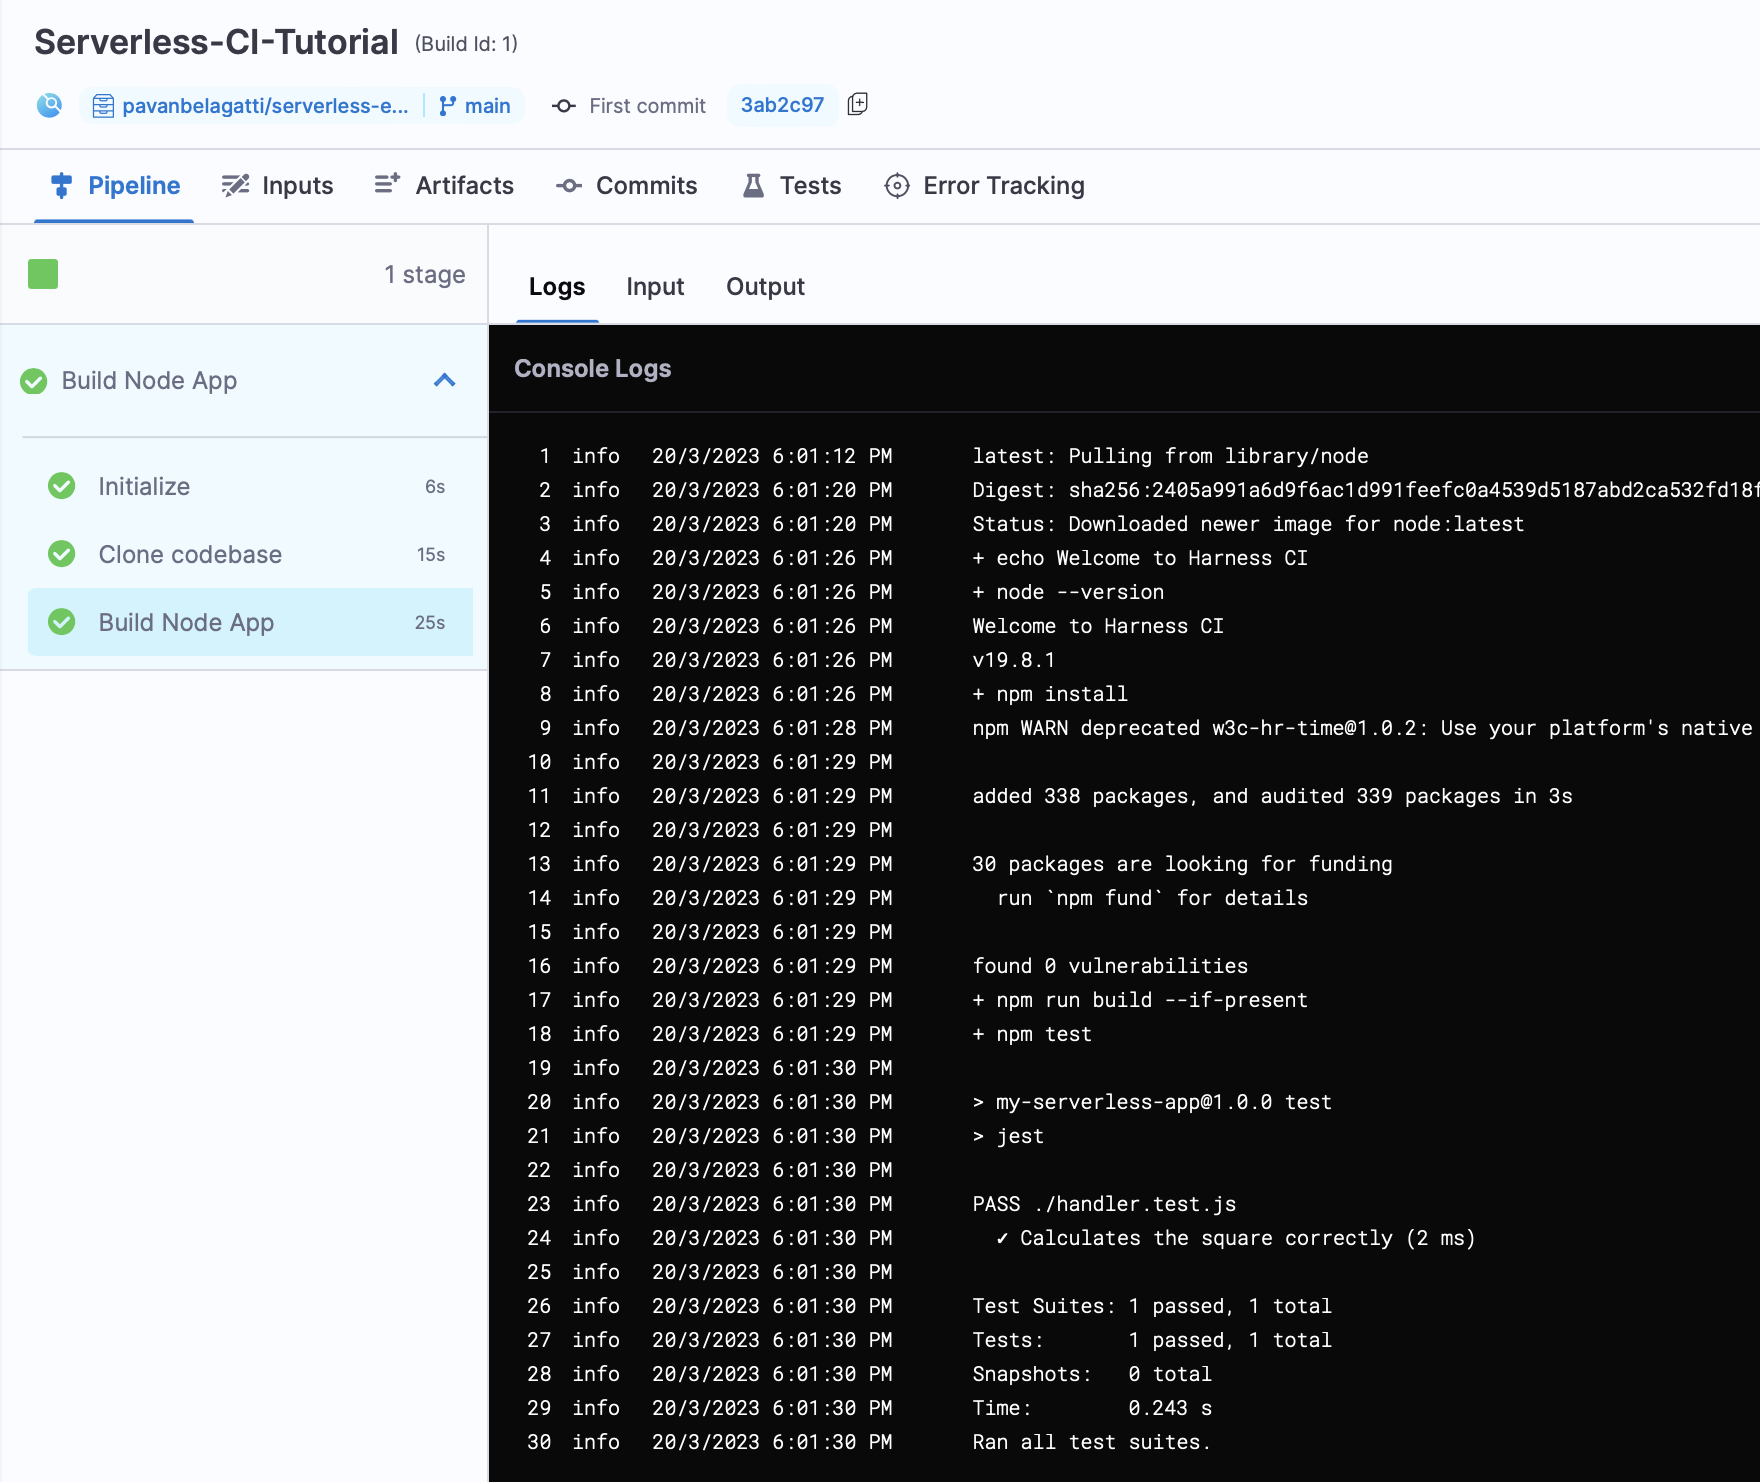
You should see a successful pipeline execution.

Switch to the console view and you should see what's happening in each stage.
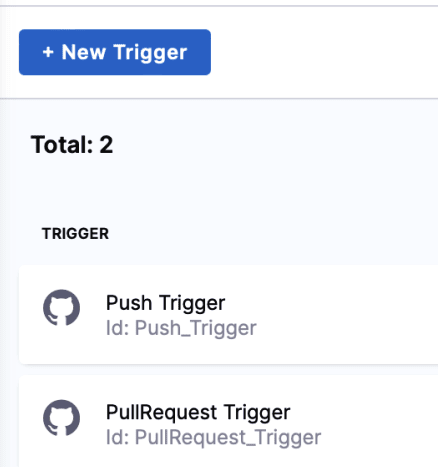
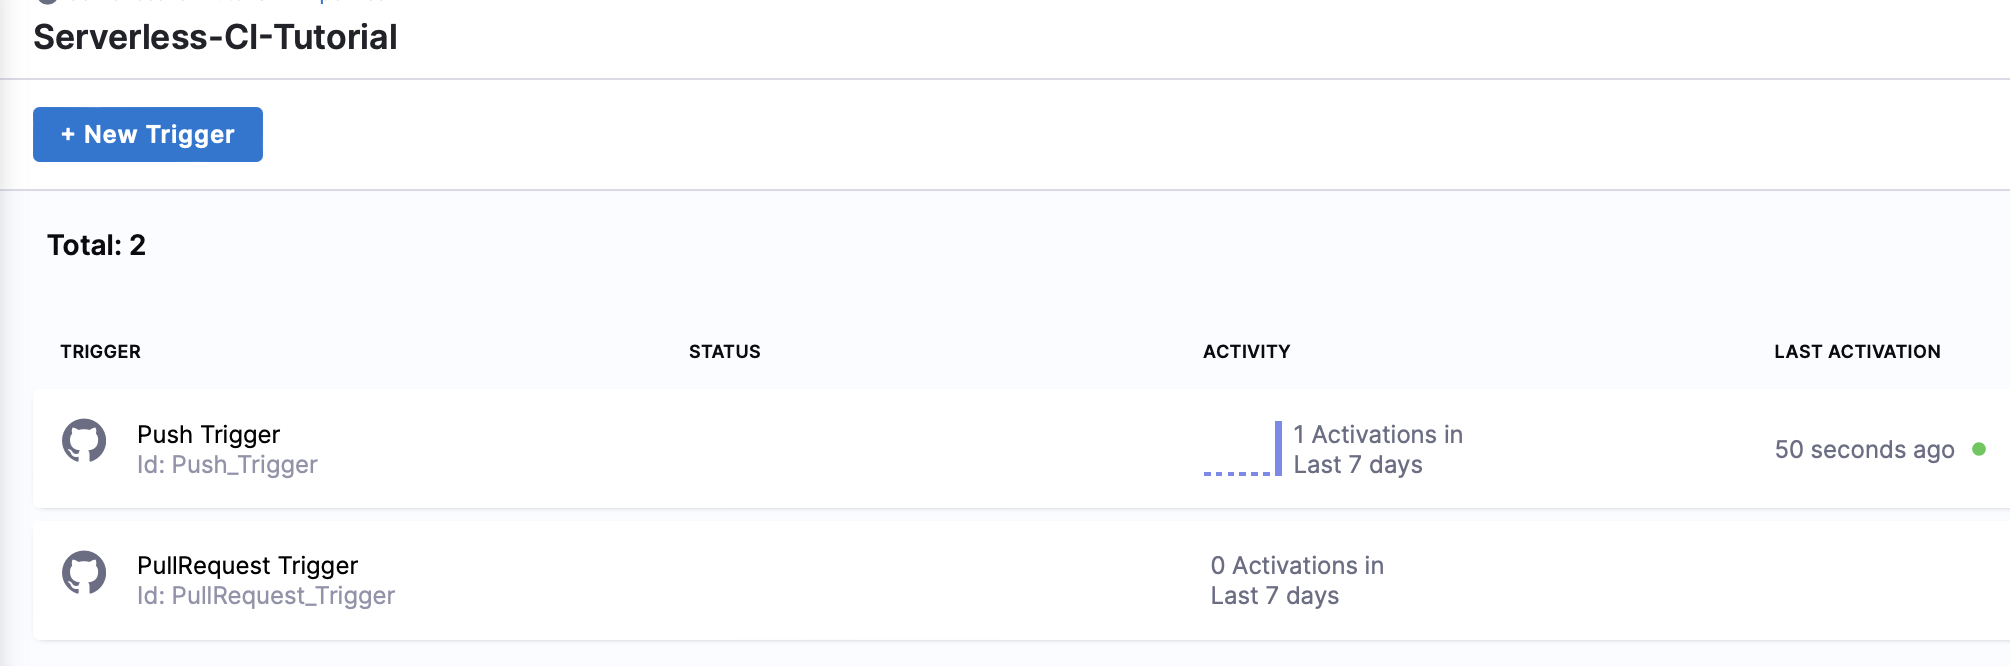
Your pipeline is all automated to run tests whenever any developer pushes code to the main branch. You can verify this by going to the 'Triggers' tab from the pipeline studio.
You can see push and pull triggers already configured for you.
Let's push some code to the main branch. As soon as you push the code, the build gets triggered and you can see the same below.
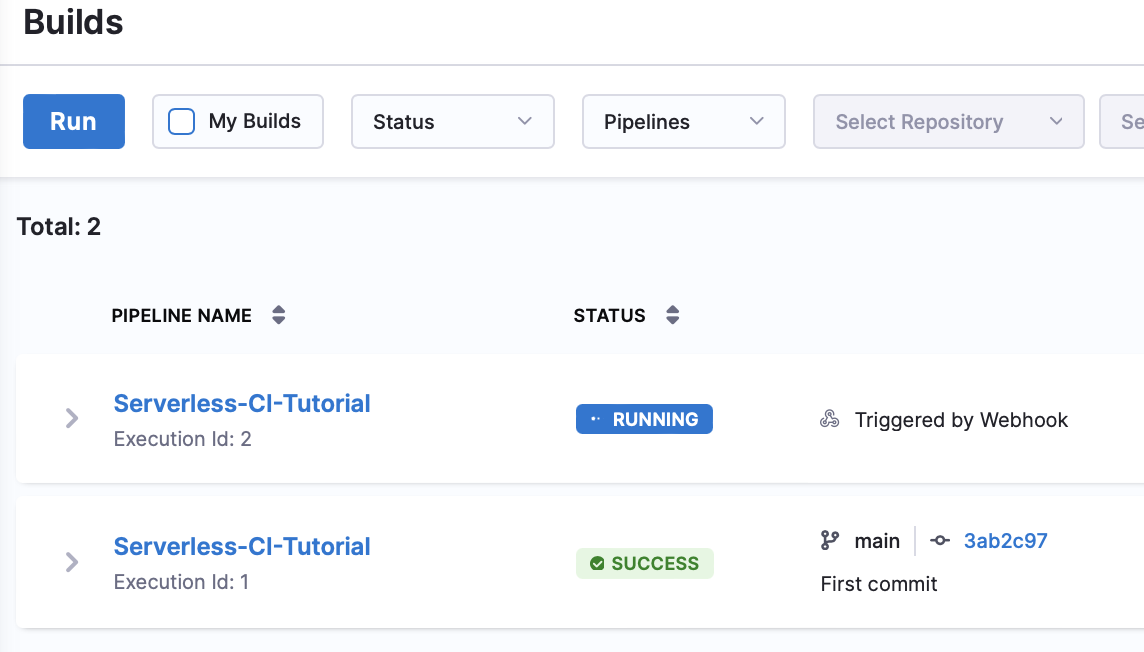
Congratulations! We have successfully configured a simple continuous integration pipeline for a sample Node.js serverless application.
If you like to learn a step-by-step CI/CD setup, take a look at my complete CI/CD tutorial.


![This is How I Built a Real-time Chat Application with Socket.io & Node.js [Added Automated Testing]](/_next/image?url=https%3A%2F%2Fcdn.hashnode.com%2Fres%2Fhashnode%2Fimage%2Fupload%2Fv1681709527211%2Ffde84202-e495-4ba0-8258-05288d138179.png&w=3840&q=75)
