


Table of contents
Docker has become a popular tool in DevOps for the containerisation and deployment of applications. It provides a standardised way to package applications along with their dependencies and runtime environment into a container, which can be easily distributed and run on different environments. To make this process even more efficient, container registries have been introduced, which allow developers to store and manage their container images. In this tutorial, we will walk through the process of building a Docker image, configuring and pushing it to a container registry. By the end of this tutorial, you will have a better understanding of the containerisation process and be able to use container registries for efficient and scalable deployment of your Docker applications.
What is a Docker Image?
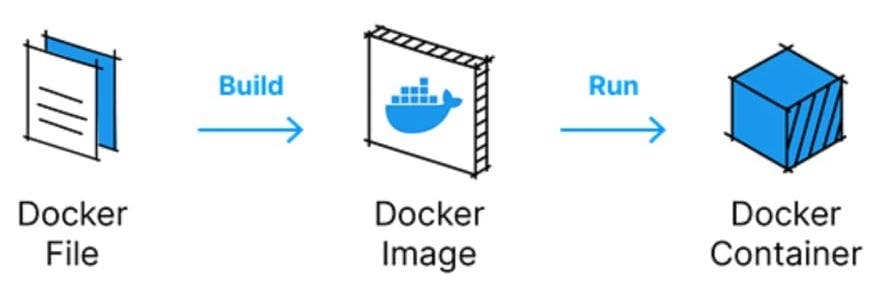
A Docker image is a lightweight, standalone, and executable package that contains everything needed to run an application, including the application code, runtime, libraries, and system tools. Docker images are created using a Dockerfile, which is a script that specifies the steps to build the image.
To build a Docker image, you need to first create a Dockerfile that specifies the base image, any additional dependencies, and the commands to install and configure the application. Once the Dockerfile is created, you can use the "docker build" command to build the image.
The "docker build" command takes the path to the Dockerfile and uses it to build the image. The command first reads the Dockerfile, downloads any necessary dependencies, and creates an image from the specified configuration. The resulting image can then be used to run containers.
Here are the basic steps to build a Docker image:
Create a Dockerfile with the necessary configuration for your application.
Navigate to the directory containing the Dockerfile in your terminal.
Run the "docker build" command, specifying the path to the Dockerfile and a name for the image.
Wait for the build process to complete, which may take some time depending on the size of the application and the number of dependencies.
Verify that the image was built successfully by running the "docker images" command, which should list all the Docker images available on your system.
We will automate the above process using Harness, a continuous delivery tool. We just need to have the Dockerfile in the application repository (which we have in our sample repo).
Building a Docker image is an essential step in the containerisation process, as it allows developers to package their applications in a standardised and portable format that can be easily shared and deployed.
Prerequisites
Docker, preferably Docker Desktop
Free Harness CI module to automate the process of building and pushing our Docker image
A sample application to experiment. We have a sample Node.js application repository. Fork it and use it.
A free Docker Hub account. We will be using DockerHub as our container registry to push our image.
Tutorial
I am assuming you have forked this sample Node.js application.
The Dockerfile you see in the repo will be used to build and push our application as an image to the Docker Hub or any container registry of your choice.
FROM node:14-alpine AS development
ENV NODE_ENV development
# Add a work directory
WORKDIR /app
# Cache and Install dependencies
COPY package.json .
RUN npm install
# Copy app files
COPY . .
# Expose port
EXPOSE 3002
# Start the app
CMD [ "node", "app.js" ]
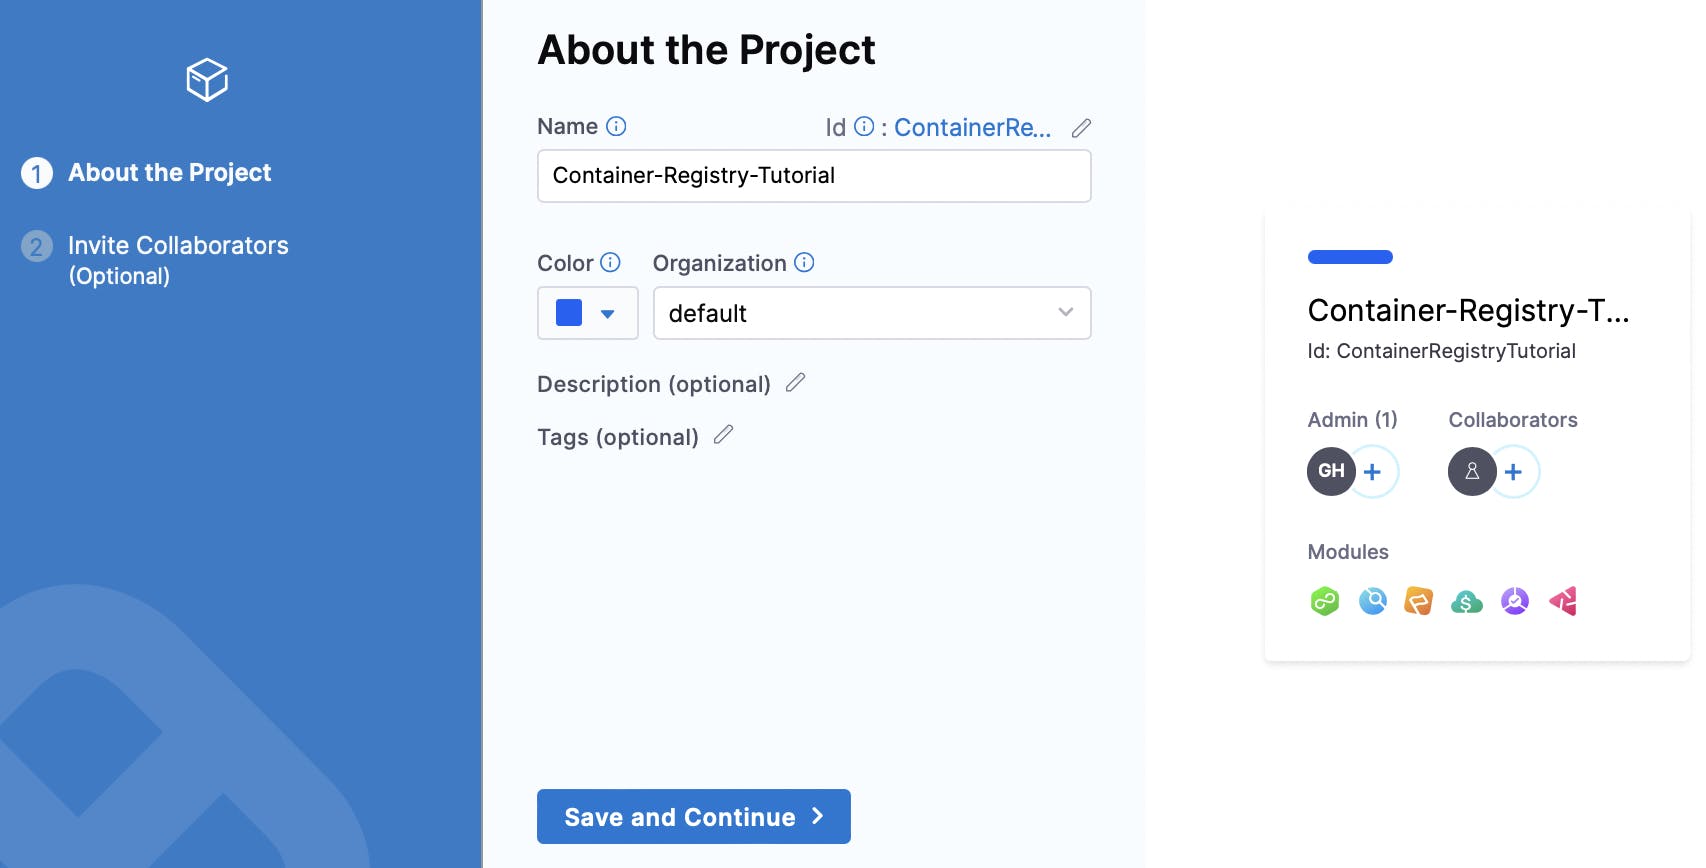
Next, sign in to the Harness CI module and create a project.
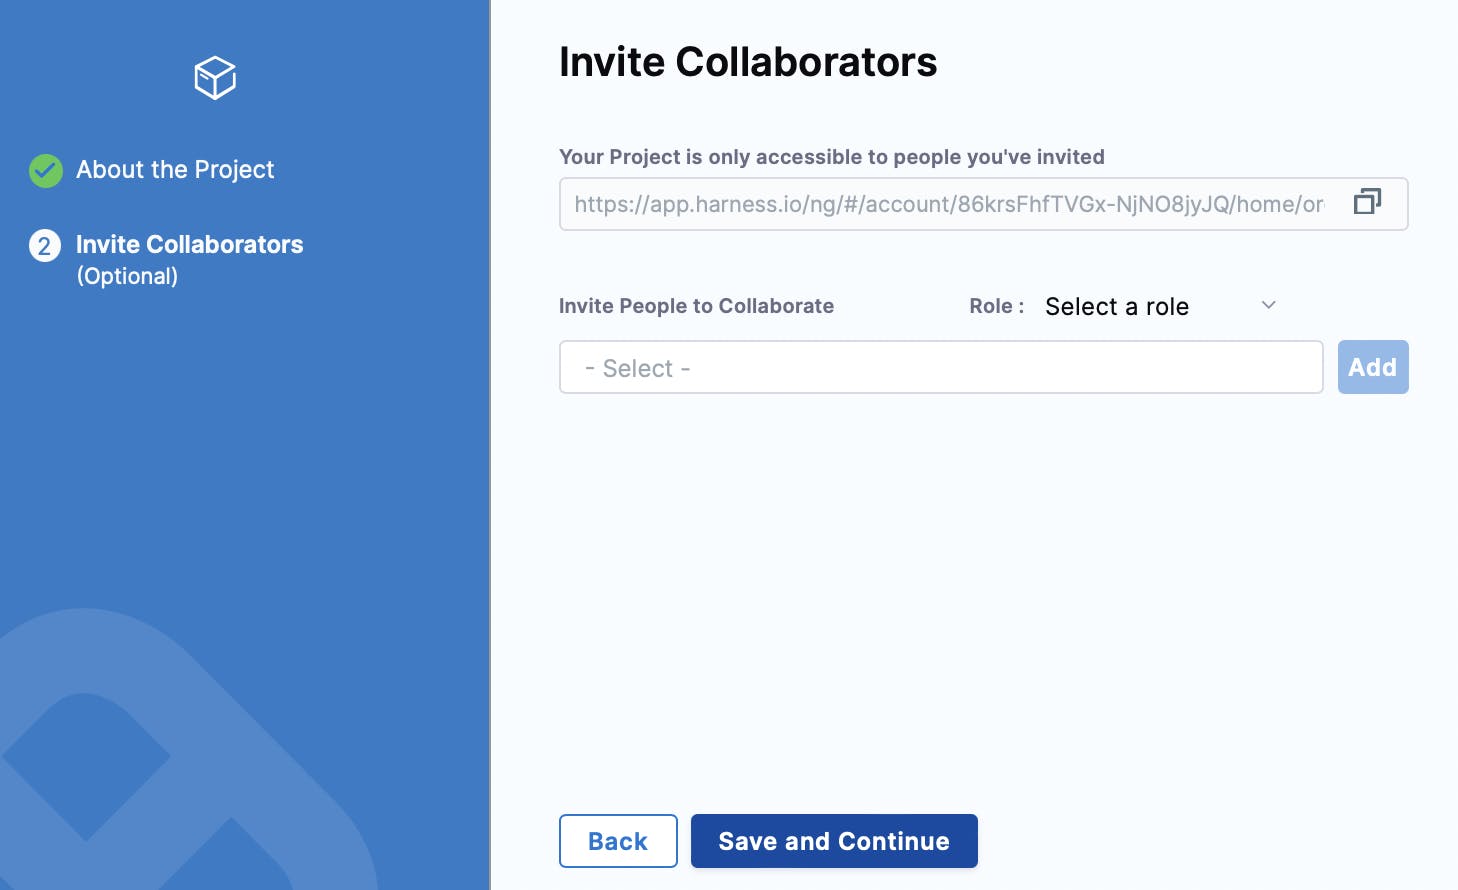
Invite collaborators to your project if you wish.
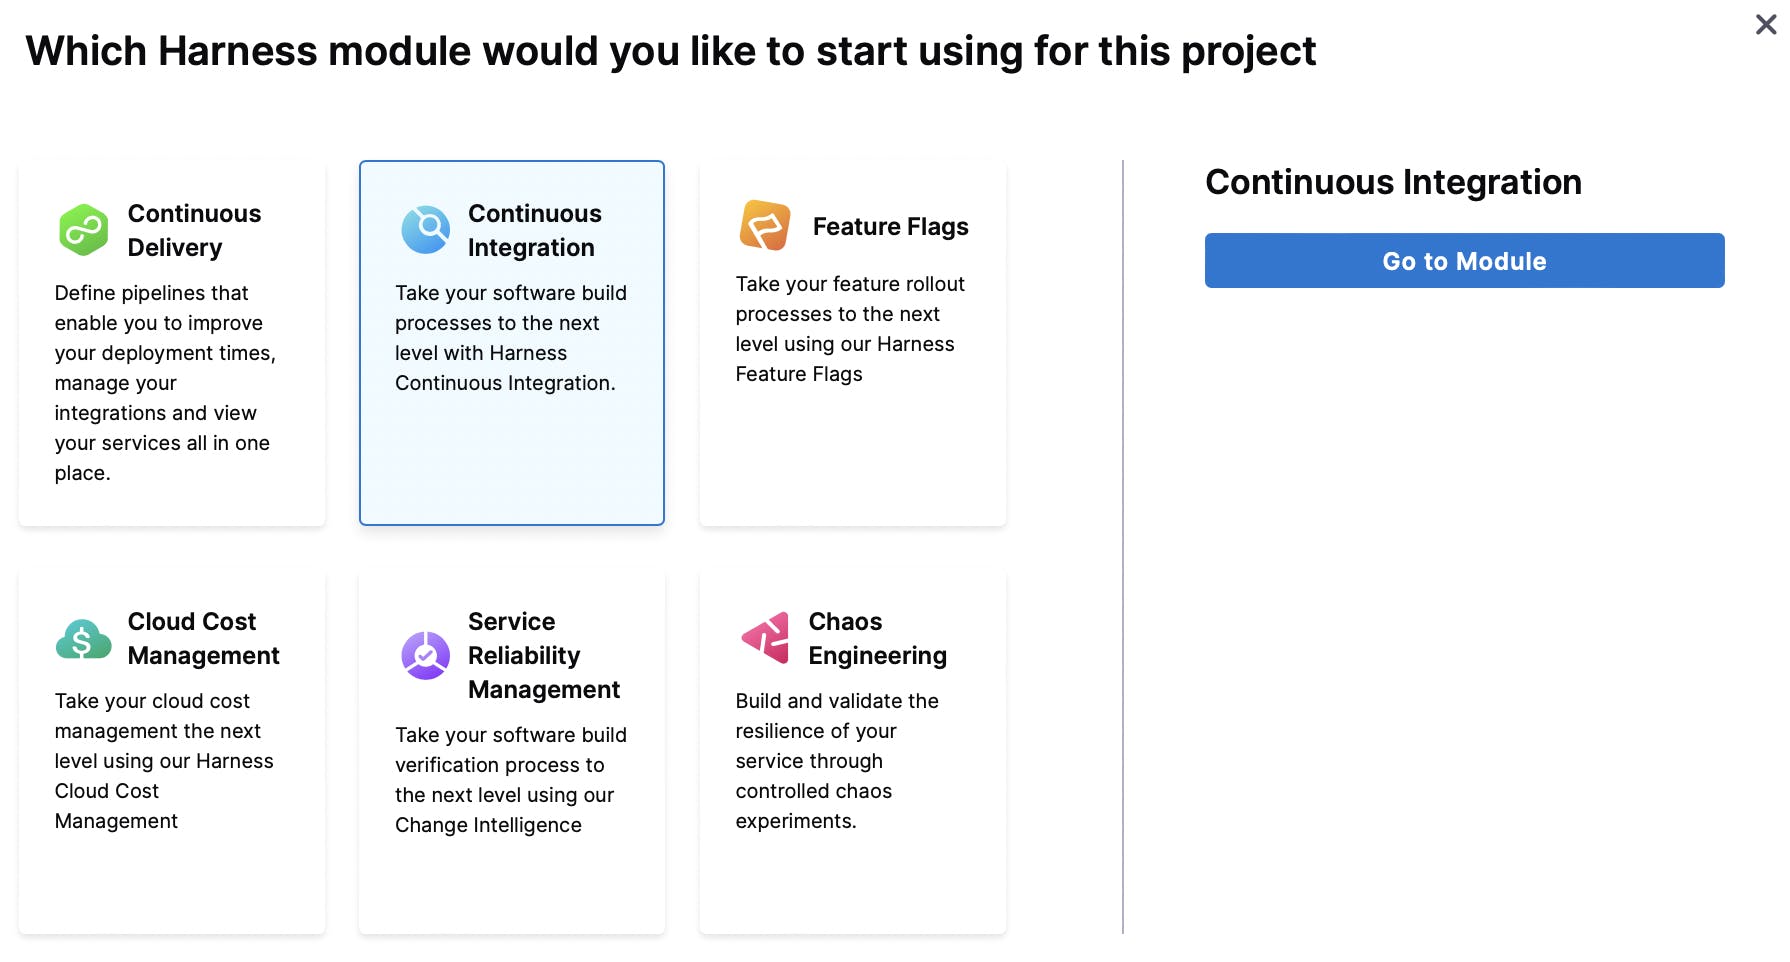
Select the Continuous Integration module.
Let's get started with creating your first pipeline.
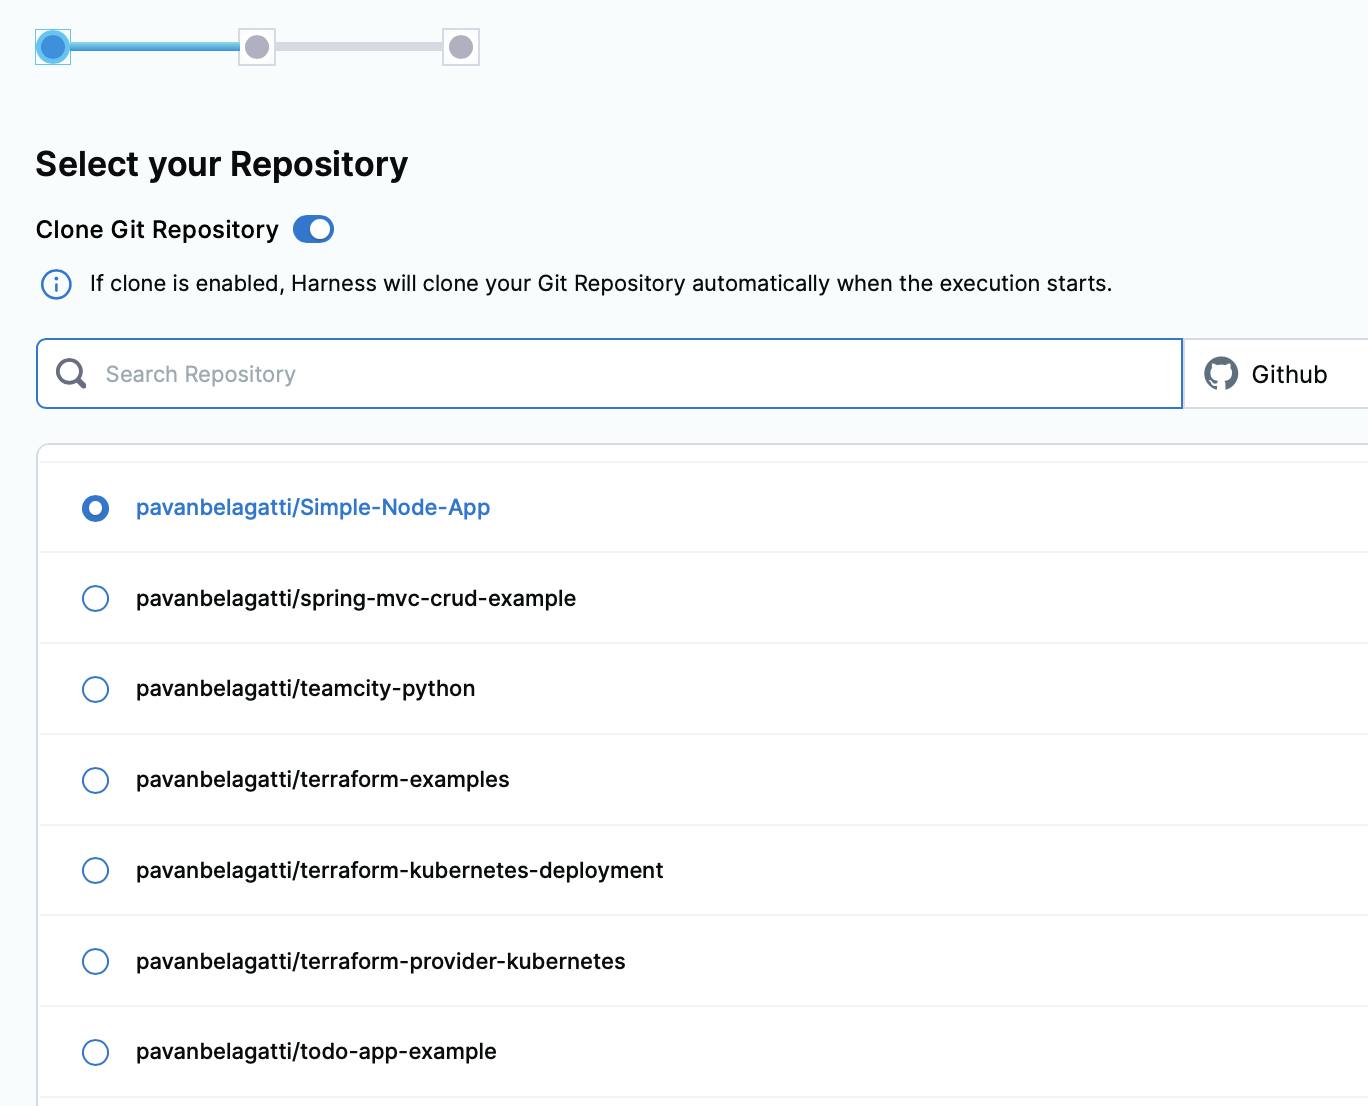
If this is your first time working with Harness, you need to authenticate with your source control management (wherever your application code/repo resides). Select the sample application repository. The one you forked, this one.
Since it is a Node.js application, we will select Node.js from the list
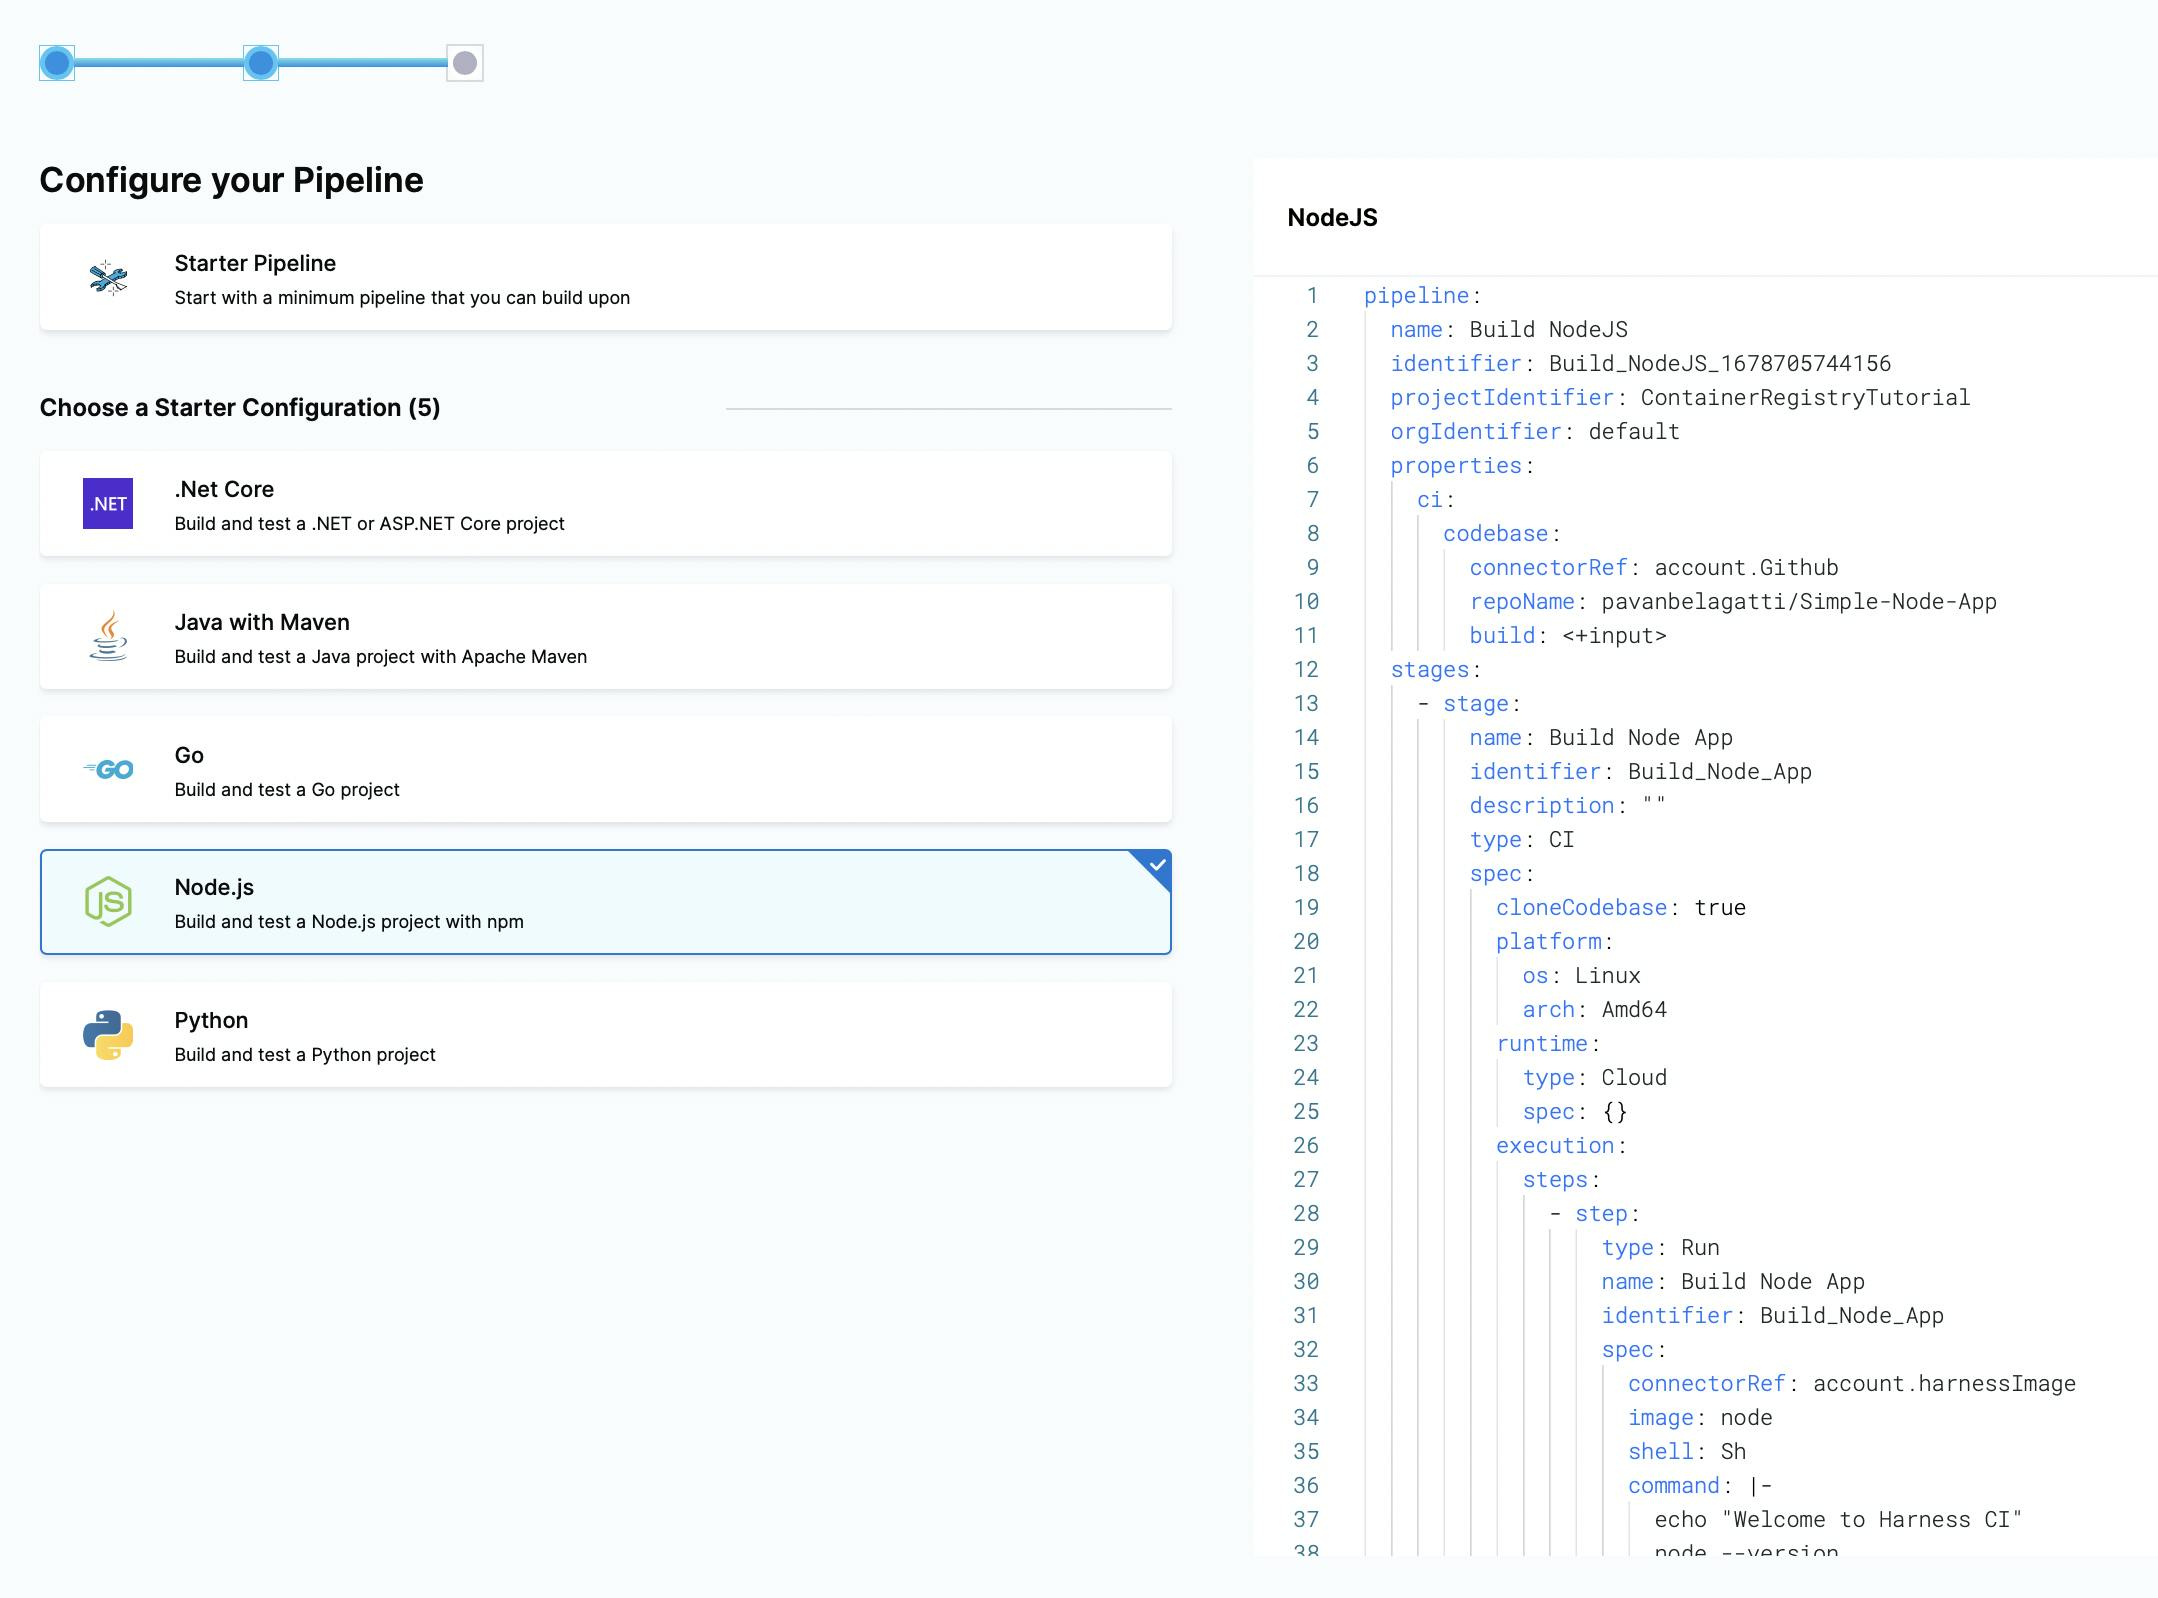
Above, you will see a default yaml for your application. Click continue and you will land on the pipeline studio. (you may sometimes go to the yaml format, switch back to the visual format)
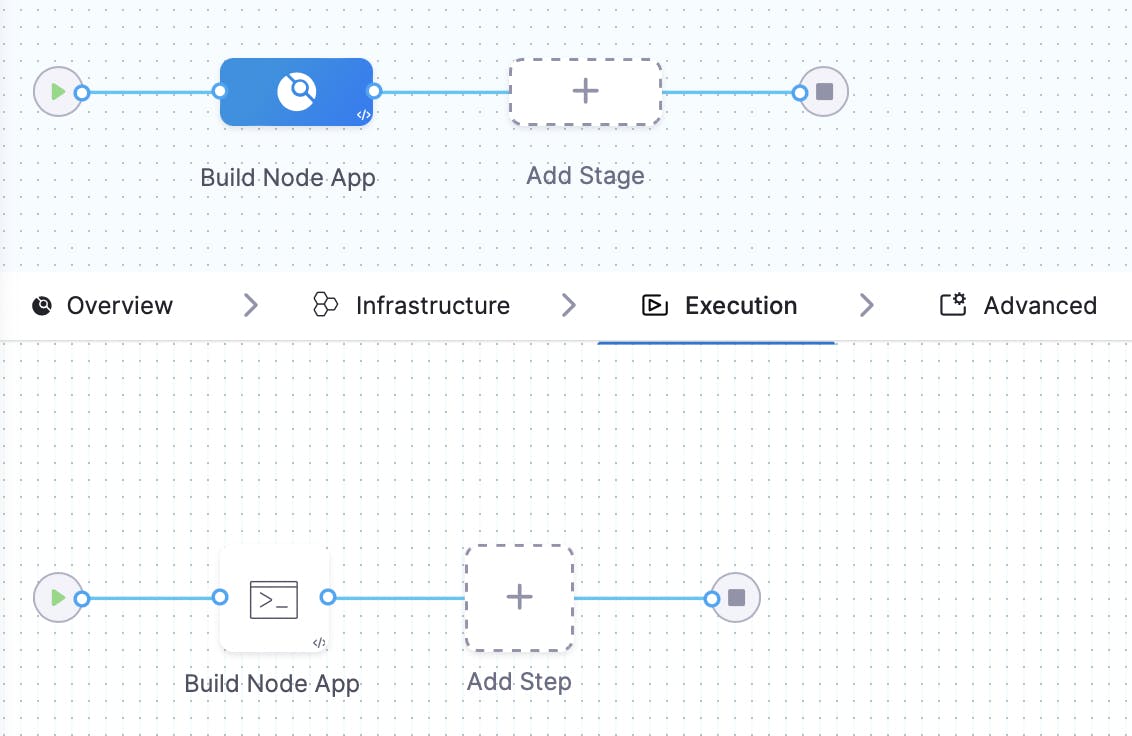
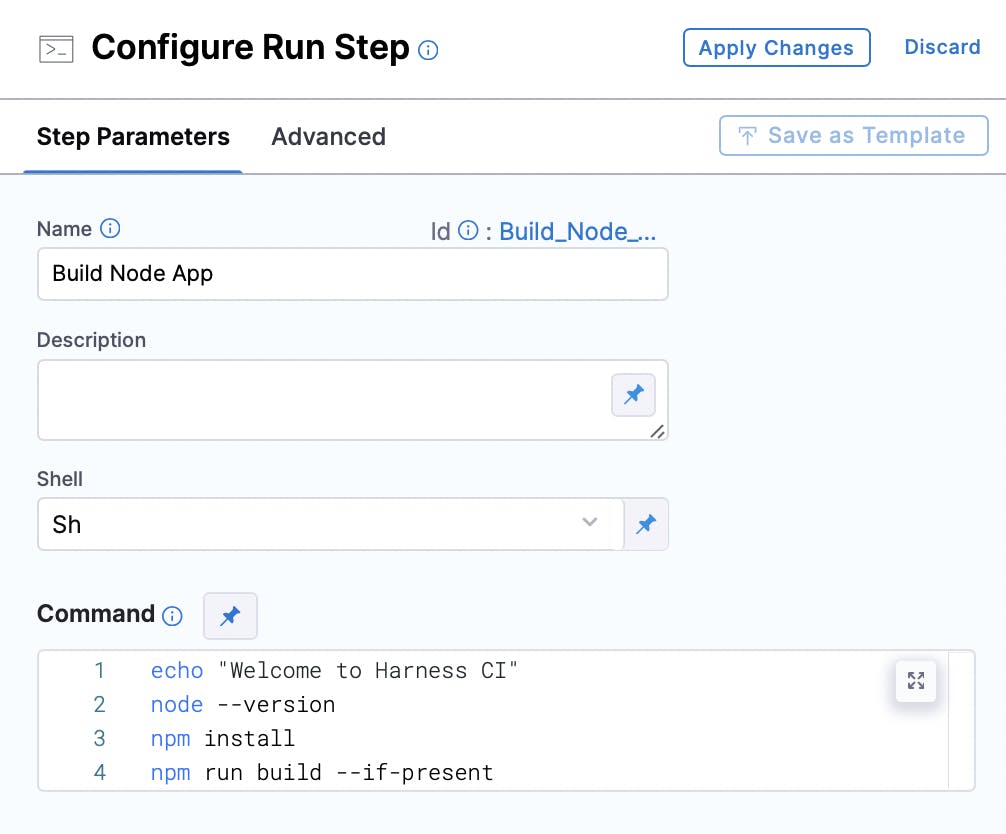
Under the execution tab, you will see 'Build Node App'. If you click on it, it is a step with the following details/settings.
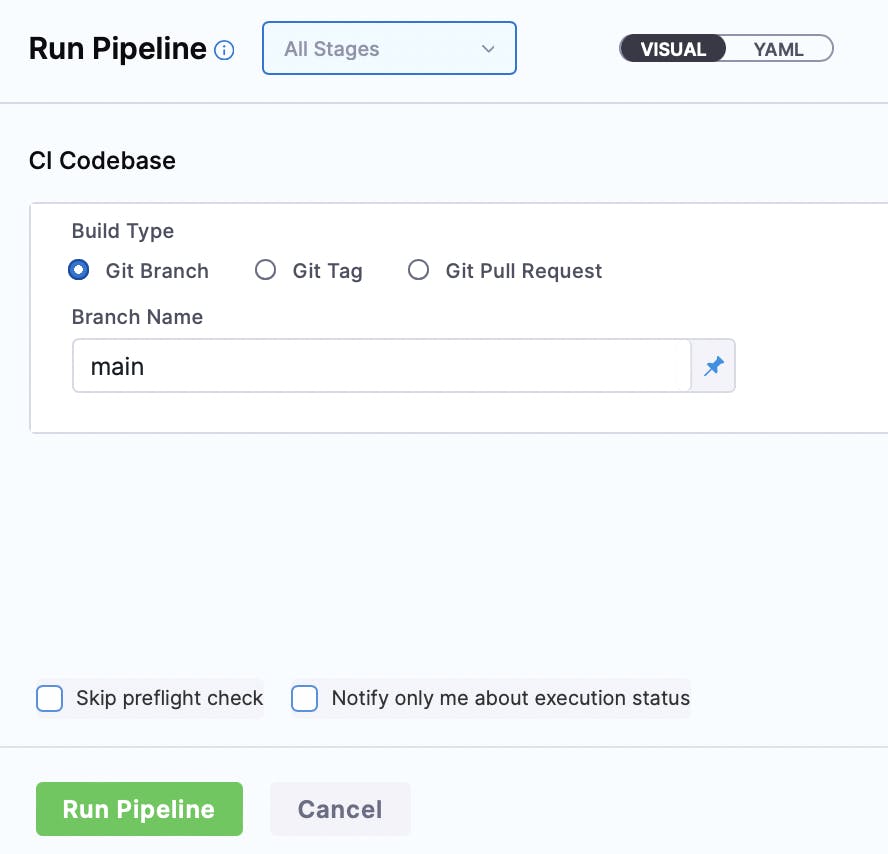
Apply changes, save everything and run the pipeline.
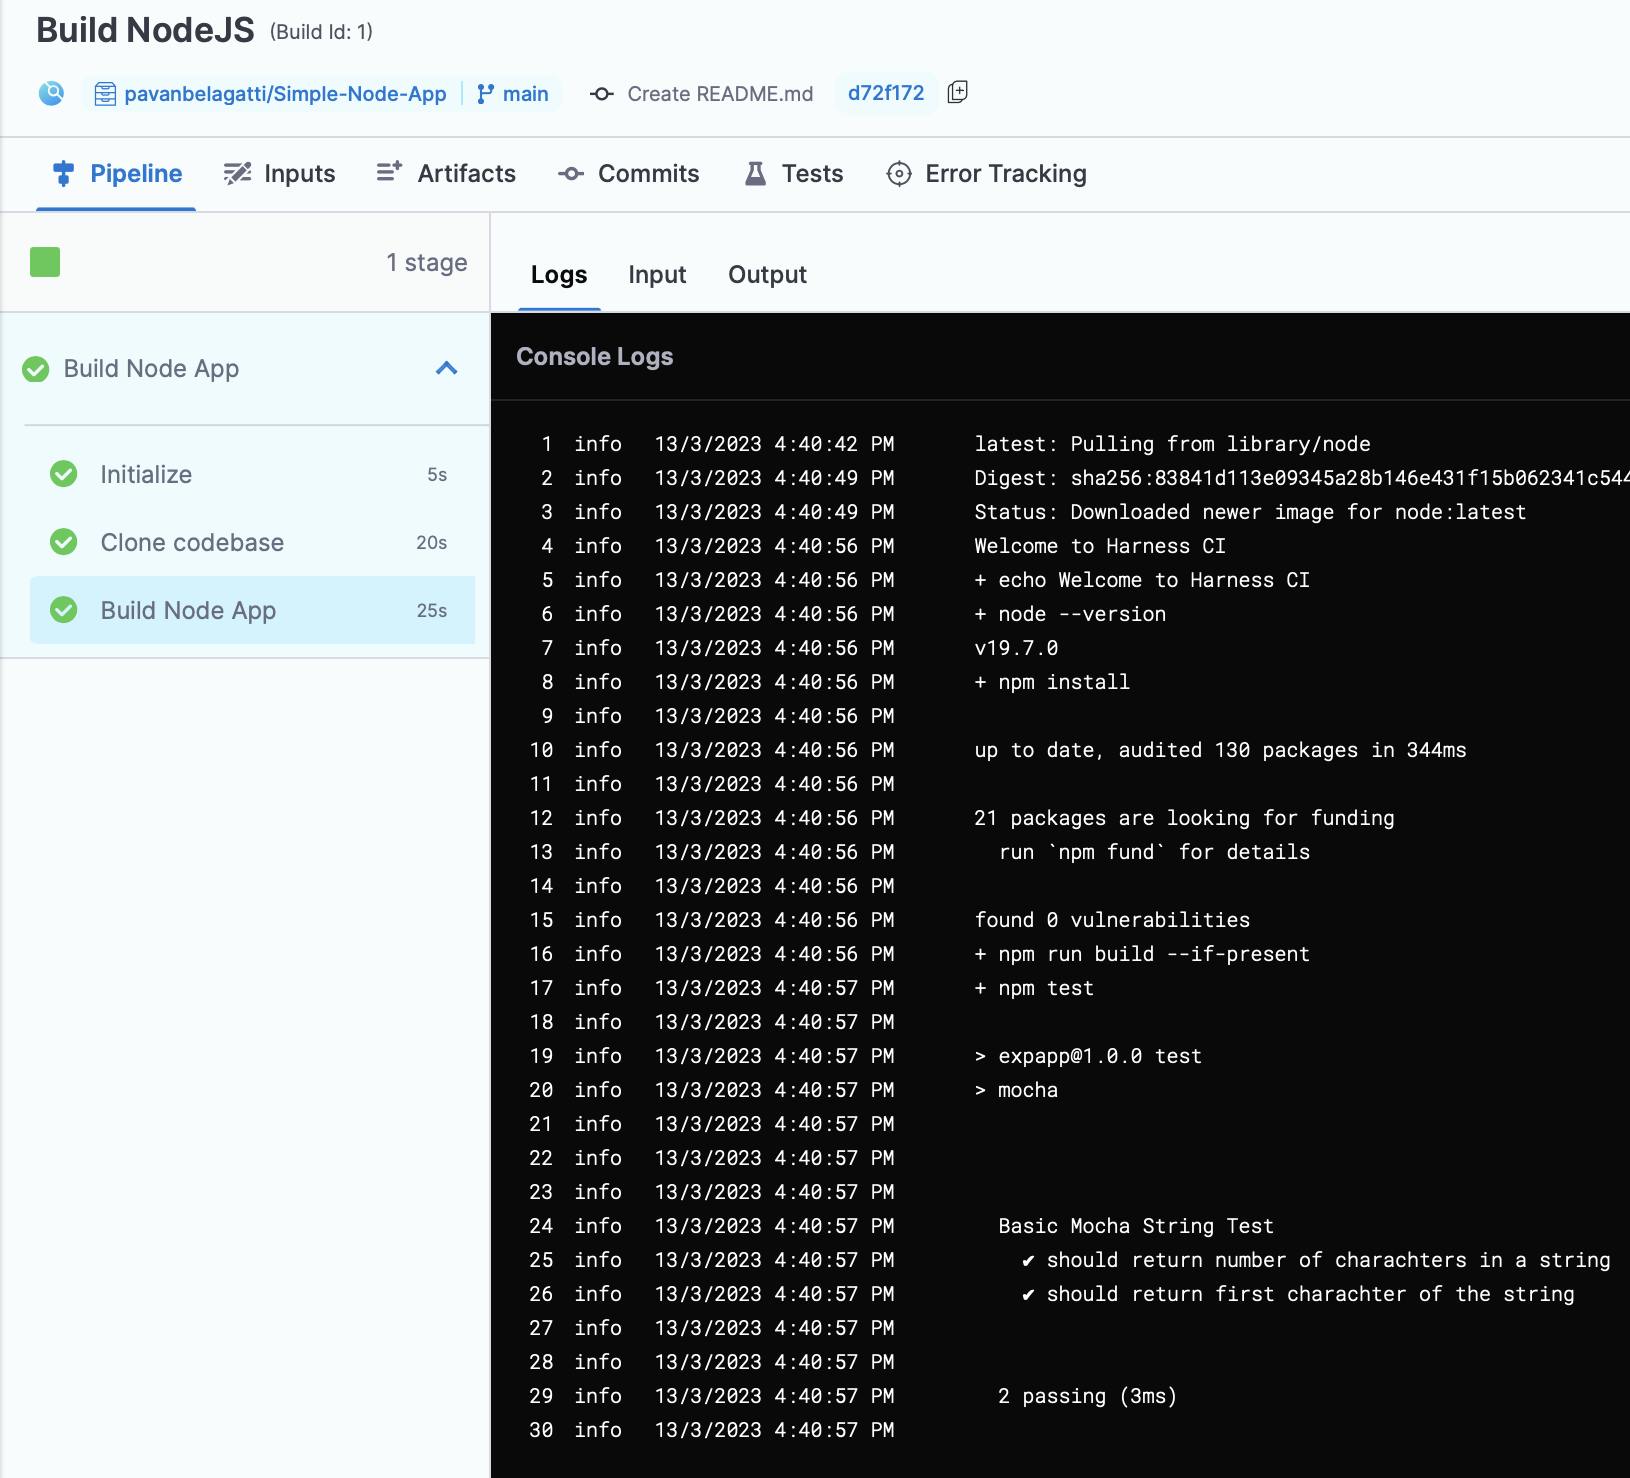
You should see a successful pipeline execution shown below.
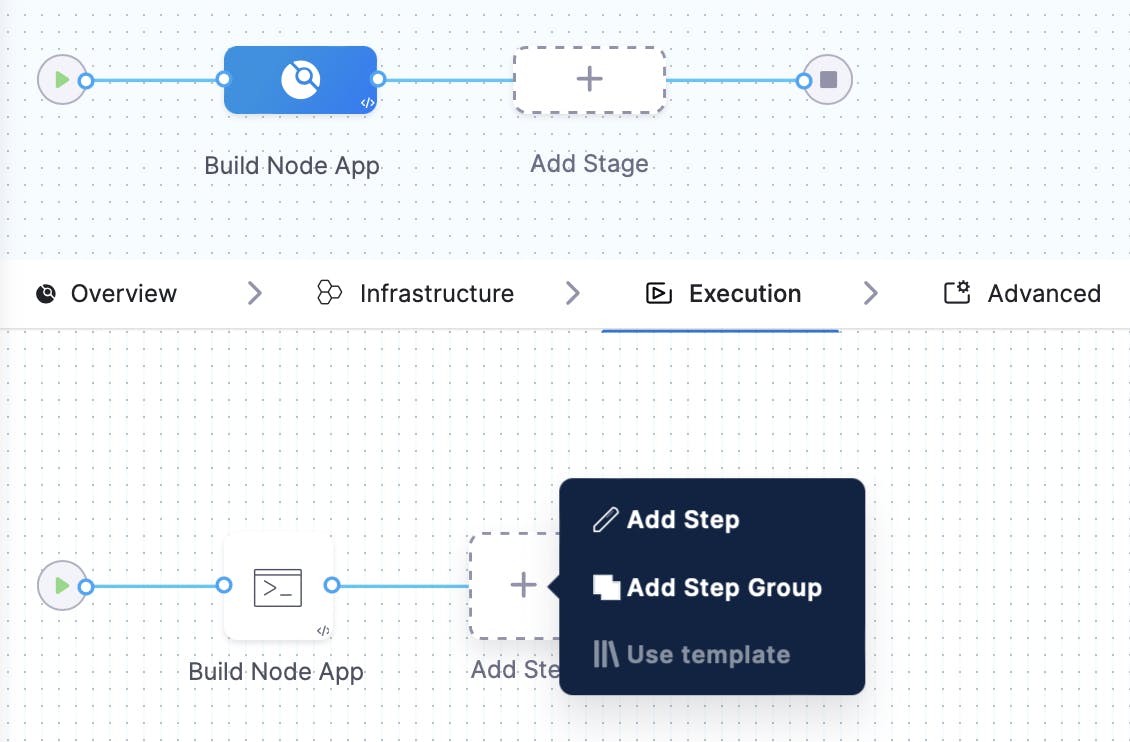
Now, let's edit our pipeline to extend the capability to push an image to the Docker registry.
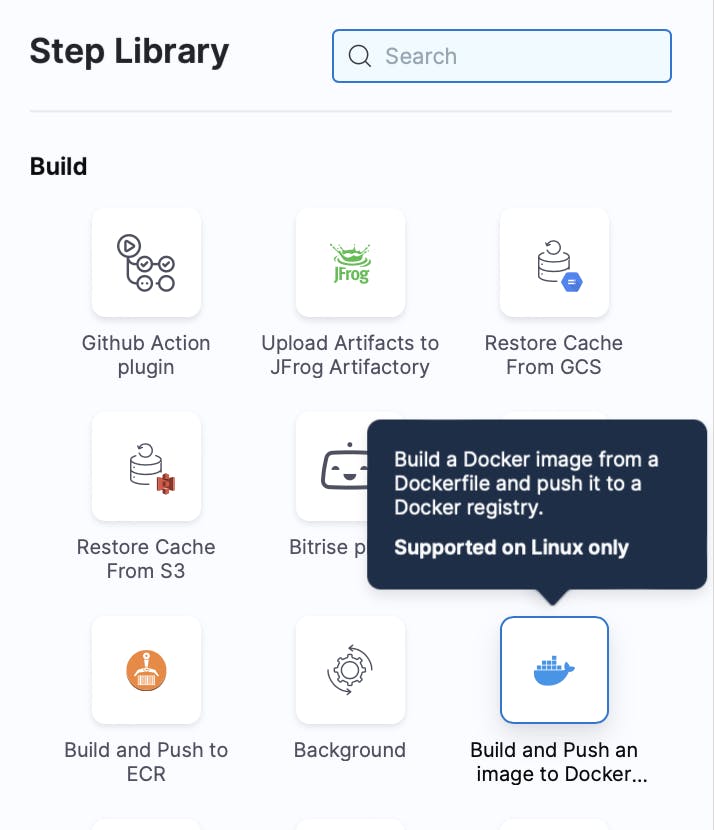
Add a step and you will be presented with several options.
Select the one that says 'Build and Push an Image to Docker Registry'
We don't have a Docker connector; let's add it.
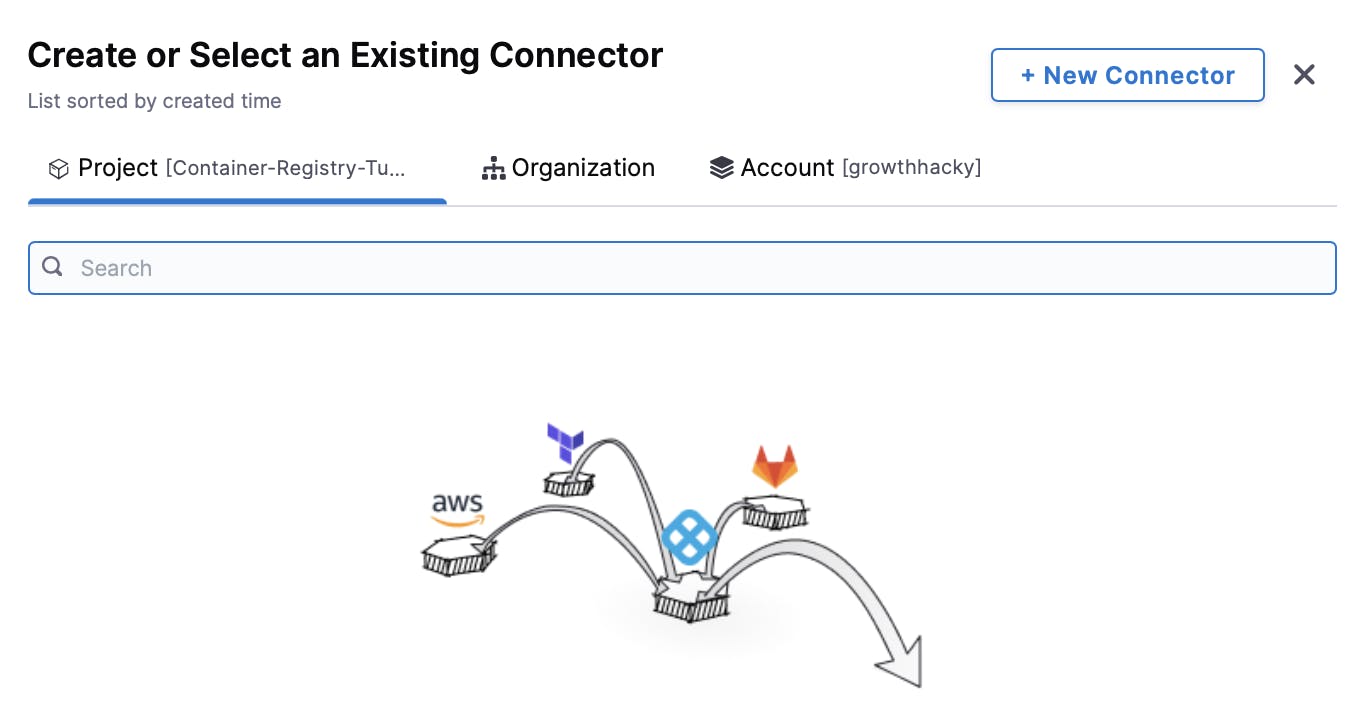
A step-by-step guide will show you how to add it.
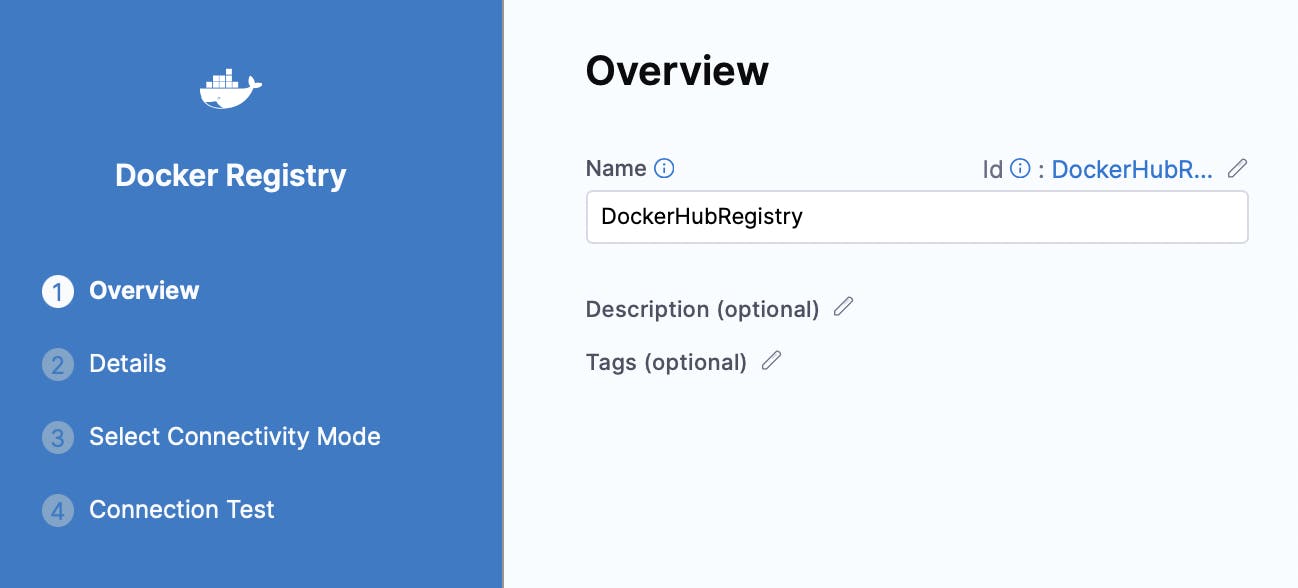
Add the DockerHub details as shown below. Your Docker Hub user name and add password as a secret.
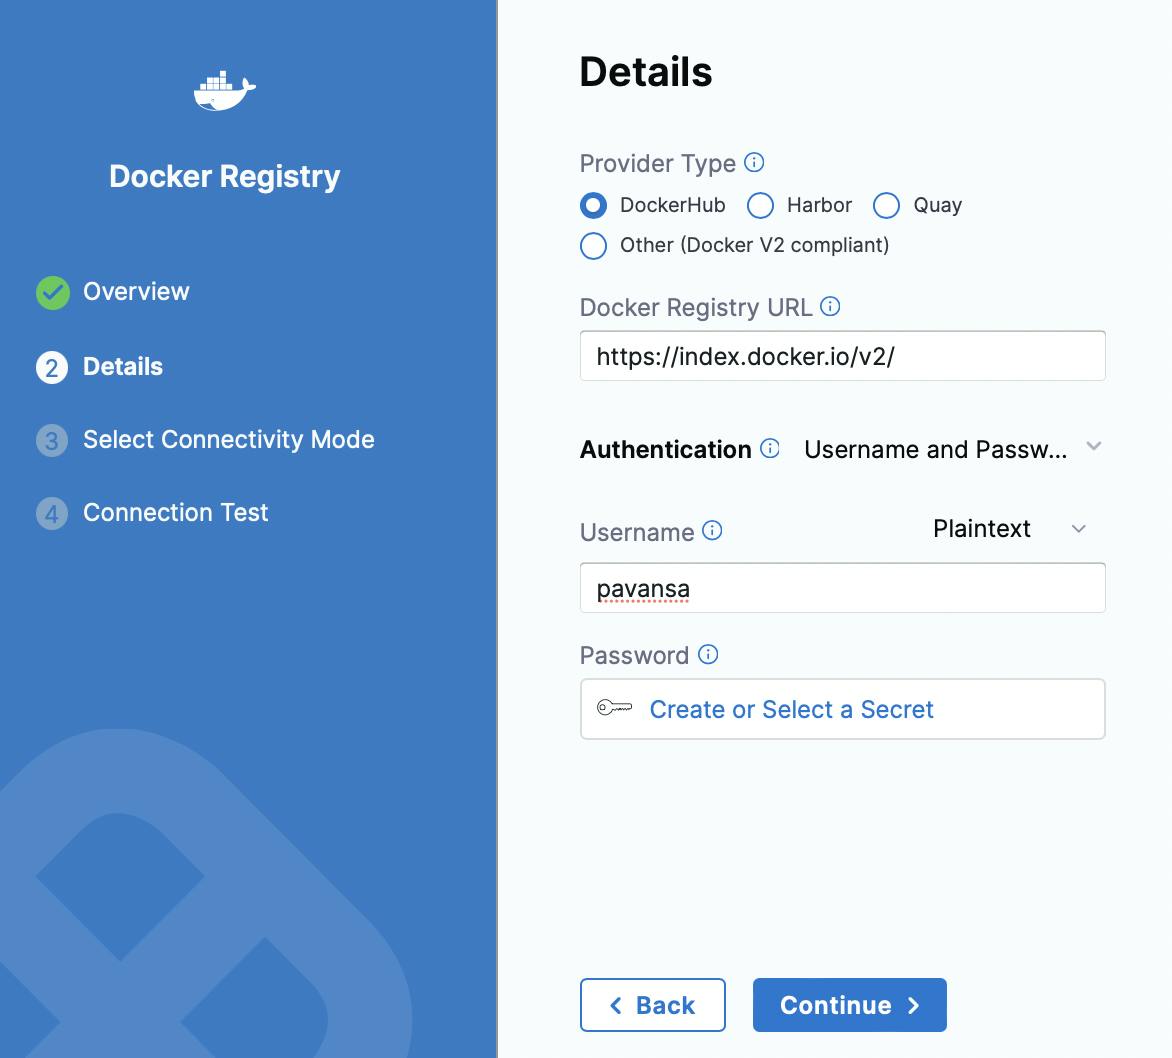
Add your DockerHub username and password (add password as a secret)

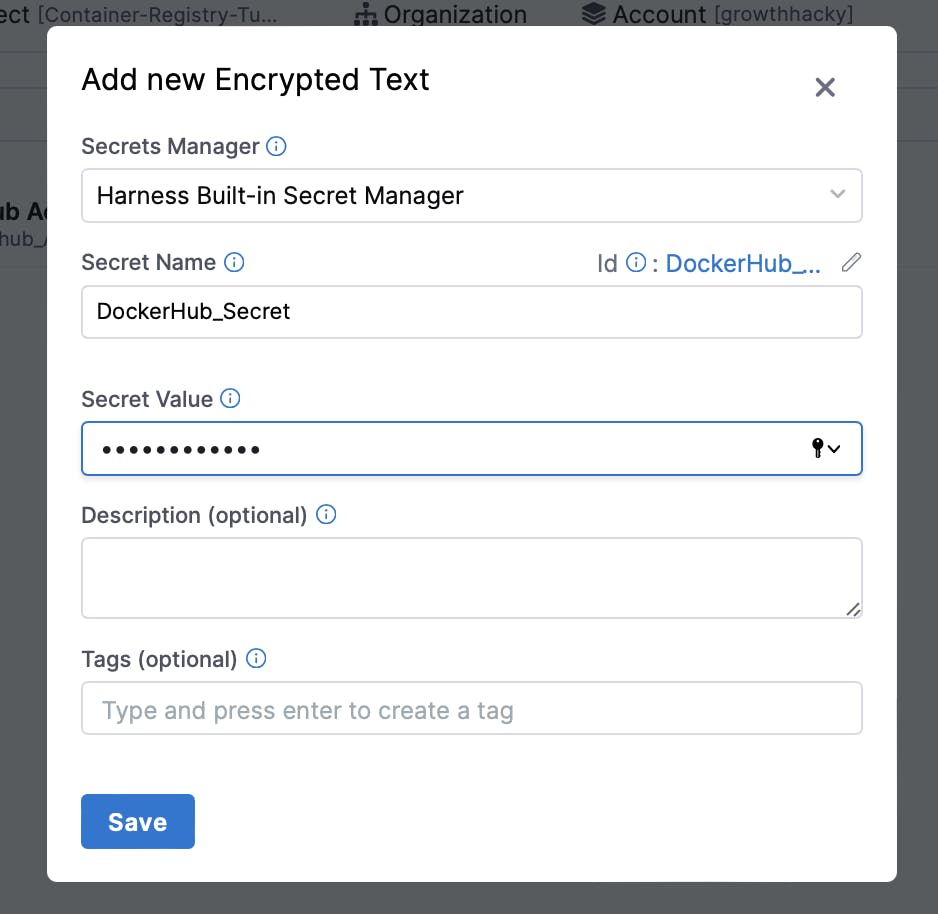
Create a new secret and add your DockerHub password.
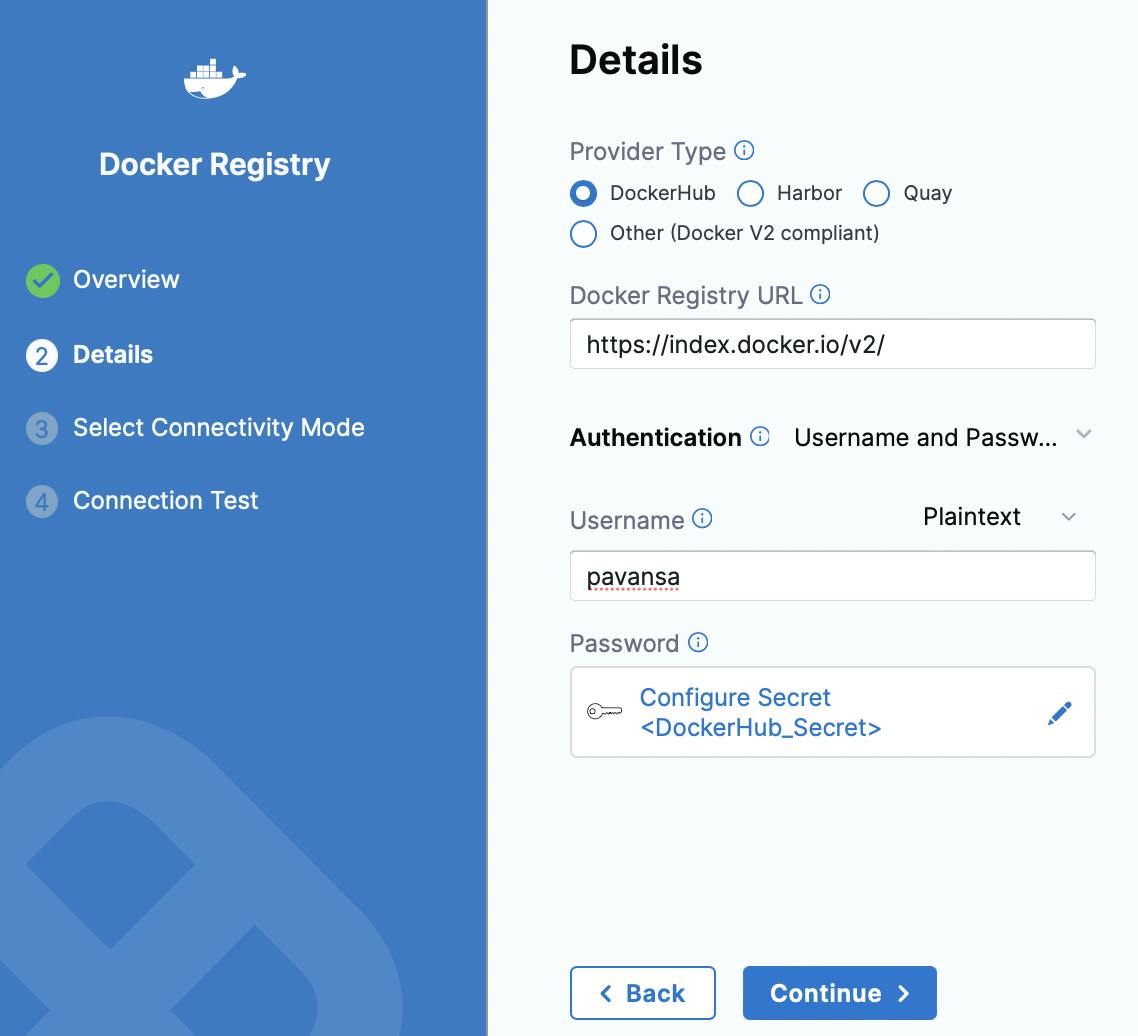
After you add your DockerHub details, this is how it looks.
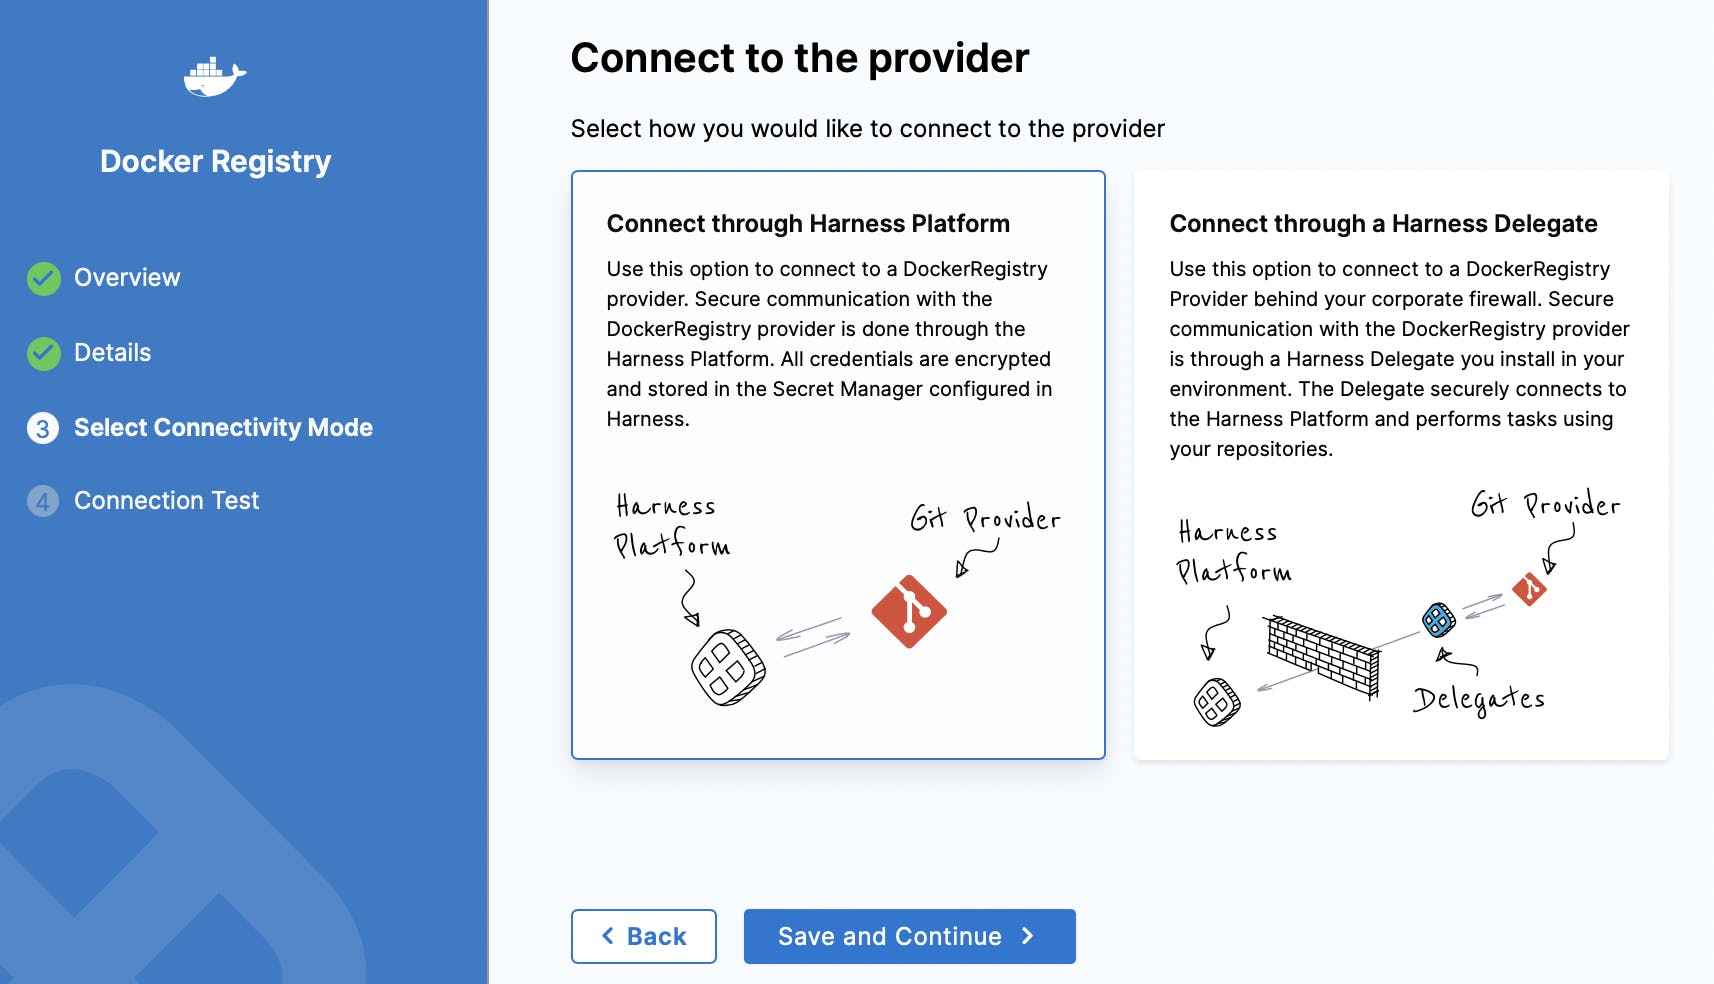
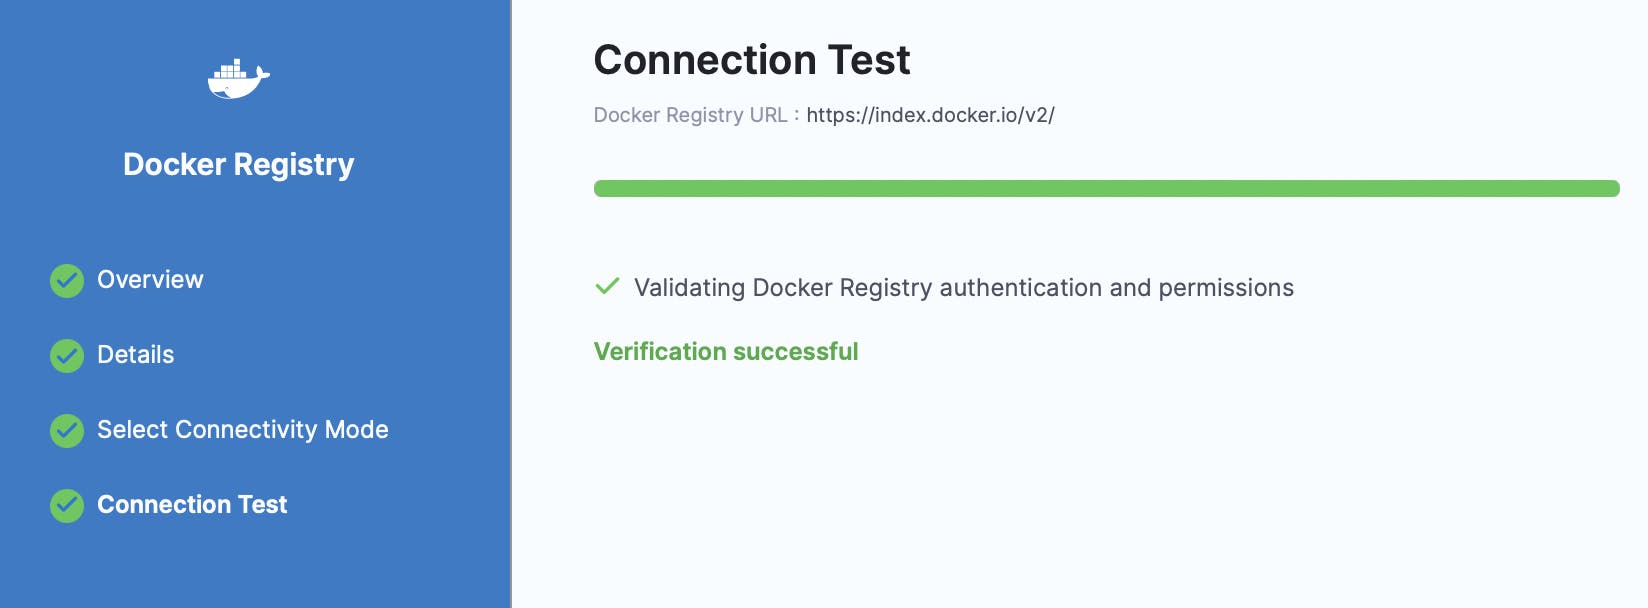
Next, you need to connect your DockerHub to the Harness provider. Select Harness Platform to connect here.
Make sure the connection between the Harness and your DockerHub is successful.
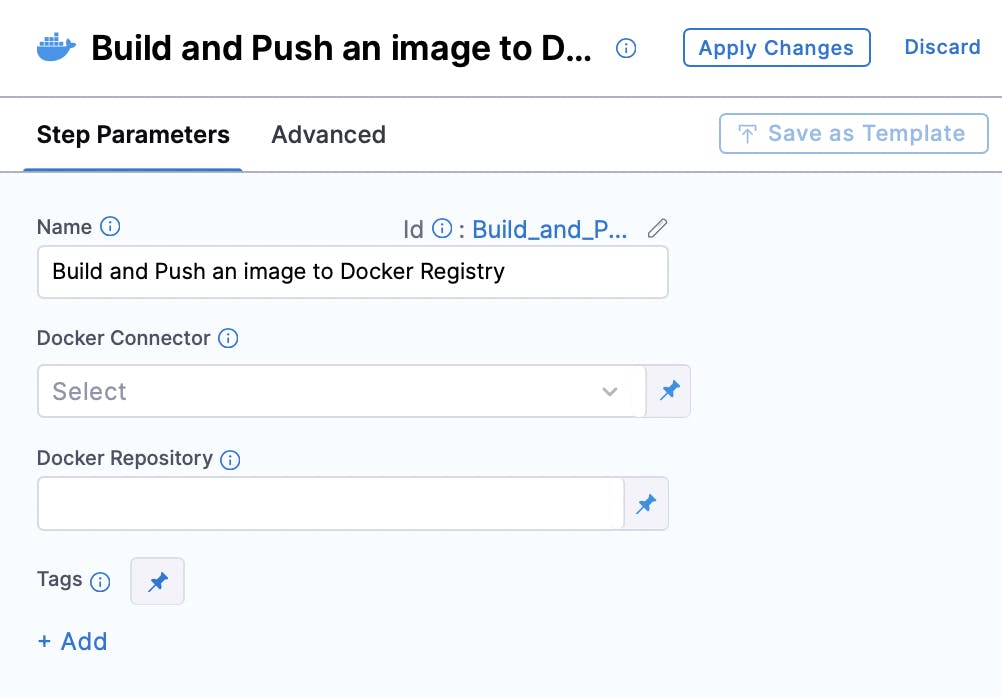
Now you see your 'Build and Push an Image to Docker Registry' step with the added details.
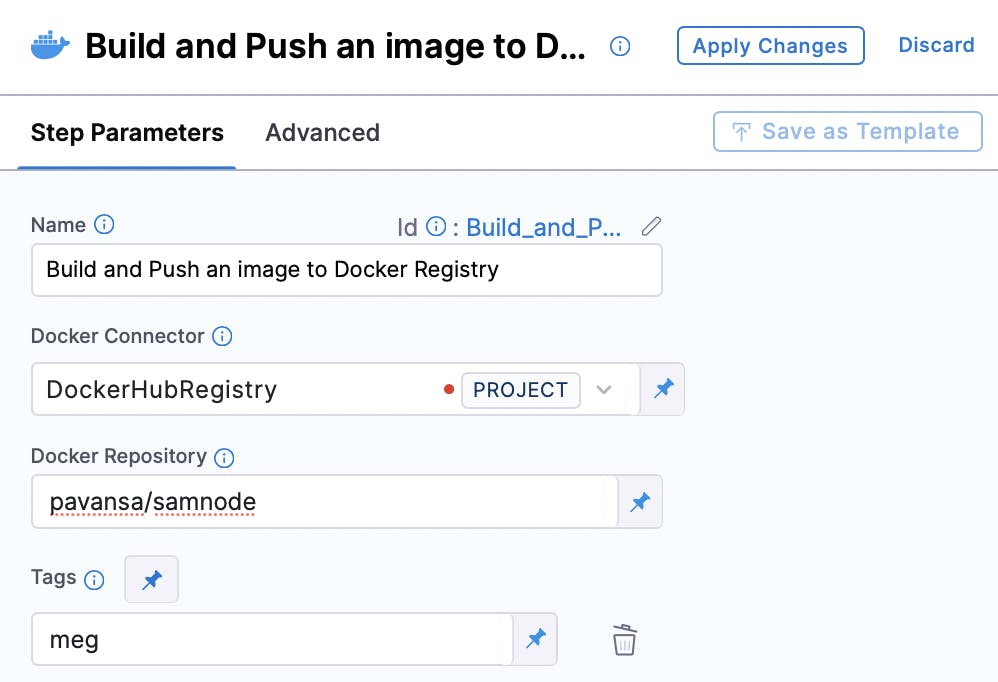
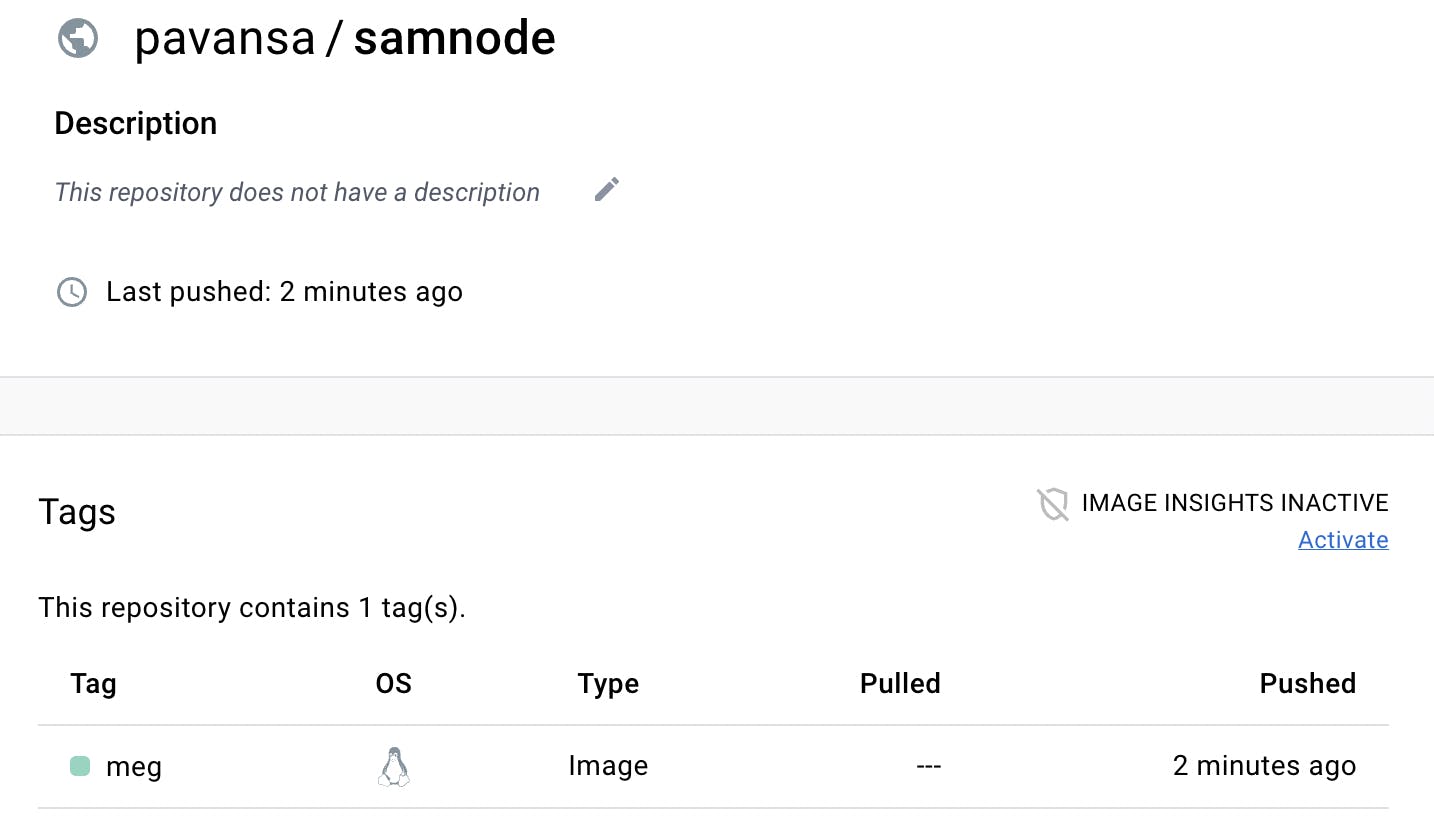
In the above screenshot, pavansa is my DockerHub username and samnode is what I would like to name my image as. meg is the tag I am using. You choose what you want.
Apply changes, save and run the pipeline.
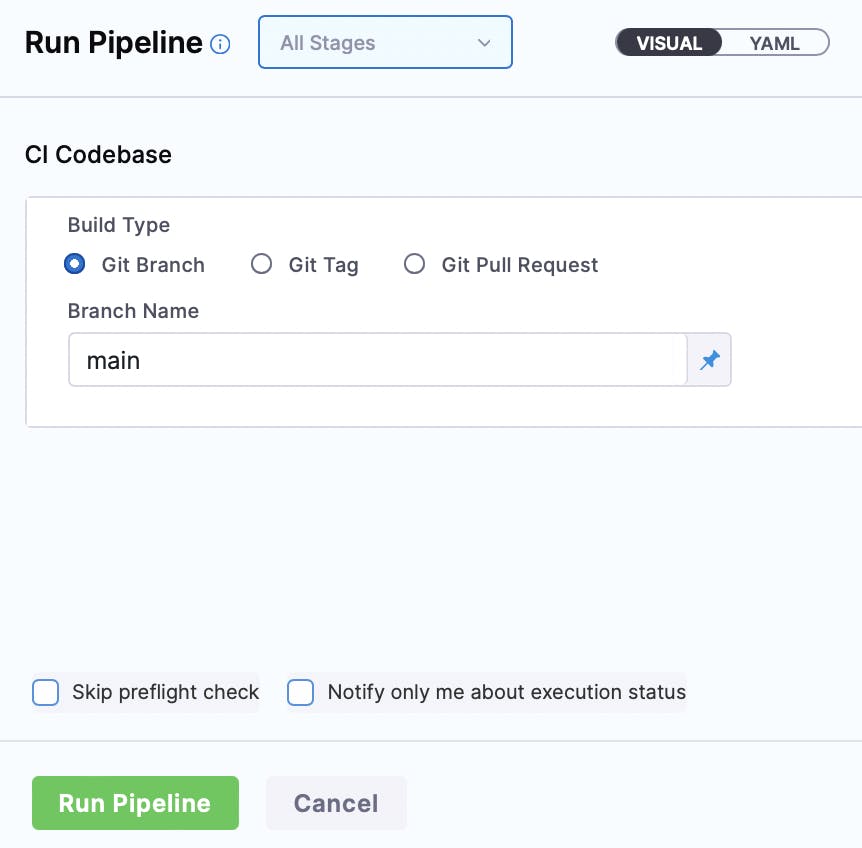
You should see a successful pipeline execution.
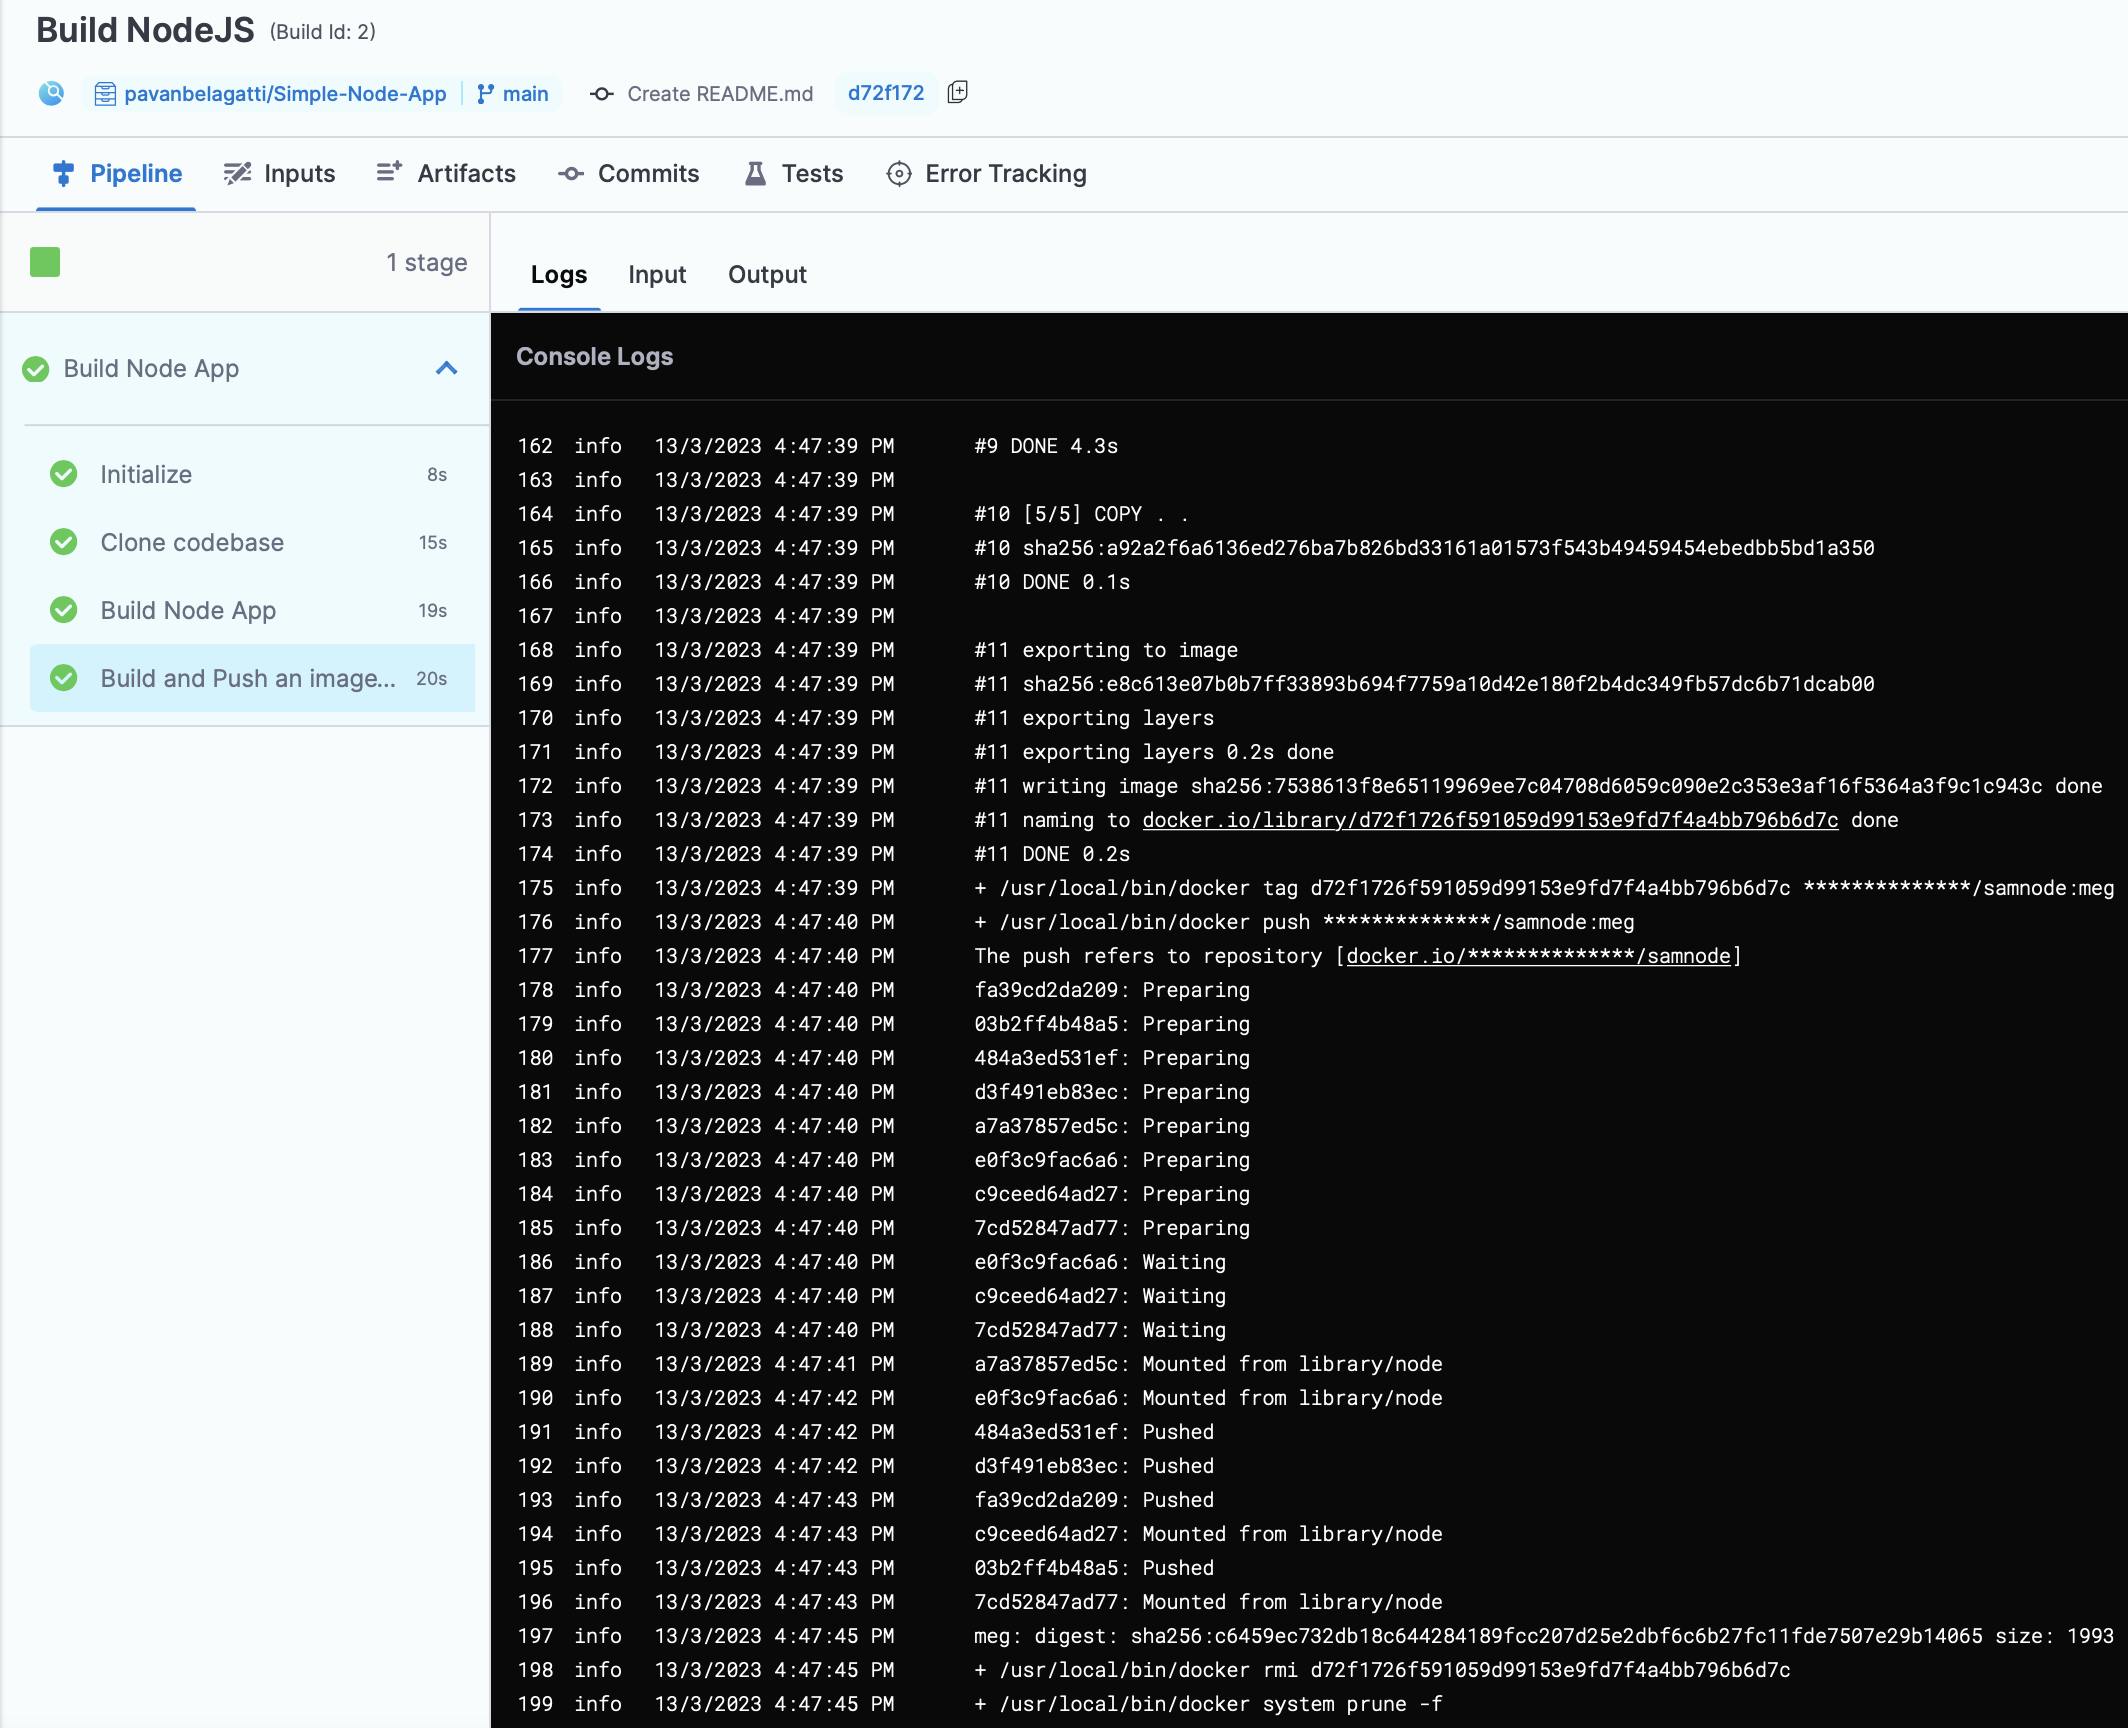
Let's verify if Harness has pushed our image to our DockerHub. Let's go to DockerHub and see the repositories. You should see a new image pushed just a minute ago.
Congratulations! We have successfully built, tagged and pushed the image to the Docker registry. Similarly, from Harness, you have the option to push your image to any container registry of your choice, such as Amazon ECR, Harbor, RedHat Quay, JFrog Artifactory, Google container registry, GitHub container registry, etc.
Now, whenever there is a new code push to the main branch, the build gets triggered and runs all the steps every time pushing a new image to the DockerHub.